Trying a Beef Stroganoff Recipe at Home
Sometime within the last week, Aaron and I were talking and he brought up a dish many of you will probably remember: Beef Stroganoff. We talked about how it seemed like nearly everyone raised in the 1980s and 1990s (at least in the Midwest) ate it regularly, often of the Hamburger Helper variety. It was ubiquitous, reaching worldwide popularity after emerging from Russia during the 19th century. You could not get away from this stuff – you ate it at home, you ate it when visiting family or friends, you at it at school, you ate it at church events.
During this conversation, we realized that decades had passed since we could last remember having it; that somehow, someway, it had faded into the background, going out of vogue and disappearing from our consciousness. (It reminded me of that observation: there was a day when your parents picked you up in their arms for the last time. Neither you, nor they, likely knew it was happening at the time. In this case, when did we last each have Beef Stroganoff? It probably would have been with each other given that we first moved in together when we were eighteen years old but neither of us can ever remember making it. Maybe in the dining colleges at university? High school? It’s a mystery.)
Aaron said he wanted to find a recipe – if we were going to do this, we were going to do it right with fresh ingredients and real steak, not settle for boxed seasoning and hamburger – setting to work. When all was said and done, the particular Beef Stroganoff recipe he selected after reviewing the choices, like so many other favorite recipes in our family, came from America’s Test Kitchen. I know we’ve praised them over the years but it is hard to say enough good things about their process and results. If life were a video game, and you wanted to level up your cooking skill set, I can think of almost nothing that would give you the return on investment you could likely achieve from picking up a low-cost subscription from their site. Right now, they are even offering 14 day free trials. They approach cooking from a scientific or engineering perspective, relentlessly testing everything from kitchen equipment to cooking techniques to try and find the ideal trade-offs between quality, efficiency, and cost. You can save yourself time, money, and frustration by outsourcing a lot of decisions to their scientific method approach.
Anyway, the recipe made four servings. We decided we would prepare it on our lunch break at work one day (dividing our lunch period into two sessions because there was a 30 to 35 minute simmering process that occurs during one of the steps), then eat the leftovers the following day. The ingredient list was straightforward it looked simple enough so we made it happen this past Wednesday, May 8th.
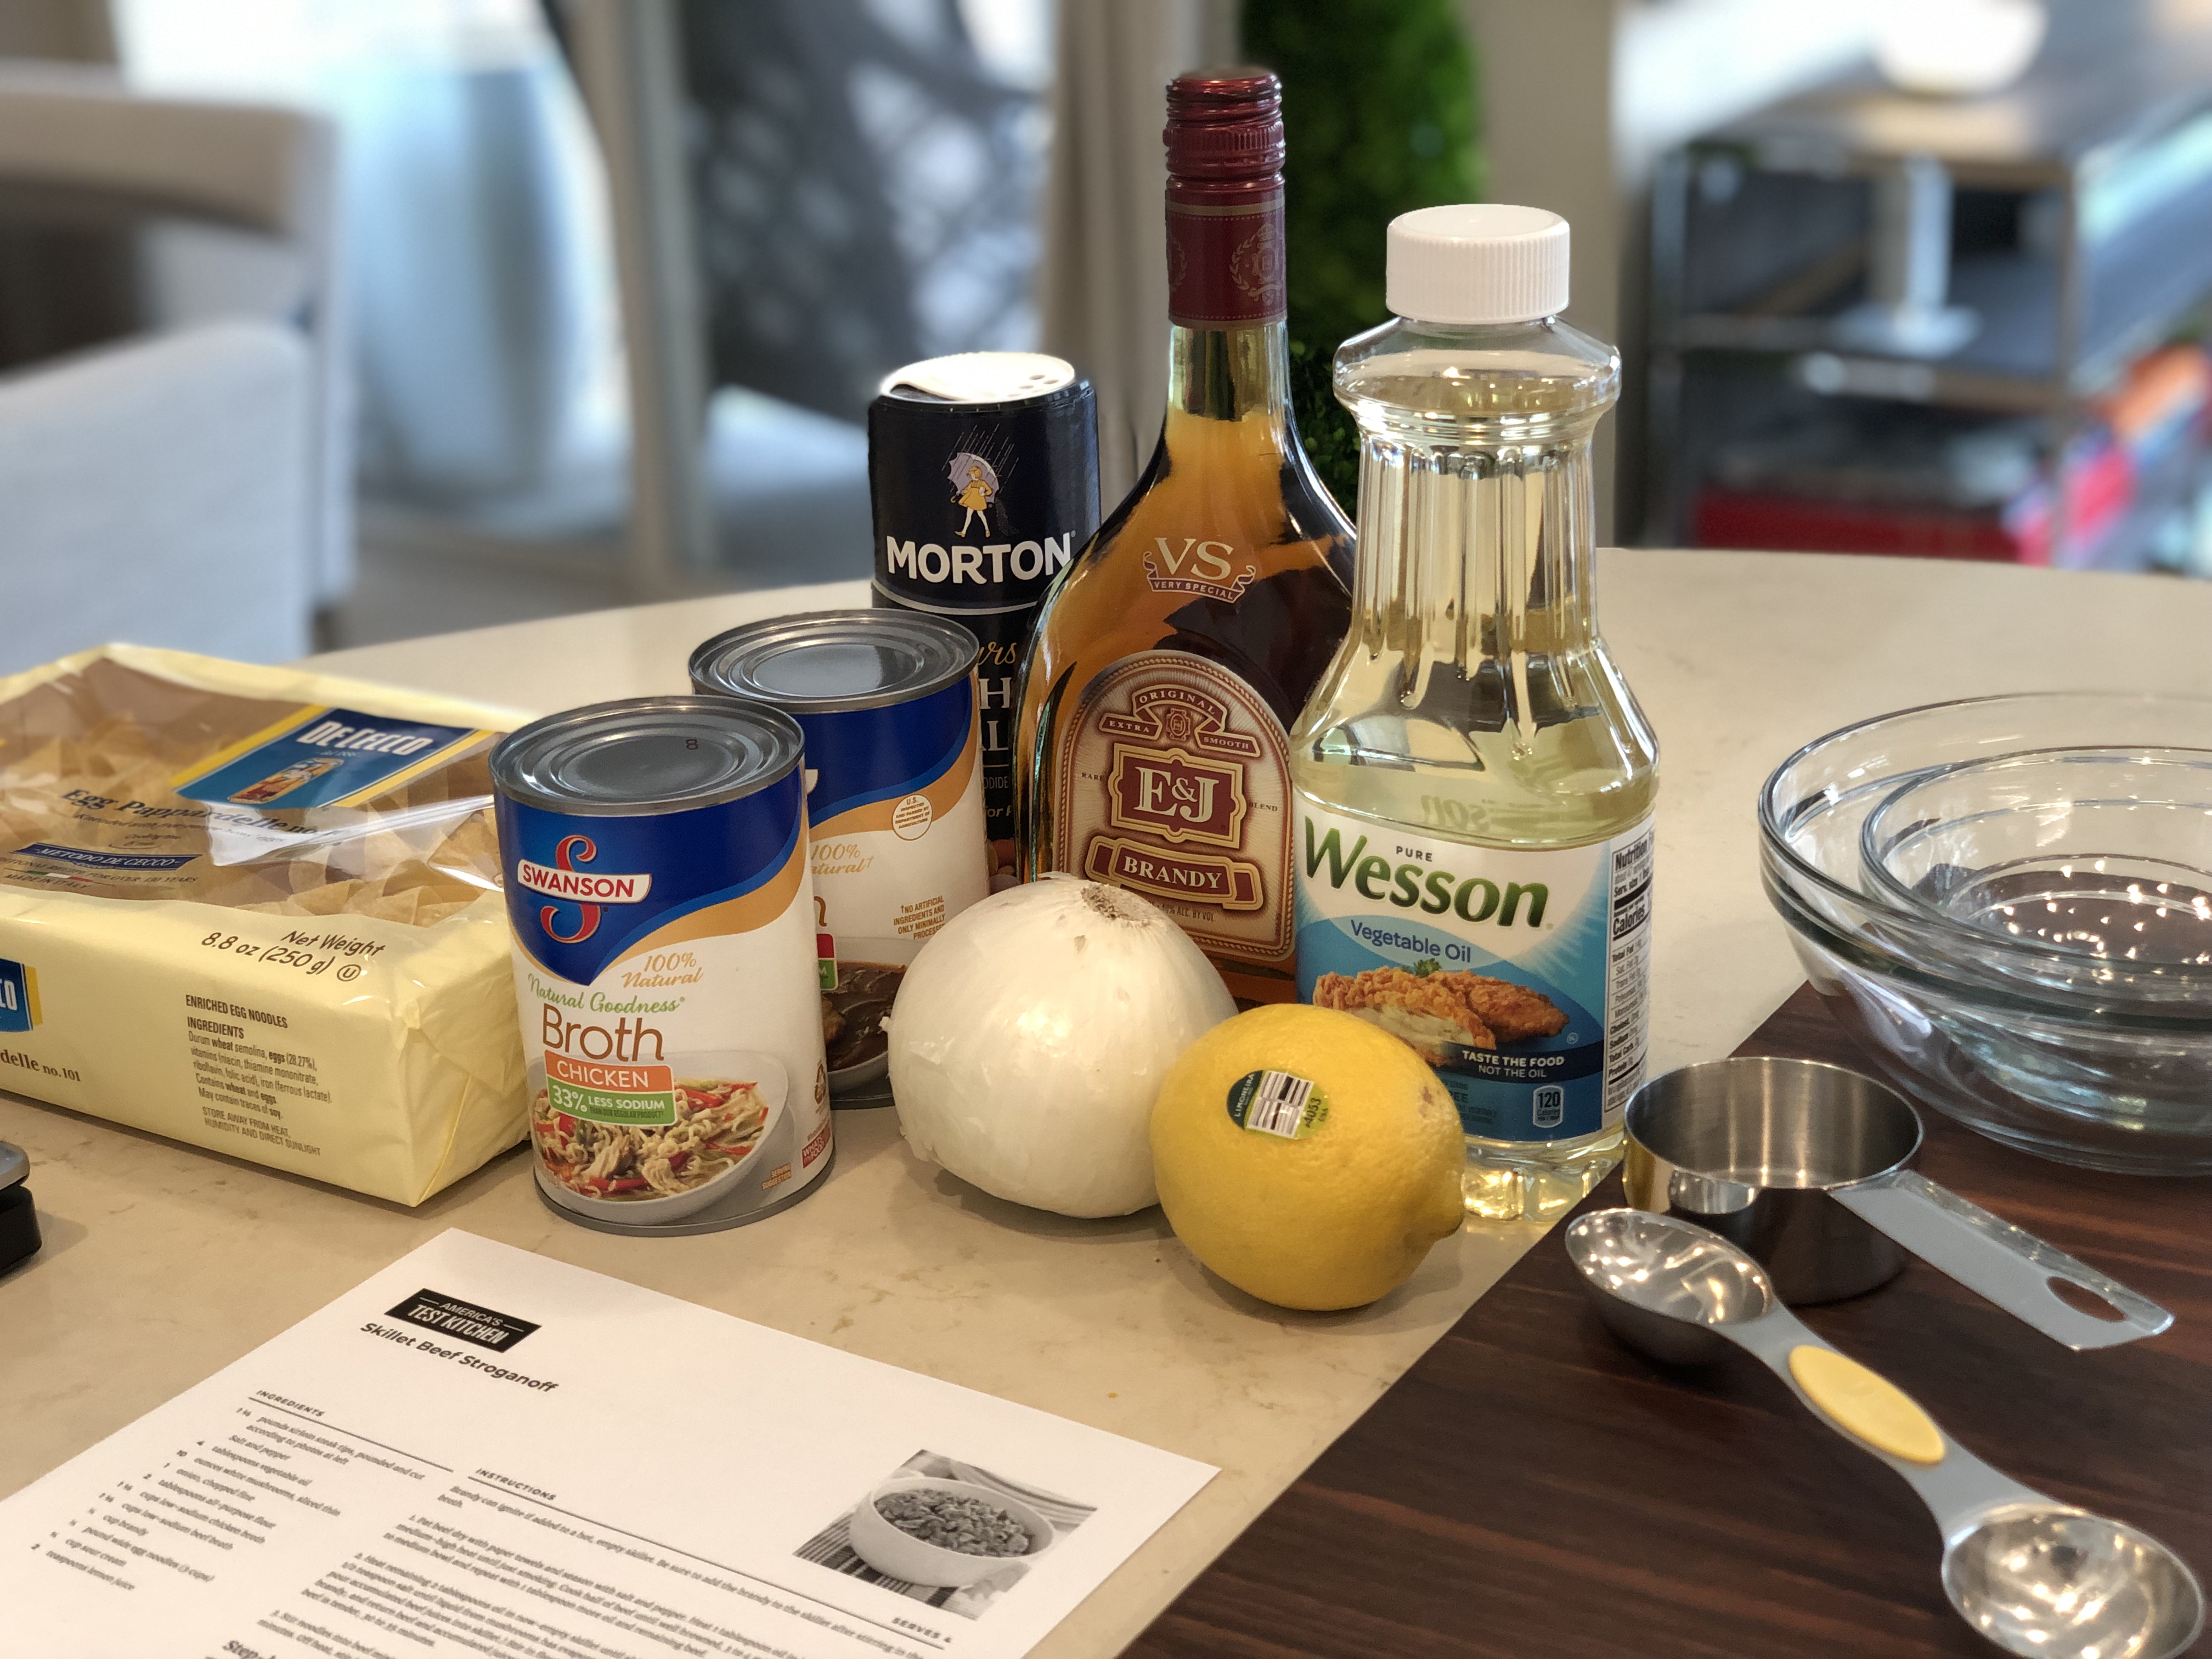
We gathered the ingredients to start making the recipe. You know our process – do as much prep as you can upfront then figure out how to pull it off with the least amount of effort during the process, reducing the chance for error and mess. Even if it means more dishes, this requires segregating things into pre-measured bowls, ready to put into the braiser when it’s time. Simplify, simplify, simplify. It applies in the kitchen as much as it does in life and business.
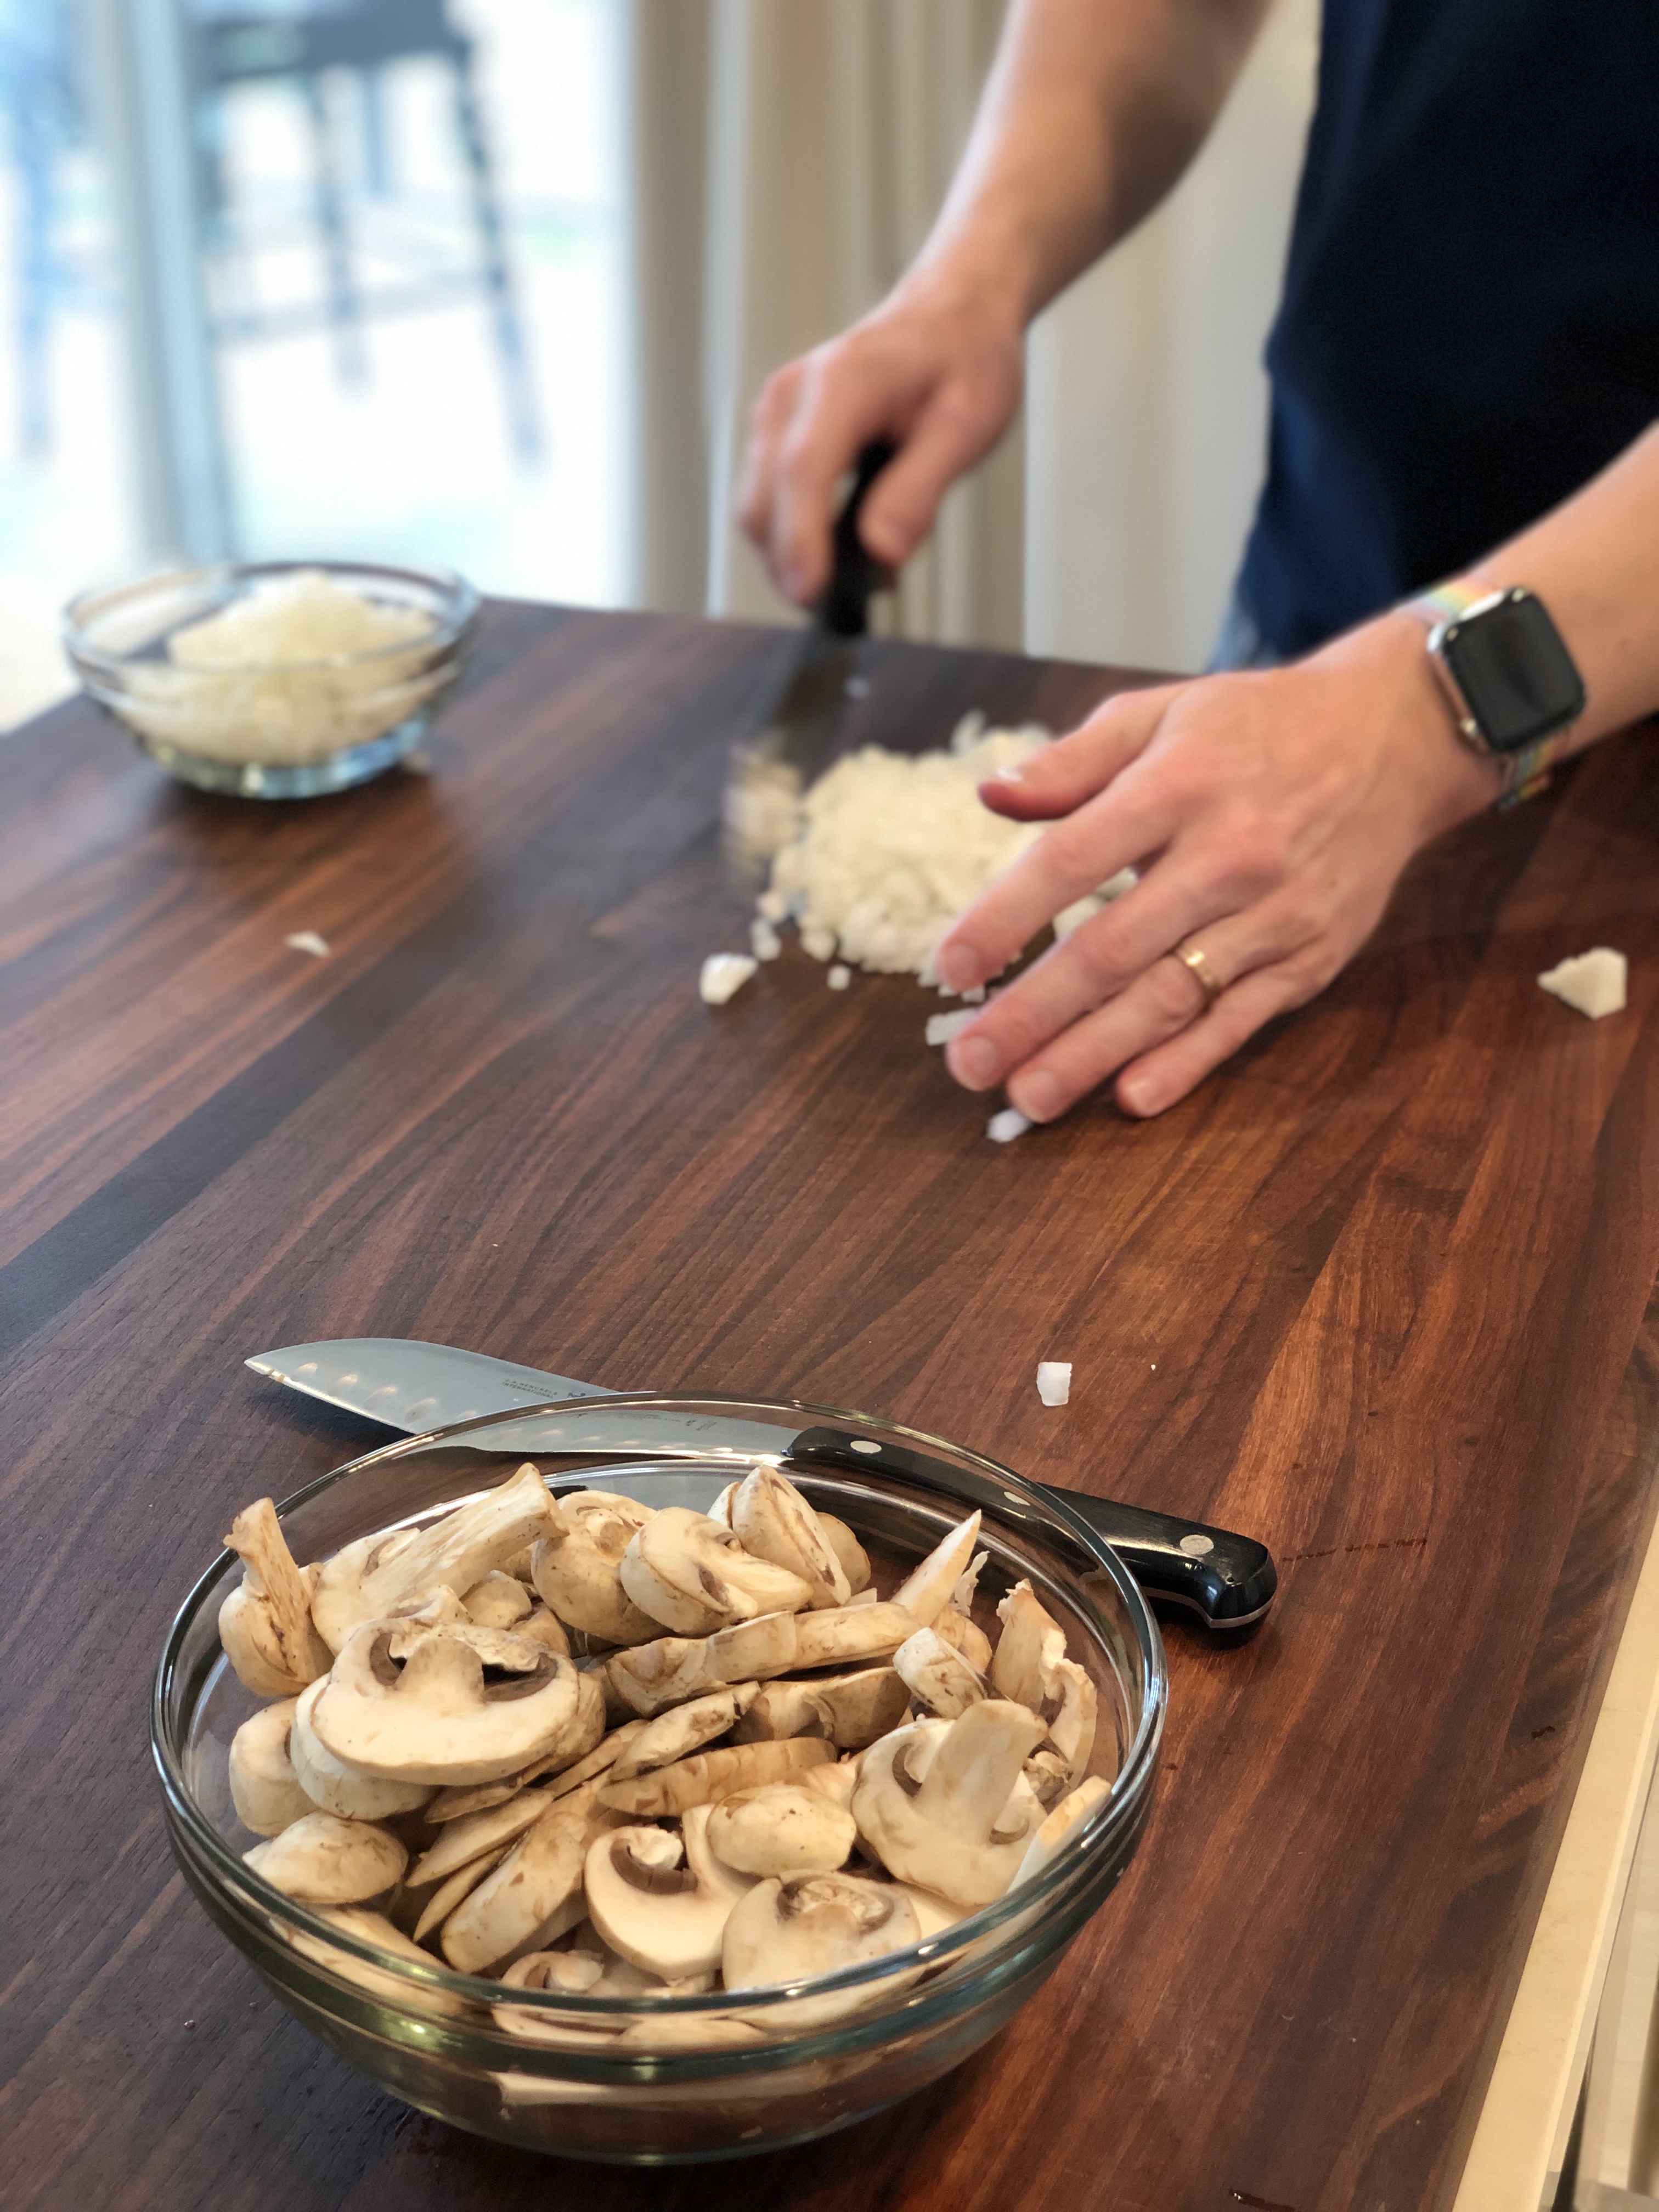
I prepared the 10 ounces of white mushrooms that we needed while Aaron took care of finely chopping the white onion.
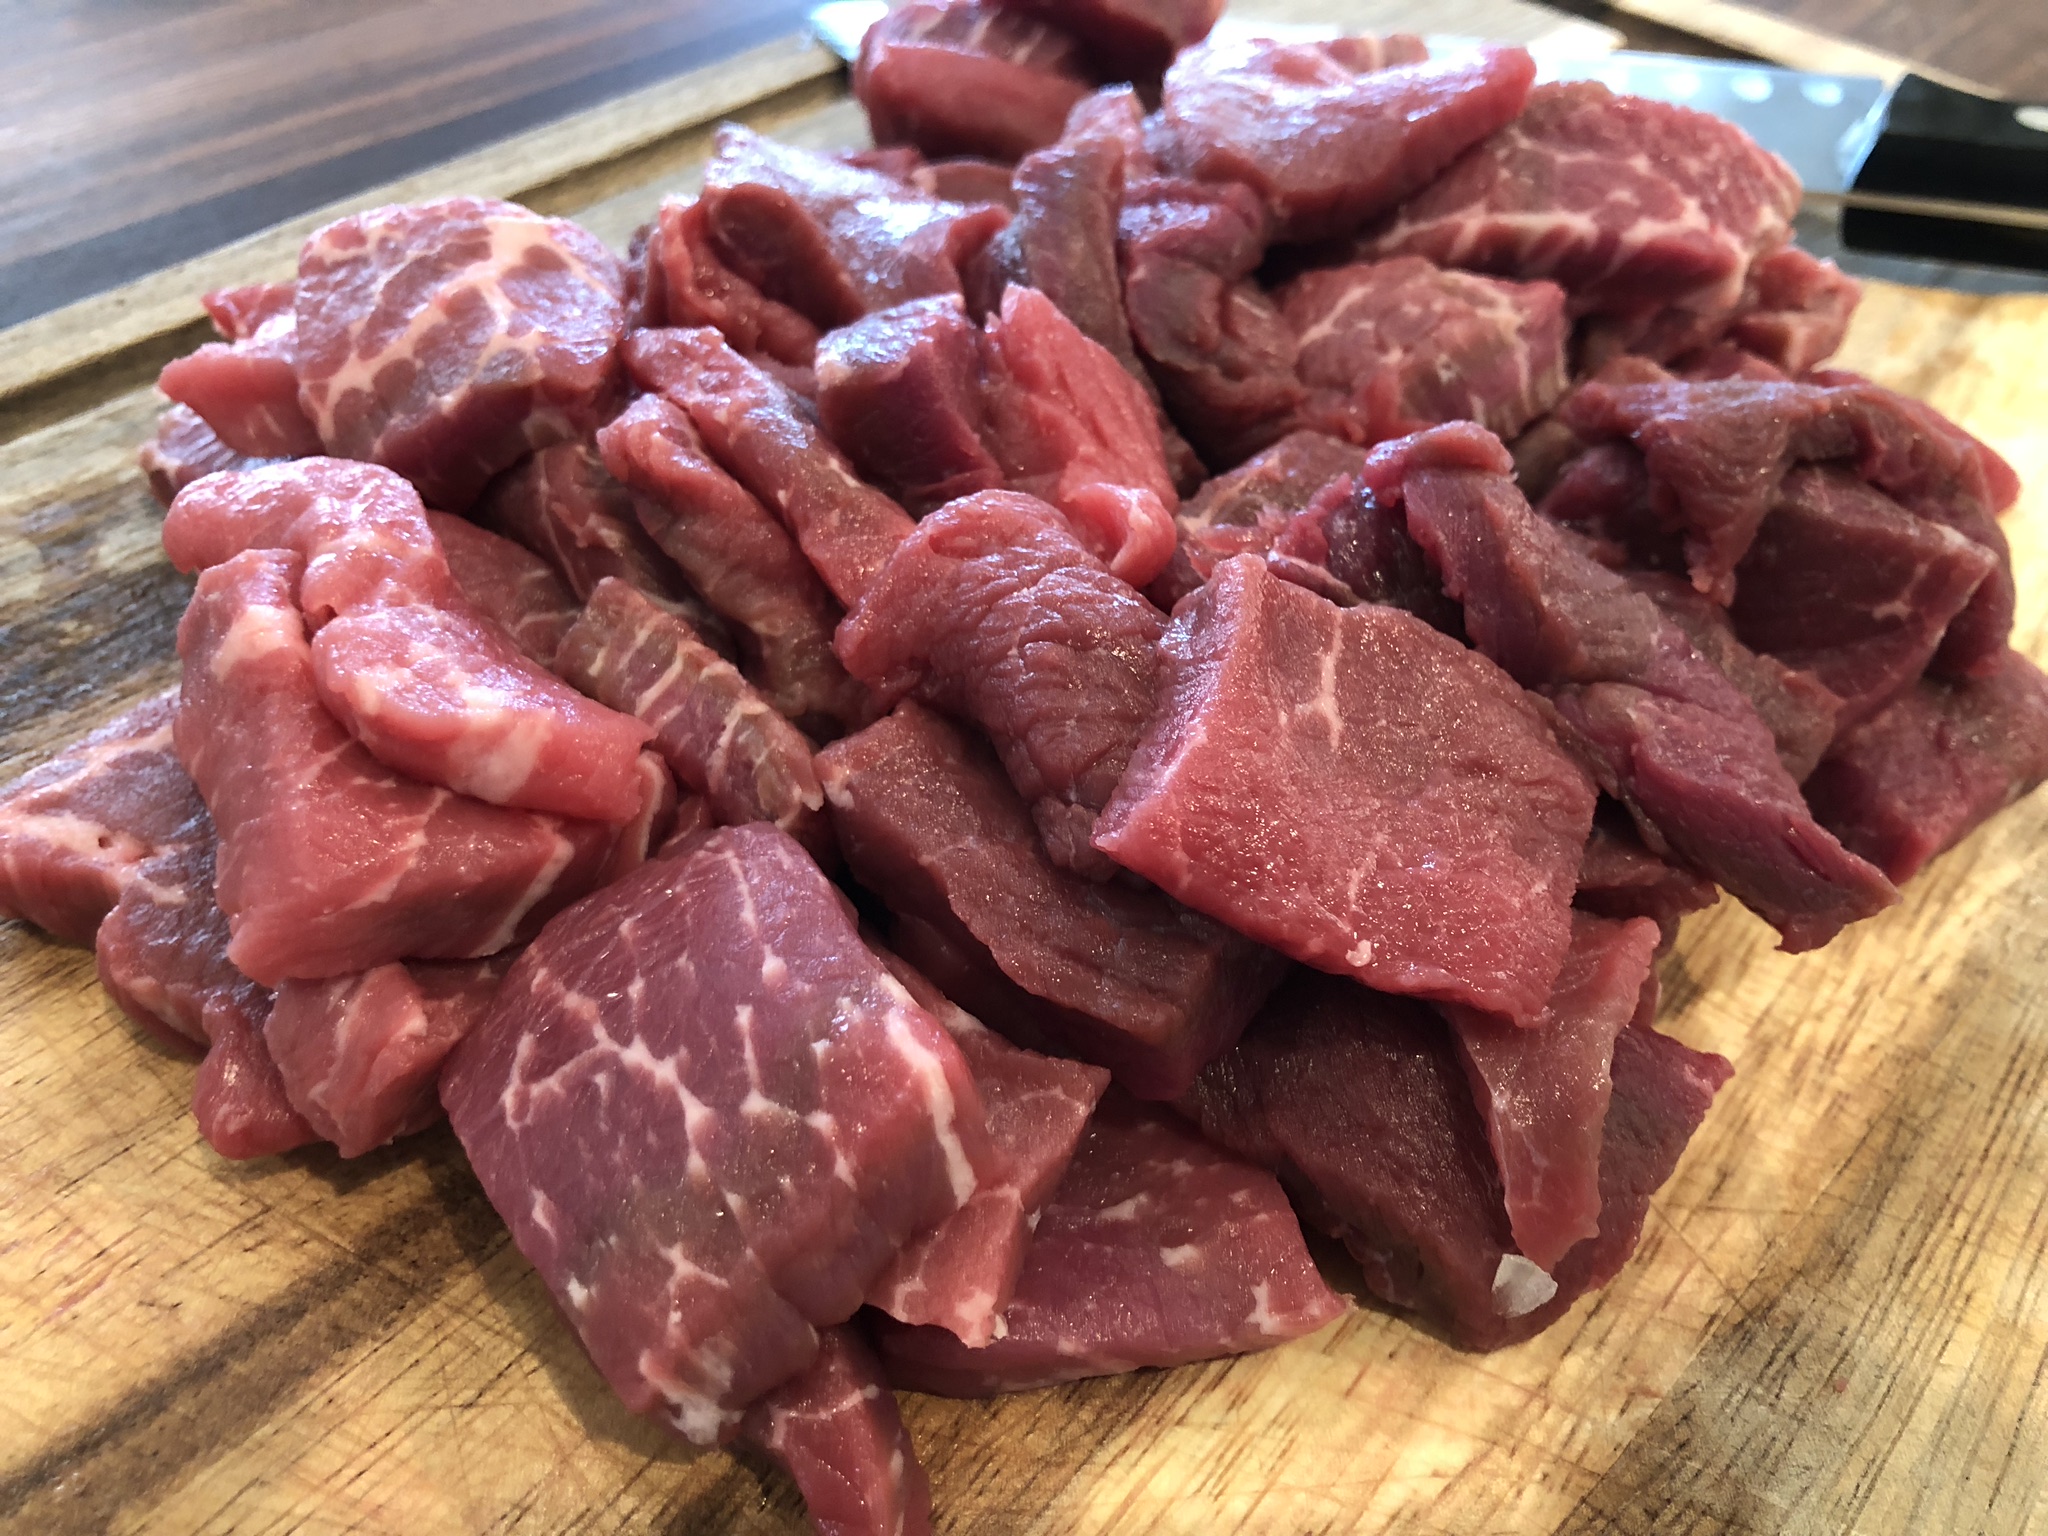
The next step involved cutting the 1.5 pounds of sirloin steak tips, which you first had to pound to tenderize, into appropriately small pieces so they mix well with the final dish. Afterwards, you need to pat the beef dry and season it with salt and pepper.

It was time to brown the beef. We put one tablespoon of oil in the braiser, having brought it up from low to medium heat. Remember that anytime you have an enamel cast iron piece of cookware like this, you must slowly bring the heat up if you want to avoid ruining its appearance. You can’t just stick it on the stove and crank it up to high or you’re going to have a bad time.
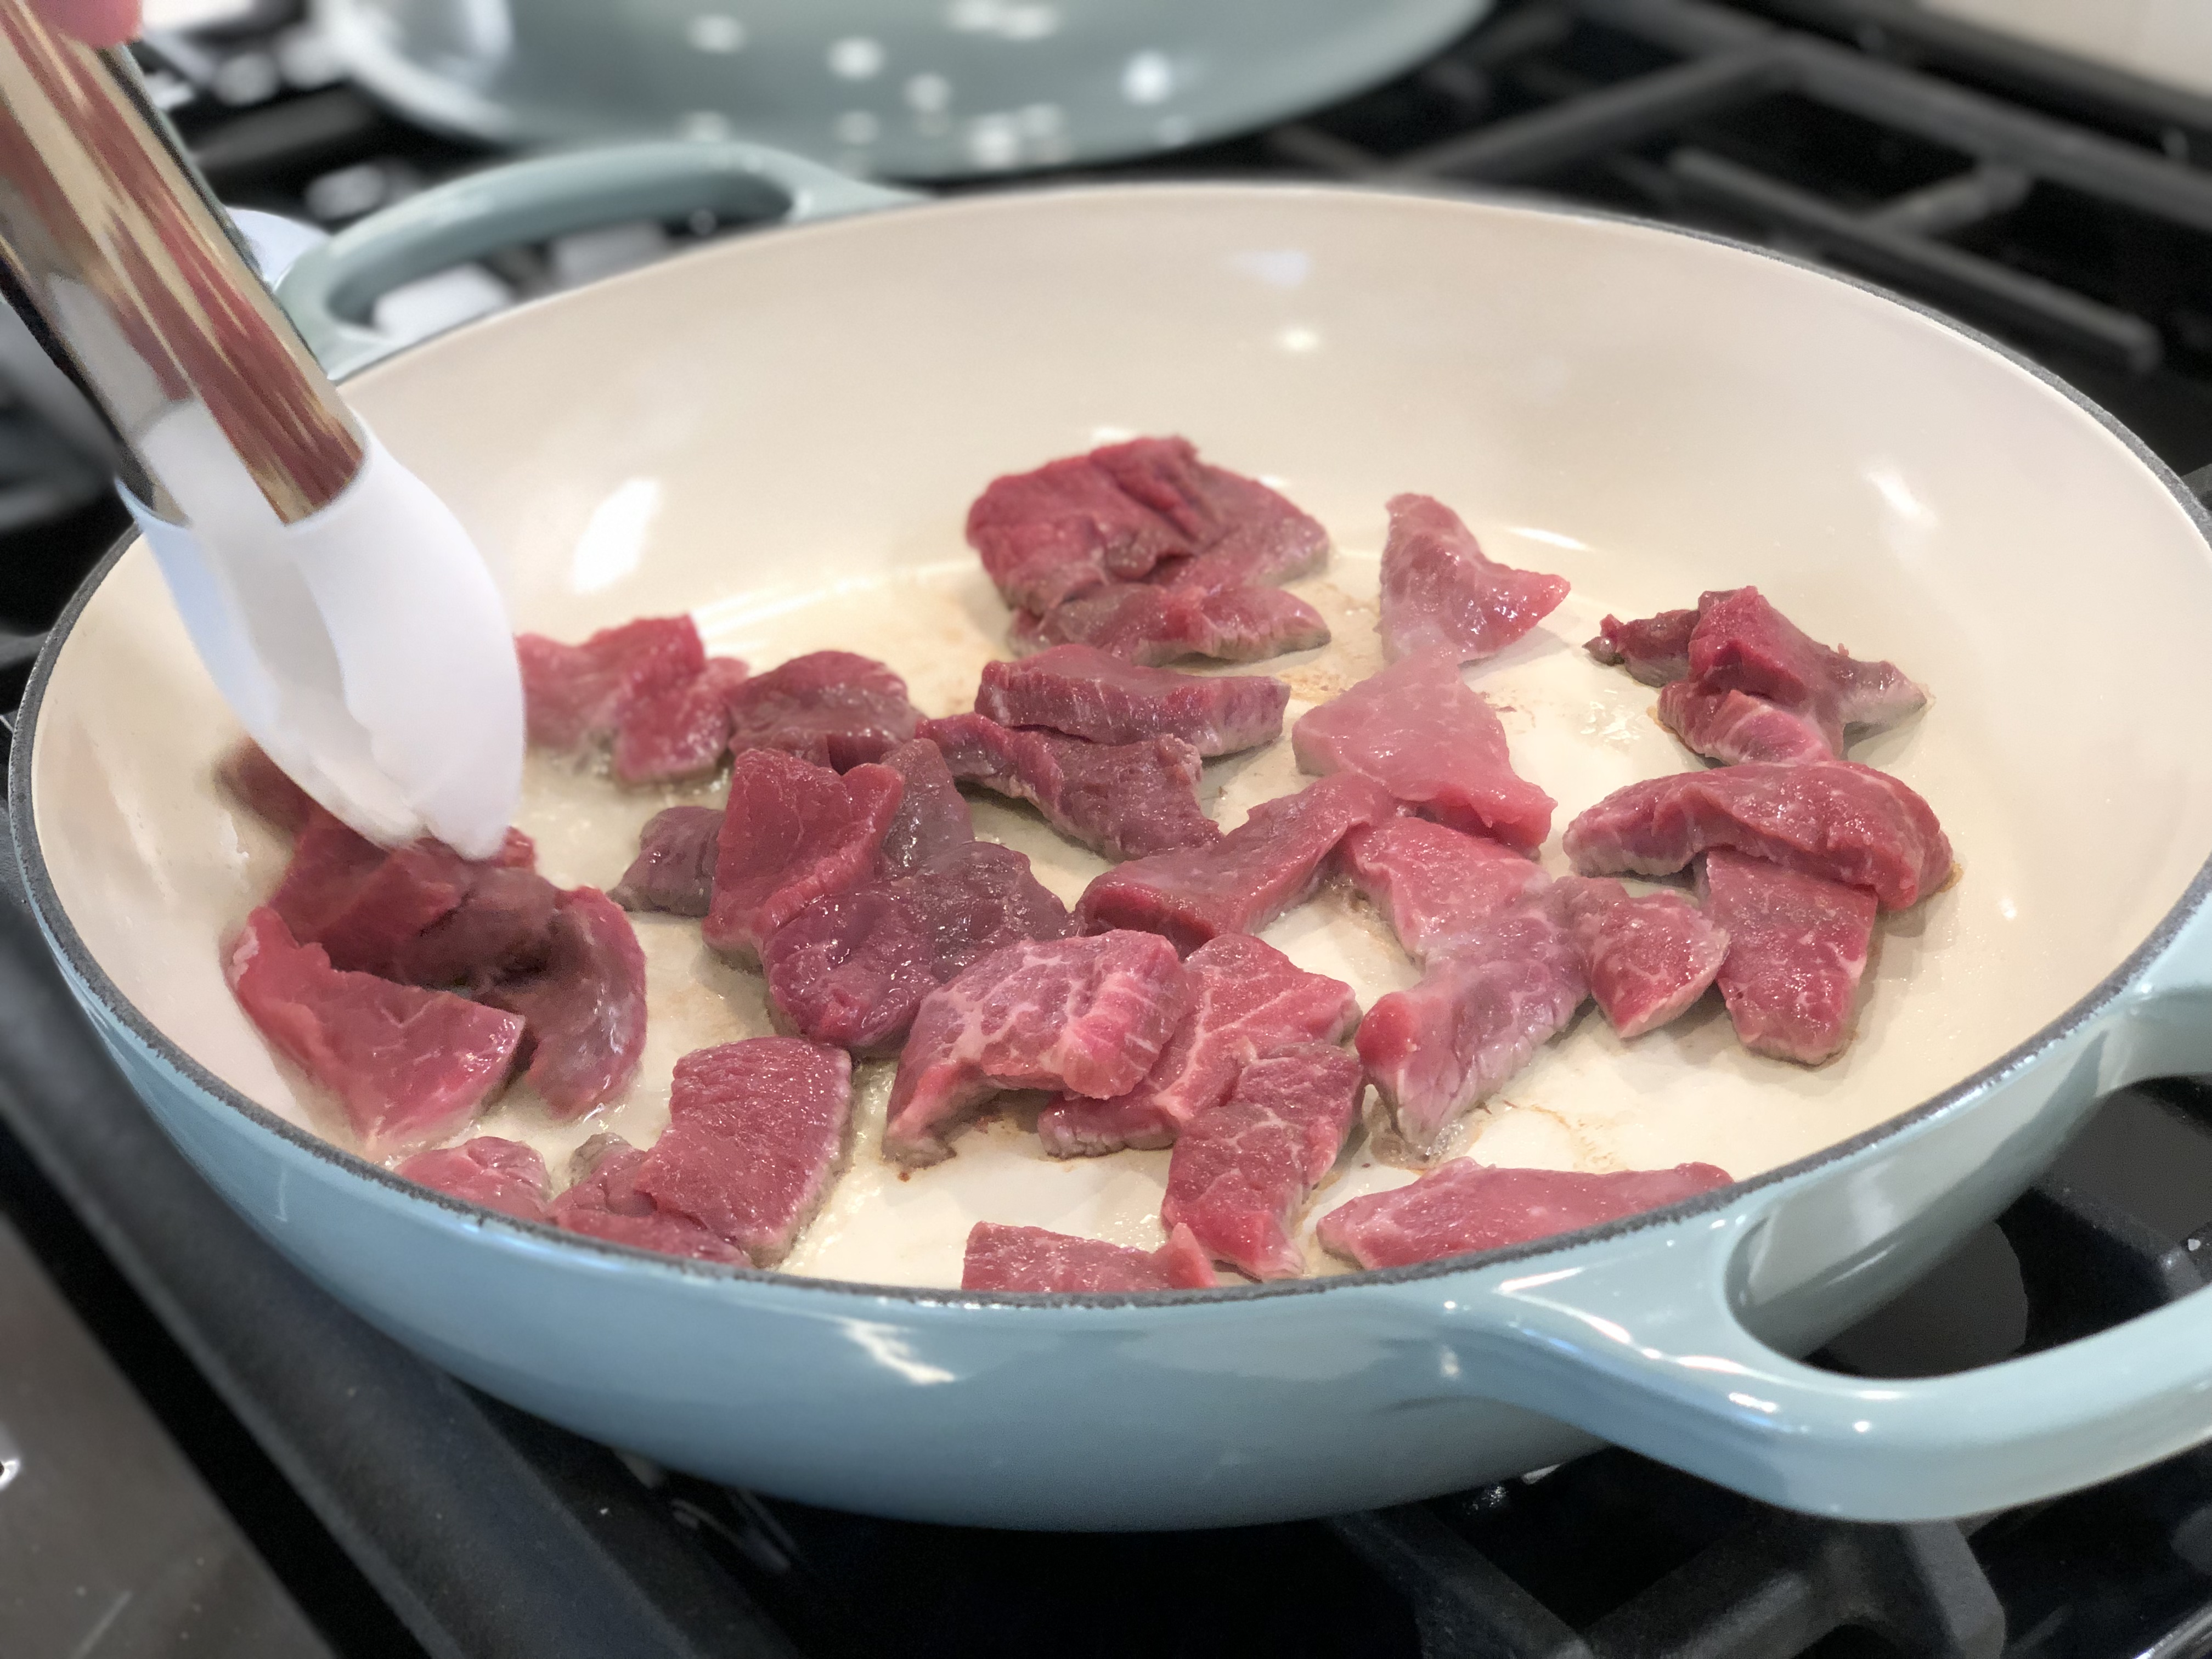
Once the oil was lightly shimmering, we put half of the raw beef we had prepared into the braiser. We had to cook it for 3 to 4 minutes until one side was brown, then flip it over and cook the other side for another 3 to 4 minutes.
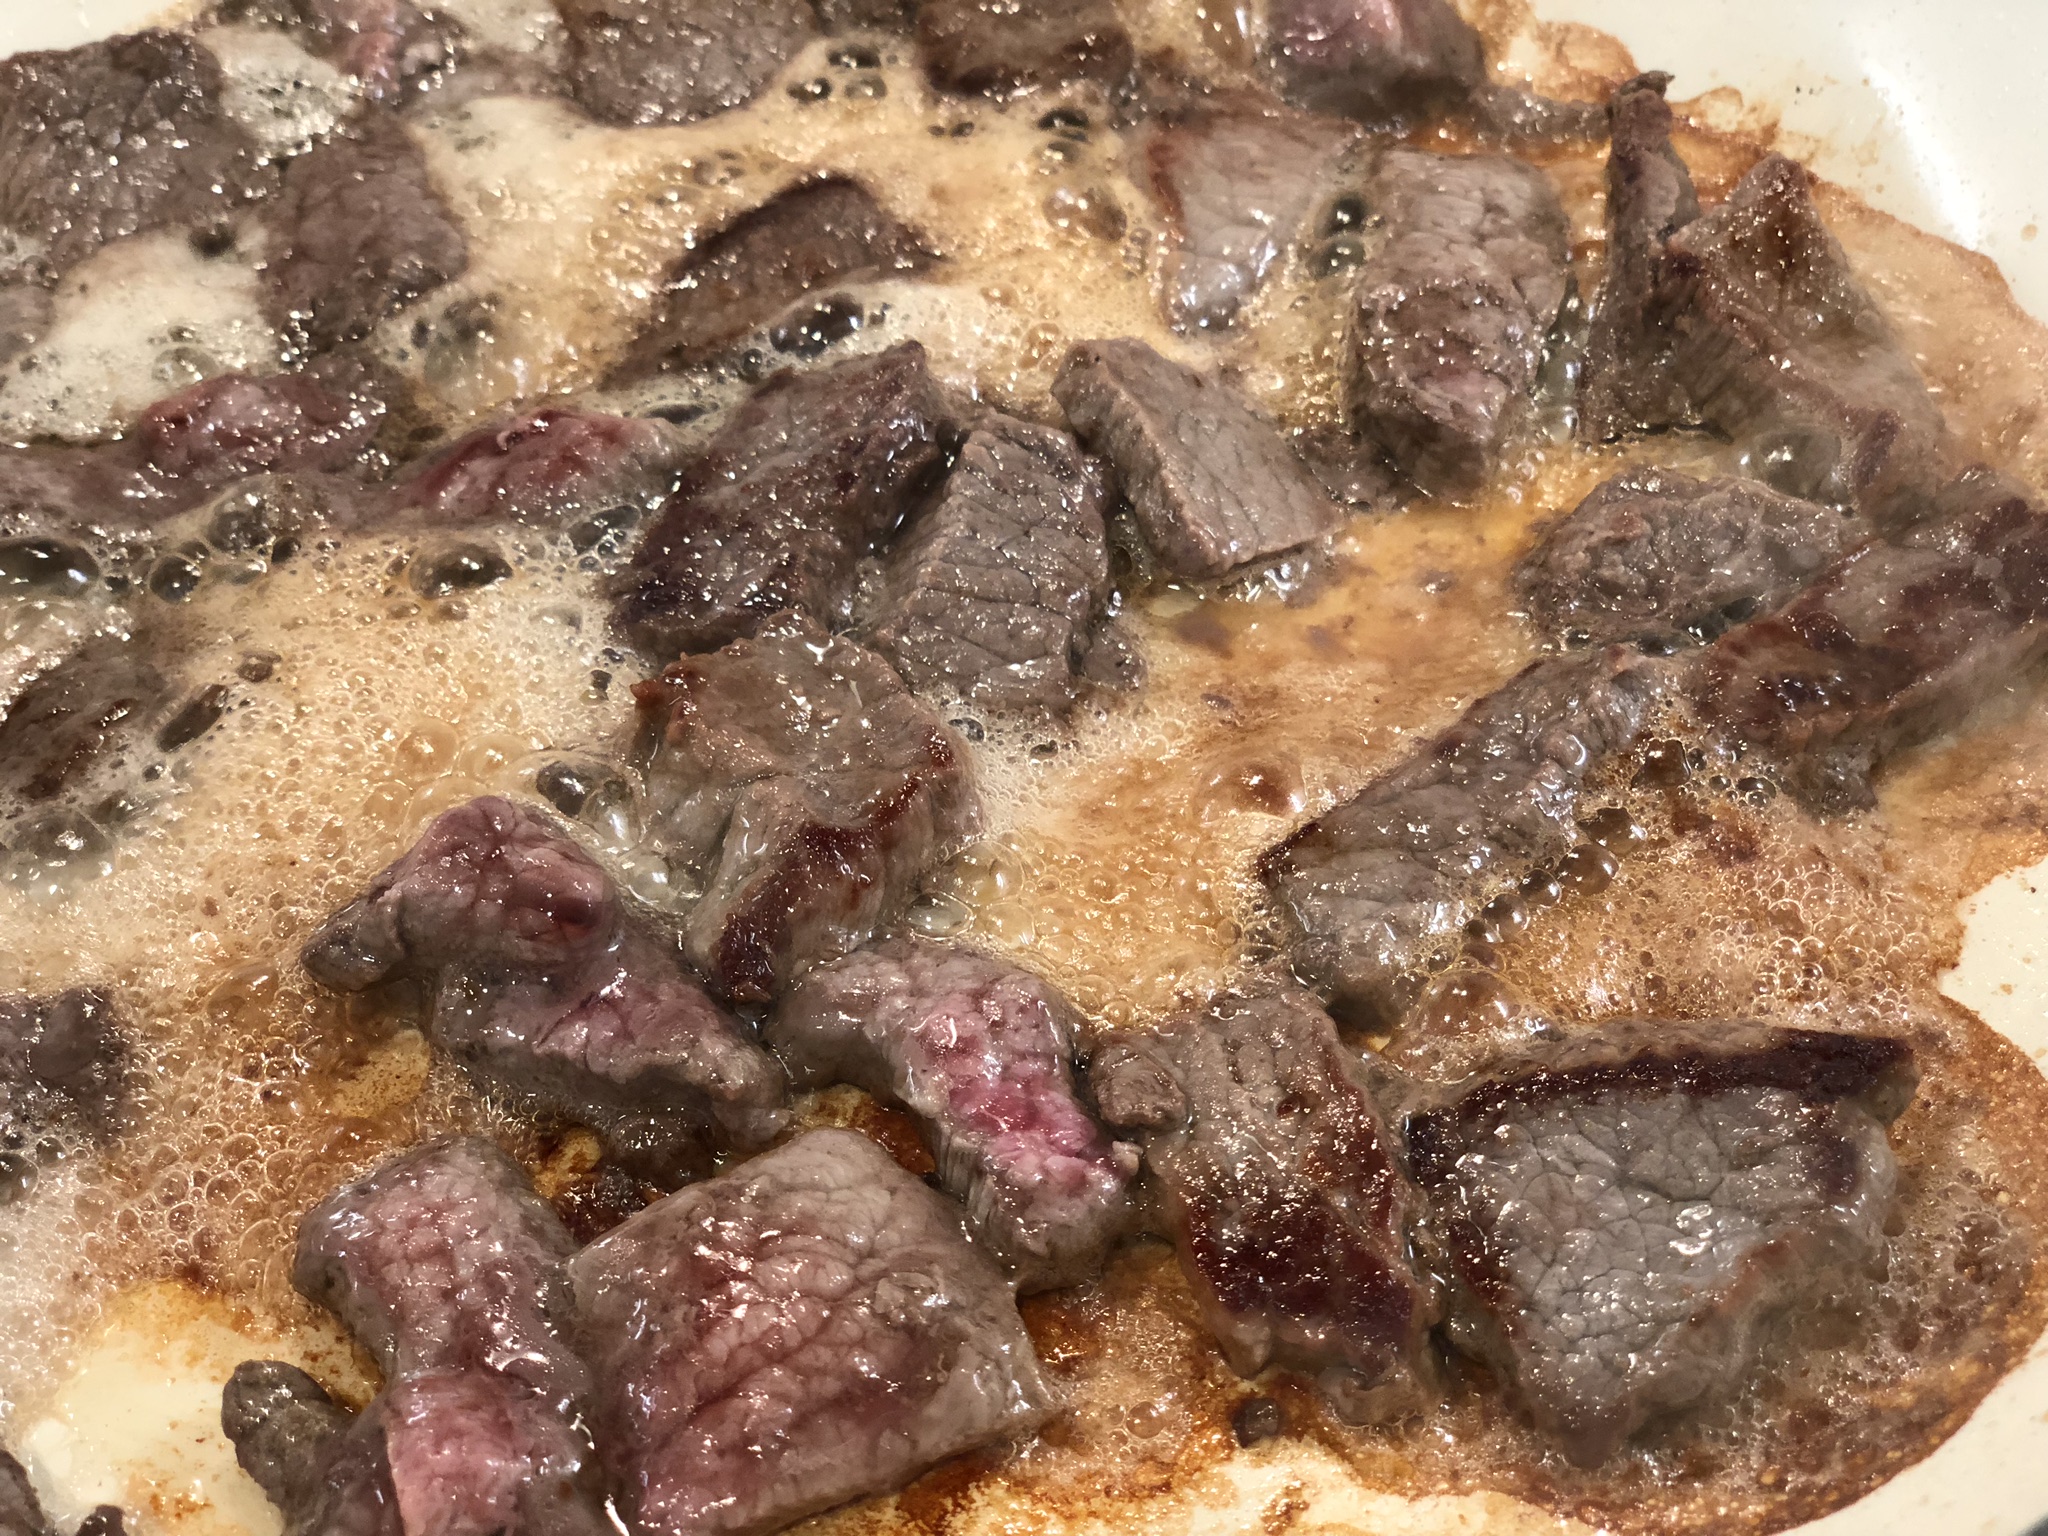
This was a picture during the process. Things were coming along nicely … sometimes, when preparing beef this way, you may get a bunch of the oil and fat bubbling for awhile but that’s okay. It should reduce during the cooking process.
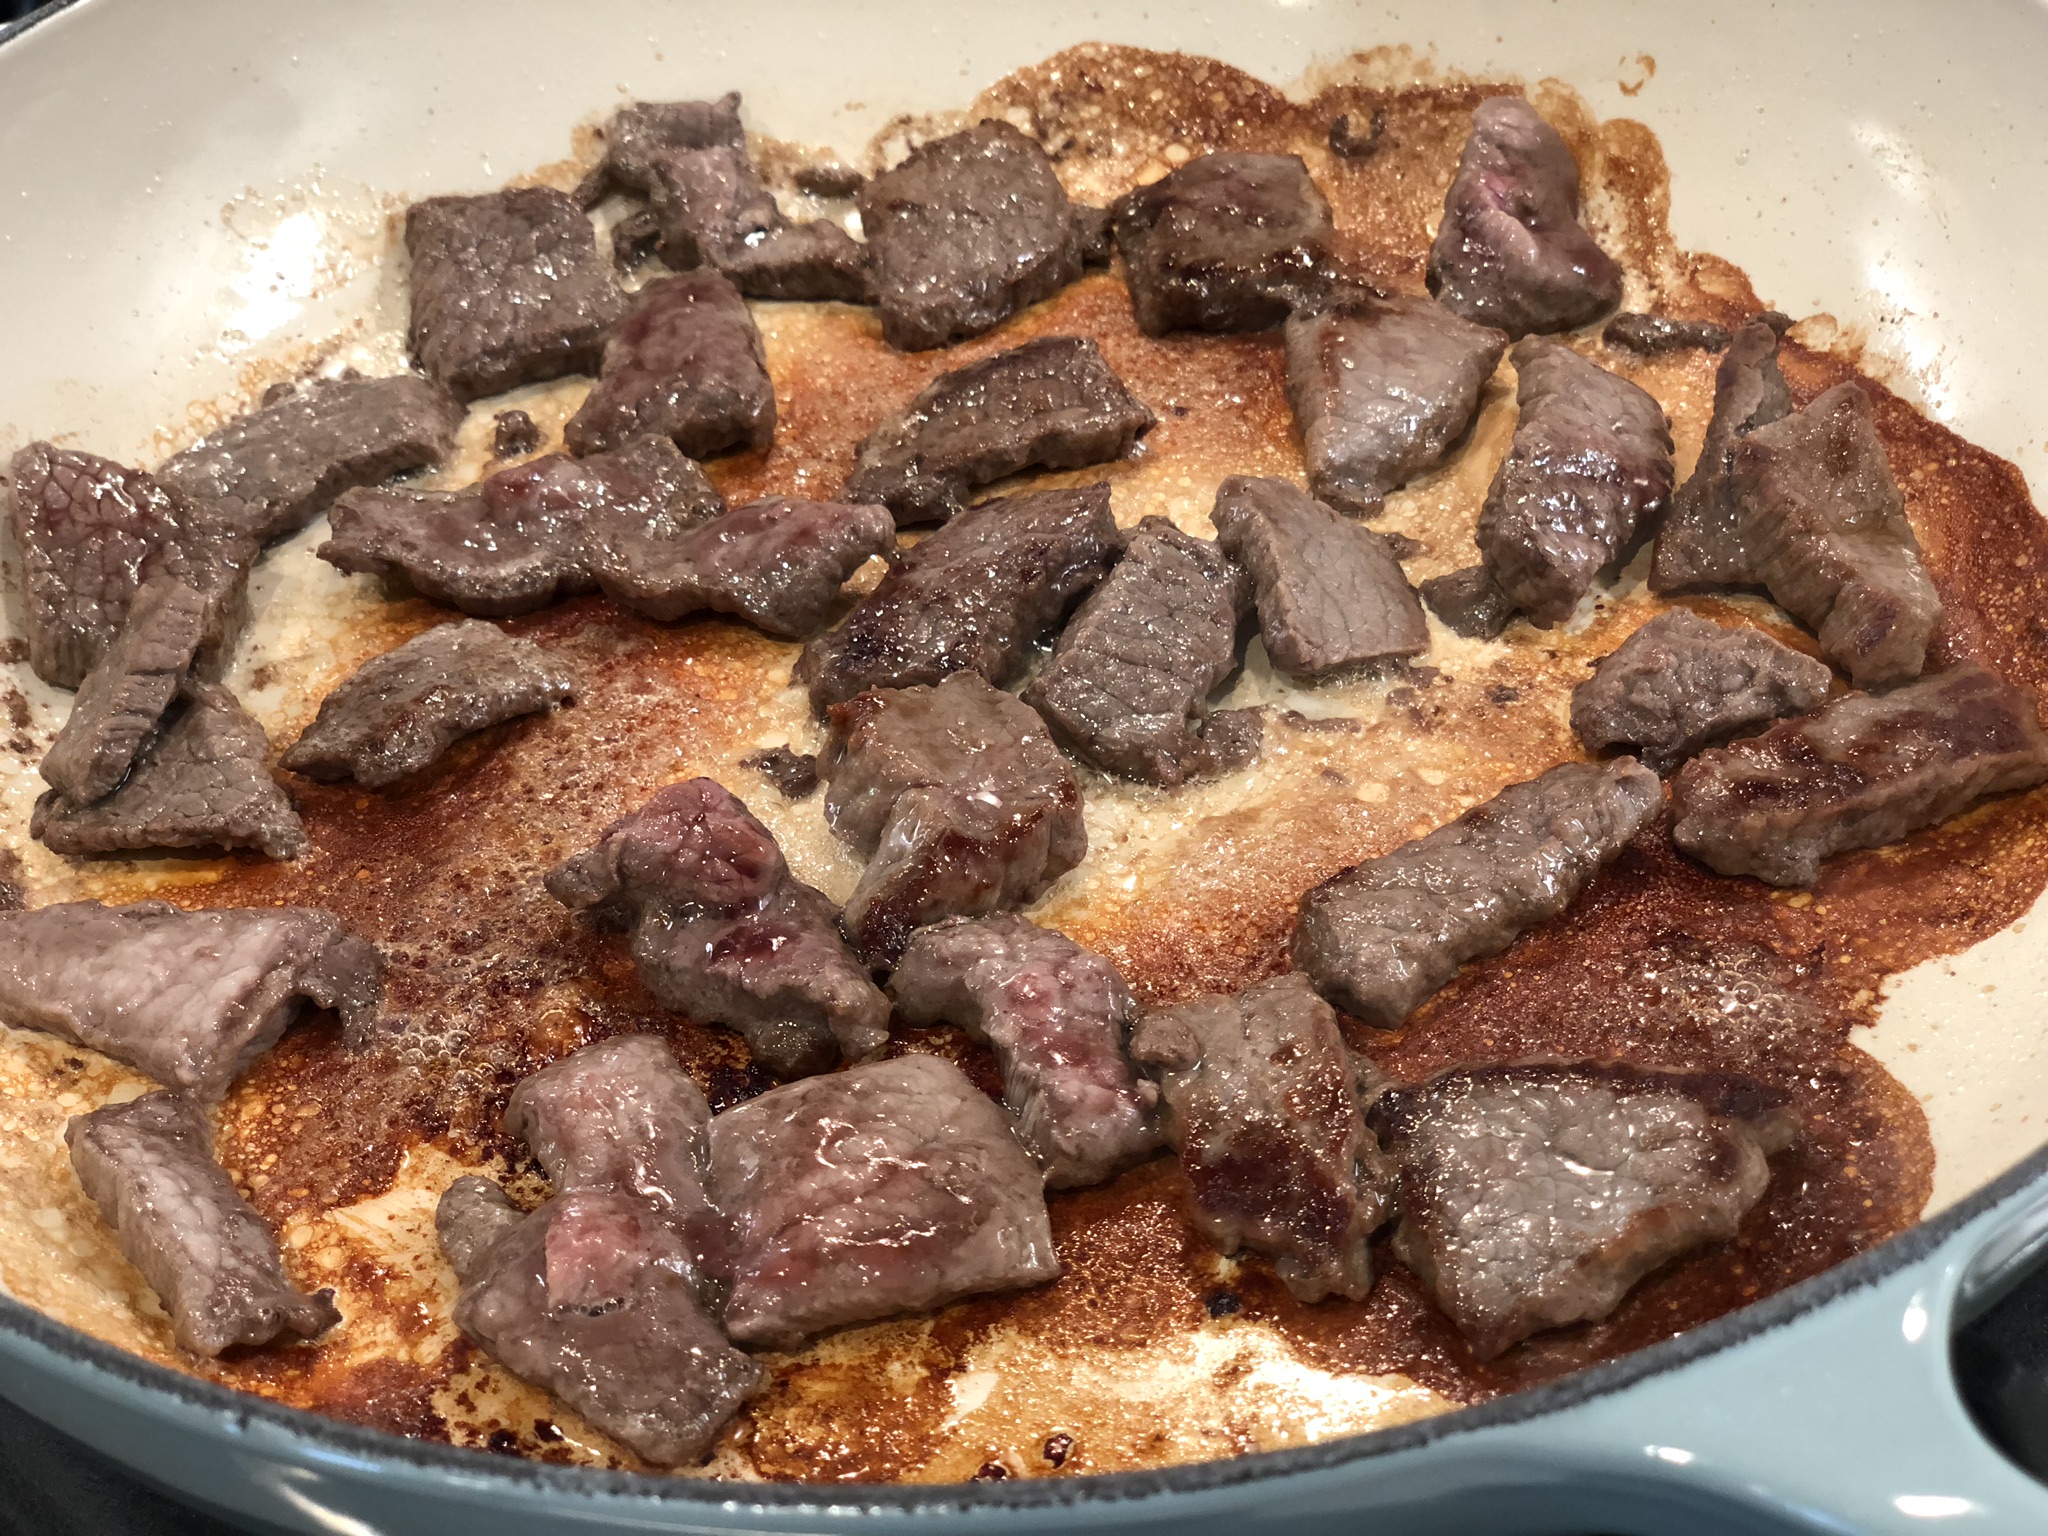
Once both sides of the first batch were done browning, we took the beef out of the braiser and set it aside in a metal bowl. We would get to it later.
We had to repeat the same process with the second half of the raw beef. The same rules applied. We started by putting one tablespoon of oil in the pan, then browned one side of the beef for 3 to 4 minutes. After that, we flipped the beef so the other side browned for 3 to 4 minutes. Then, we removed the beef and added it to the metal bowl with the beef that was already cooked. This meant all of our beef was now browned and sitting in that metal bowl.

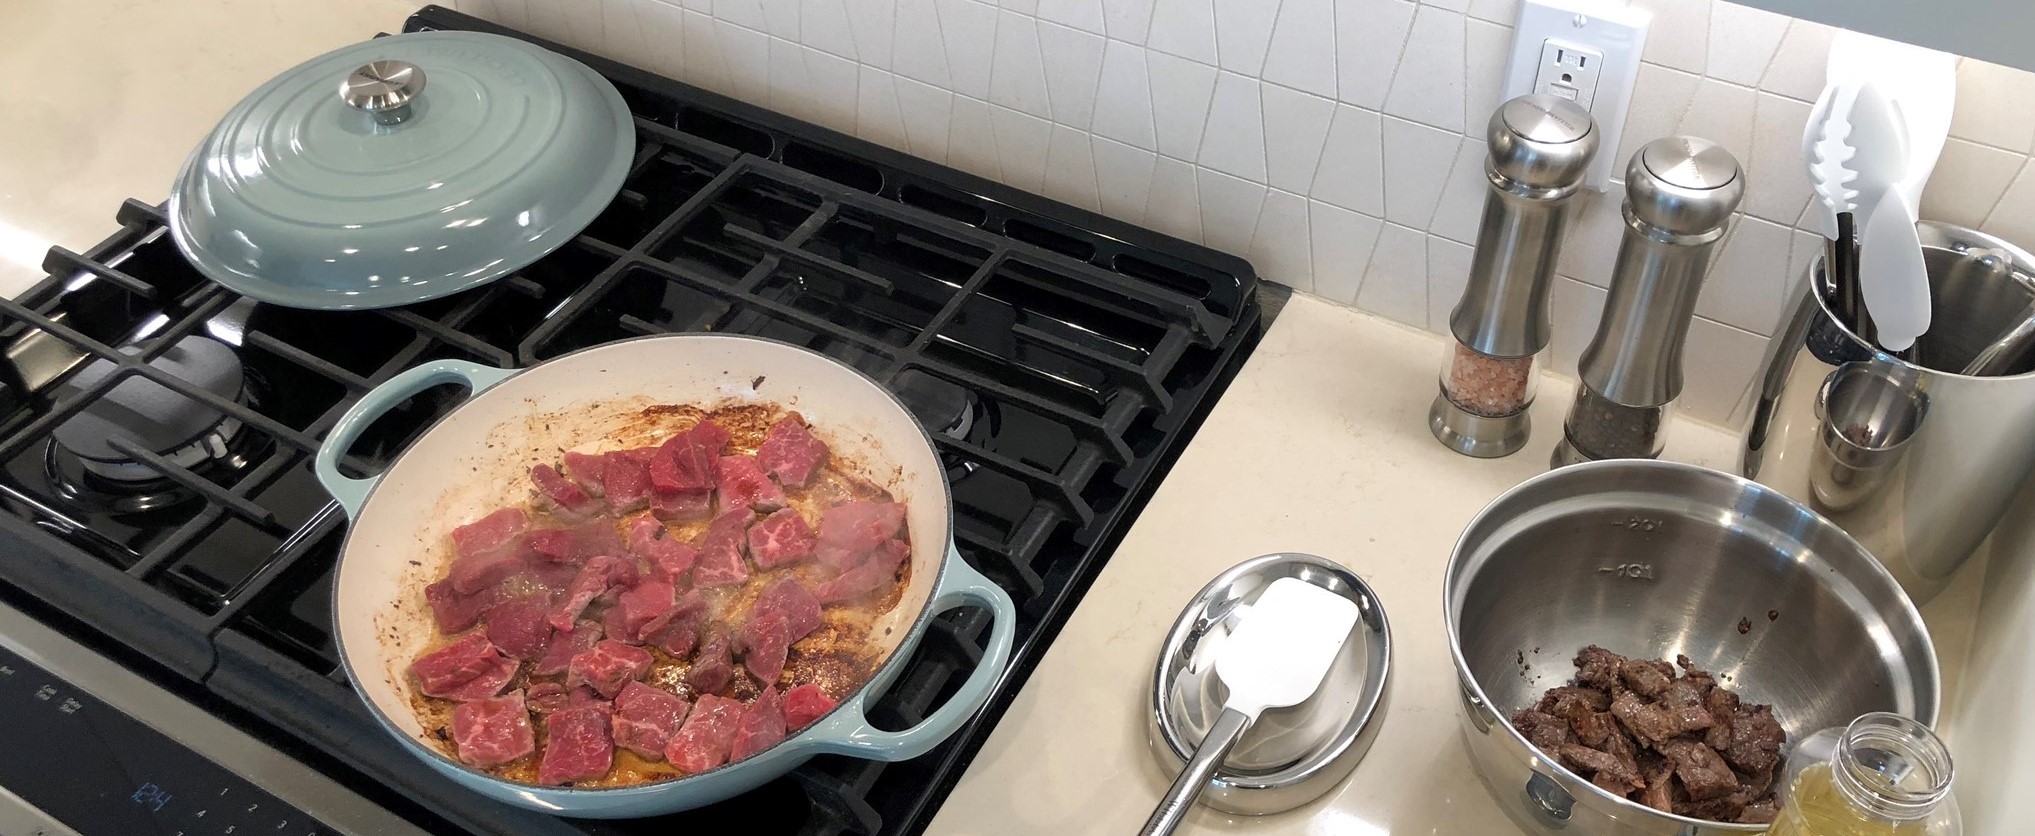
I took this when we were waiting for one of the batches of beef to brown. A friend of ours sent us a message – he is going to Korea in less than a week! – and I was responding for both of us.

With the process of browning the beef completed, and both batches set aside into a bowl, we were left with this. That beautiful brown stuff contains a lot of concentrated flavor. There is no way you can let that go to waste! Thus, the next step involved putting two tablespoons of oil in the pan this time, not the one tablespoon we had been using …
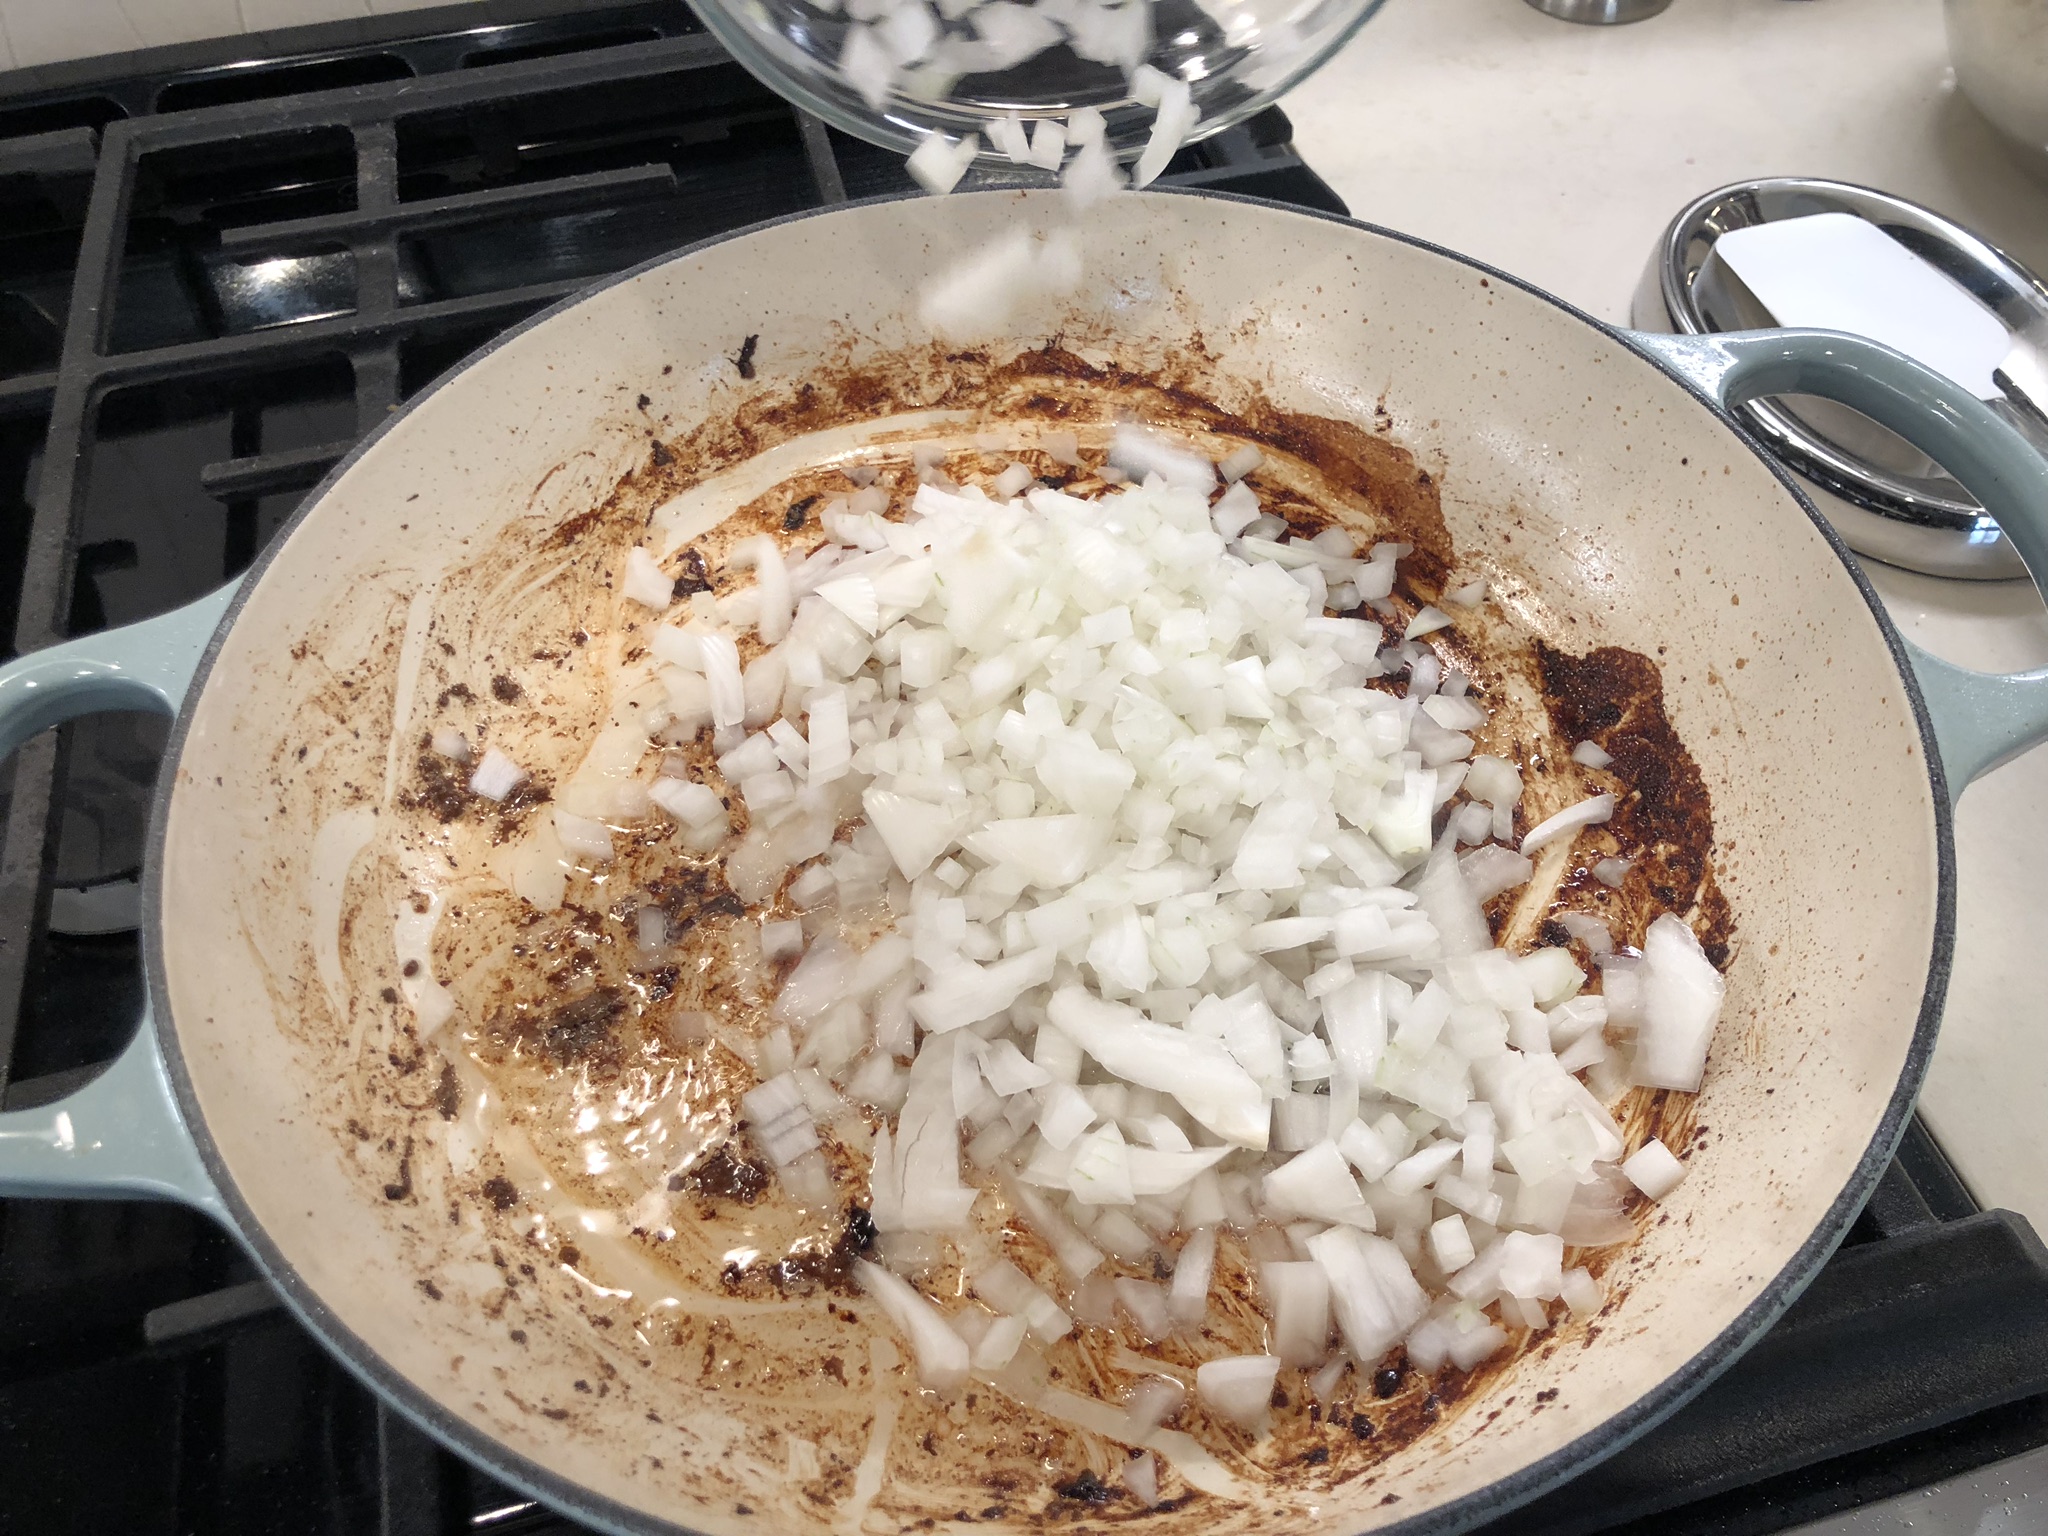
… then adding the finely chopped onion …
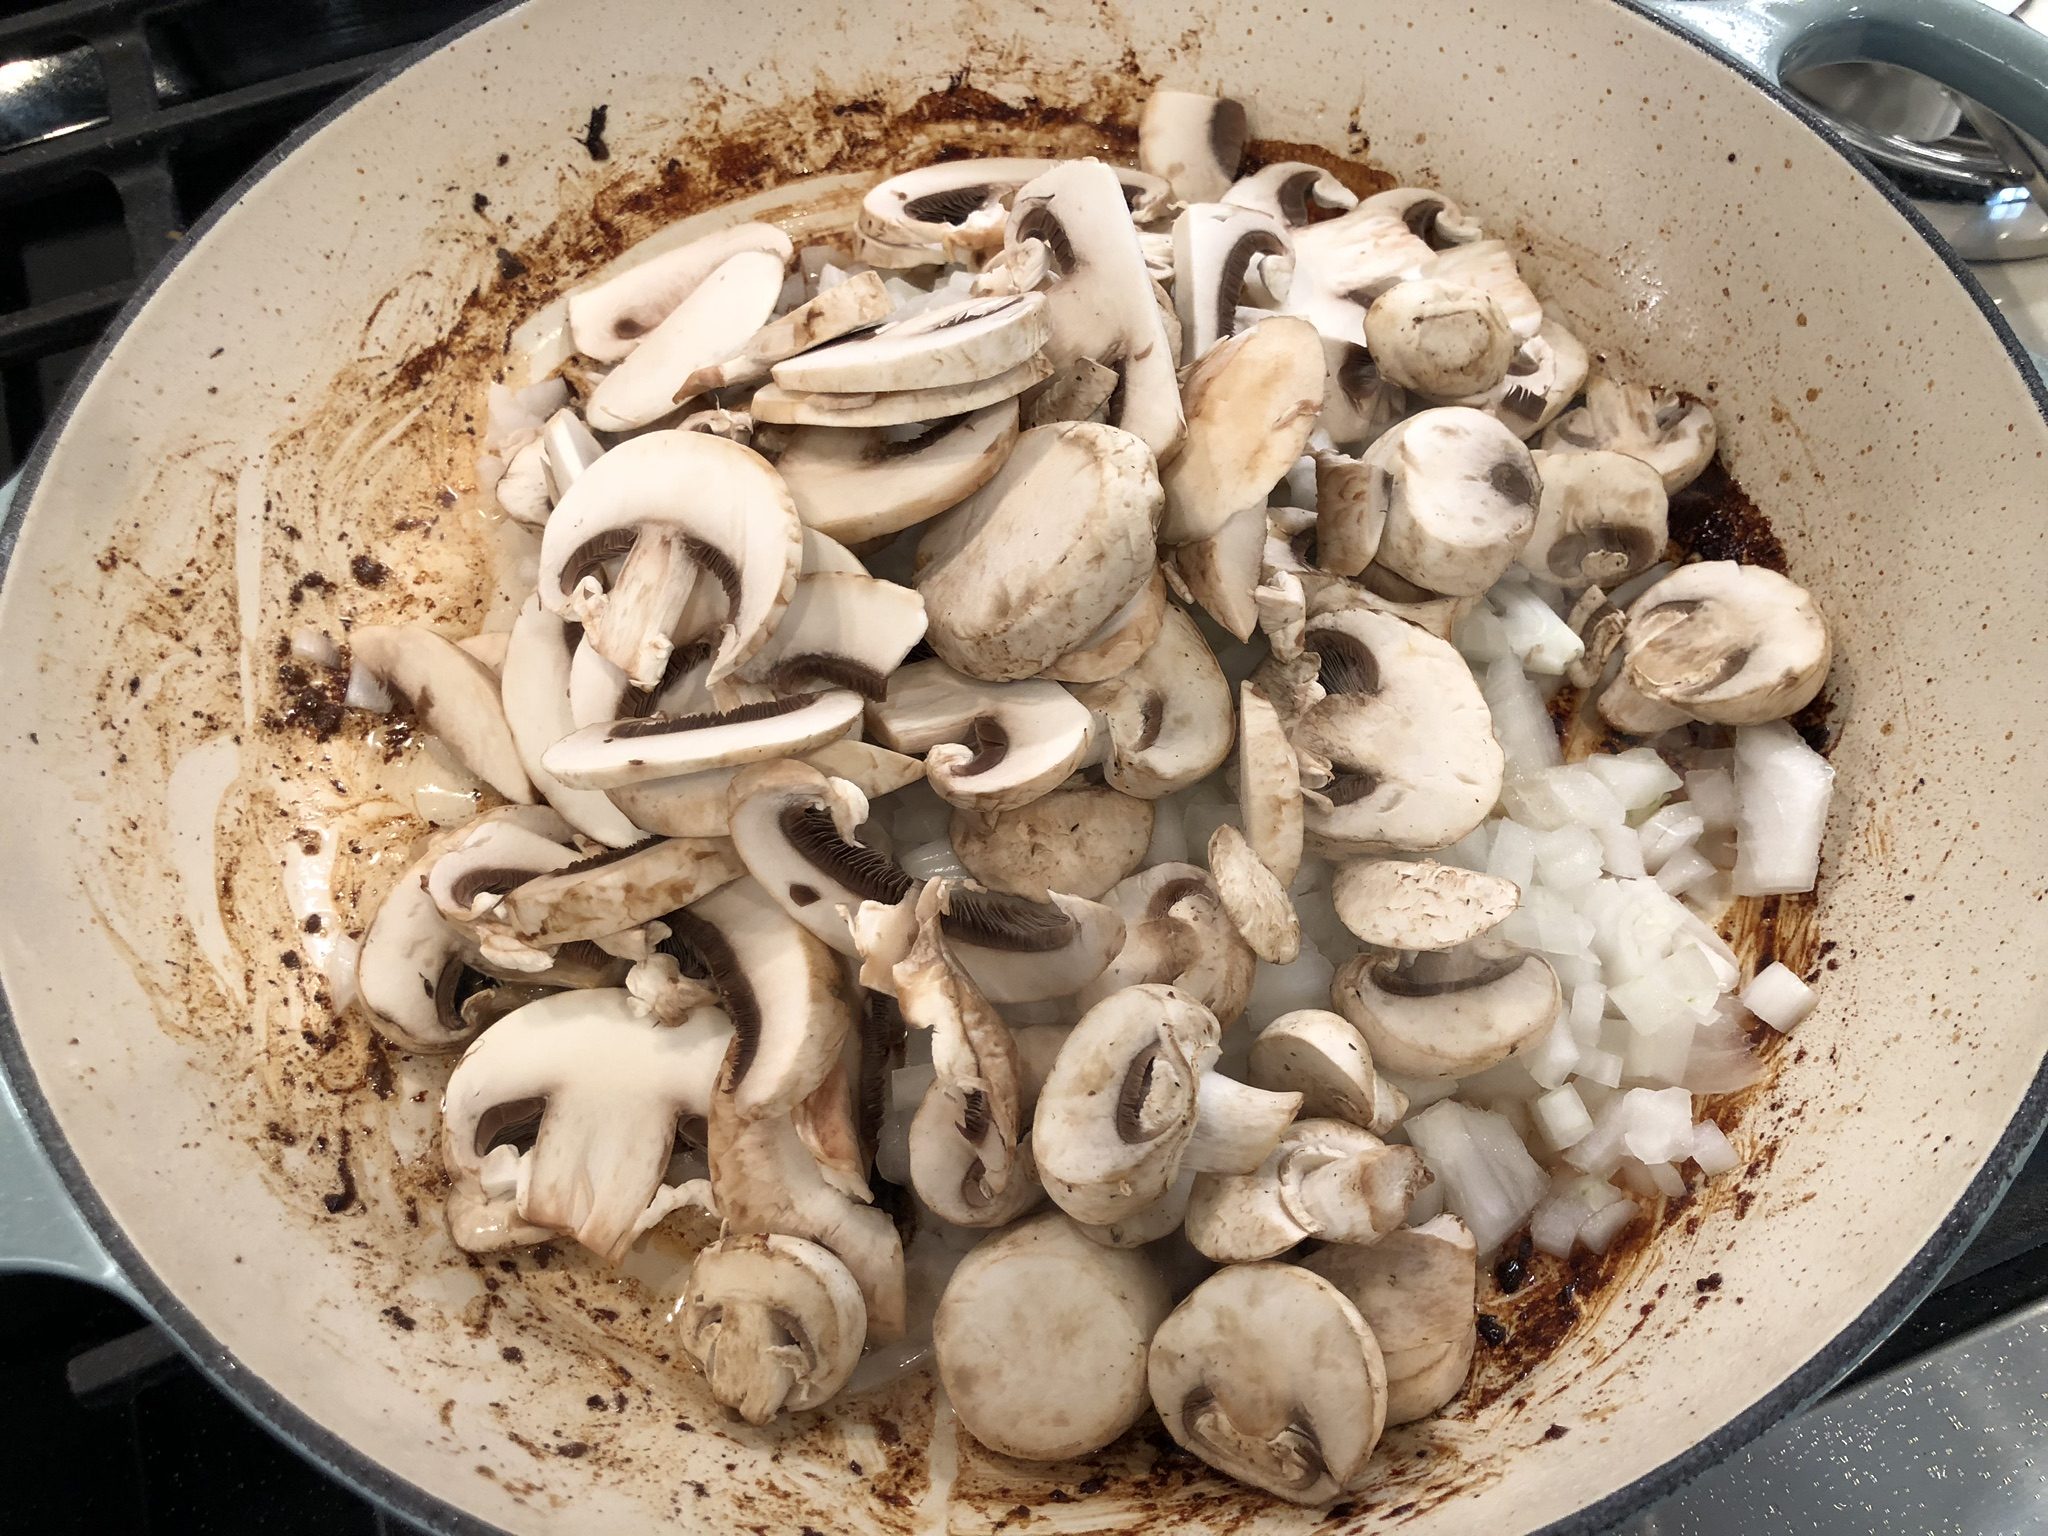
… then adding the mushrooms on top of that …
… then, finally, adding a 1/2 teaspoon of salt, stirring to avoid burning. We had to cook this until the liquid from the mushrooms evaporated, which the recipe estimated would take eight minutes. It also told us that if the braiser became too dry, we needed to add the accumulated beef juices from the beef we had set aside in the metal bowl earlier, giving us enough moisture to finish the job without burning the vegetables.
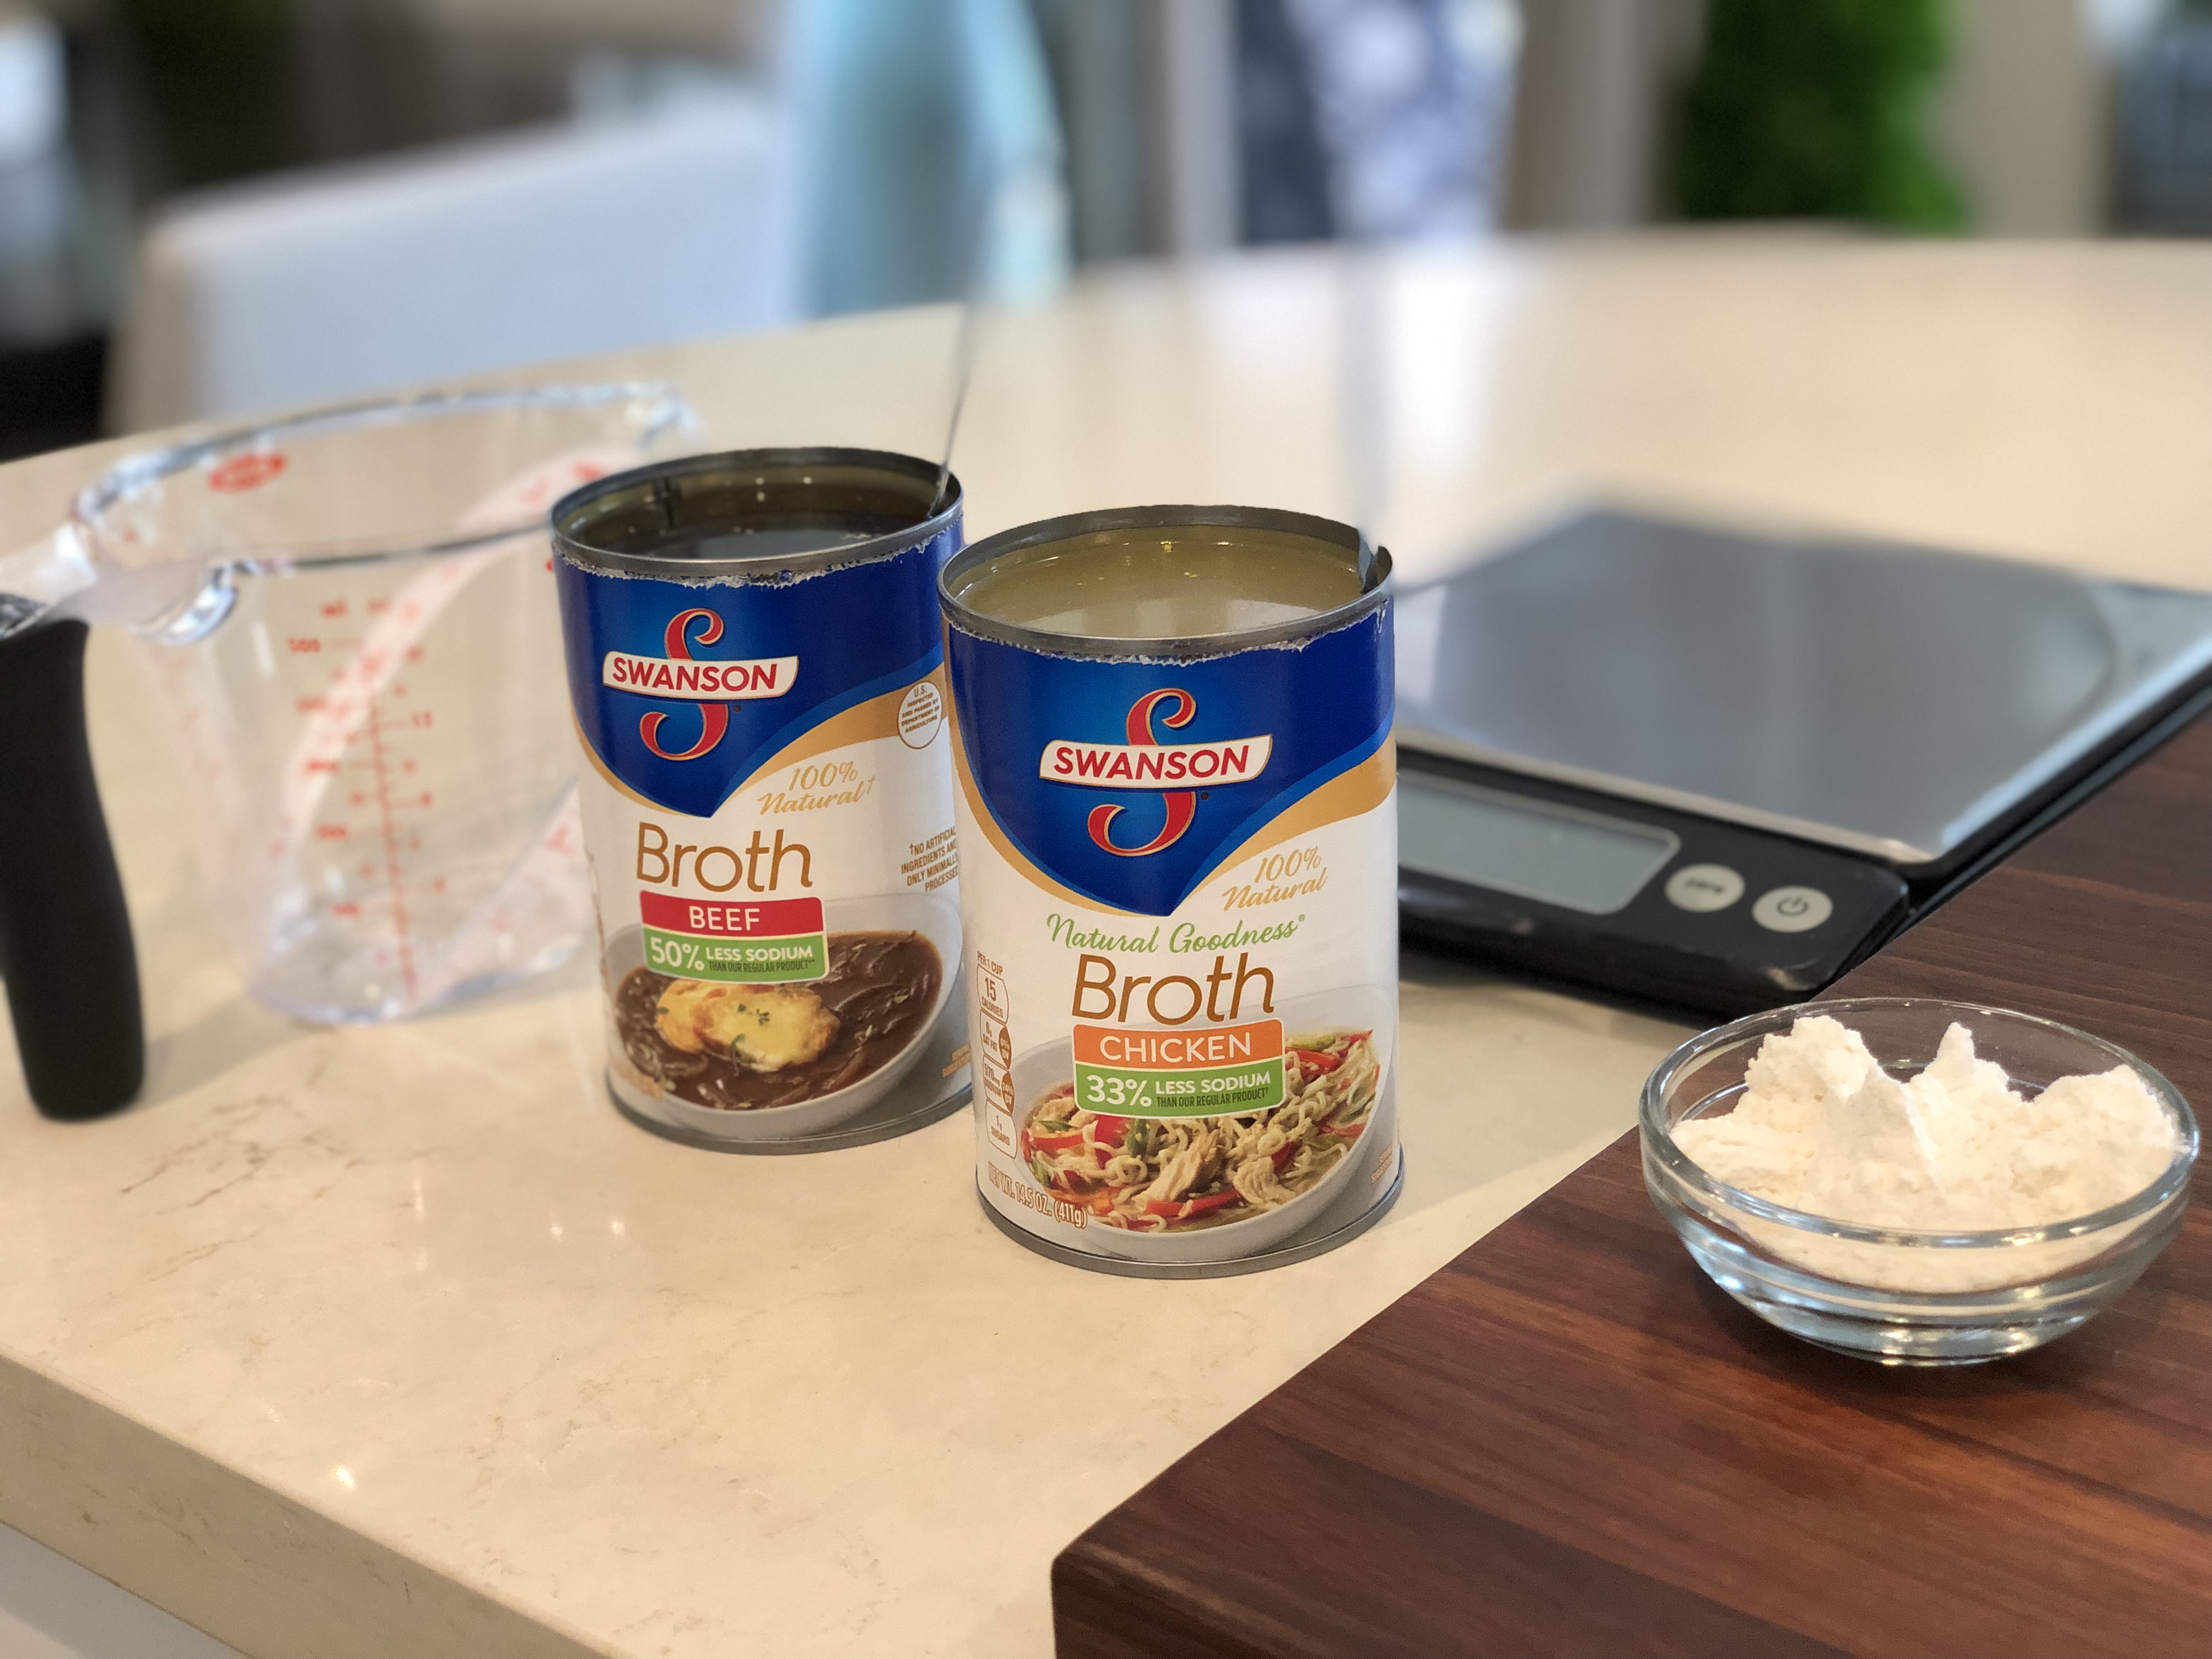
While that was happening, we needed to prepare 1.5 cups of low-sodium beef broth, 1.5 cups of low-sodium chicken broth, and 2 tablespoons of all-purpose flour. To avoid burning the Beef Stroganoff when the flour is added, these steps needed to happen quickly so we wanted the ingredients ready to go.
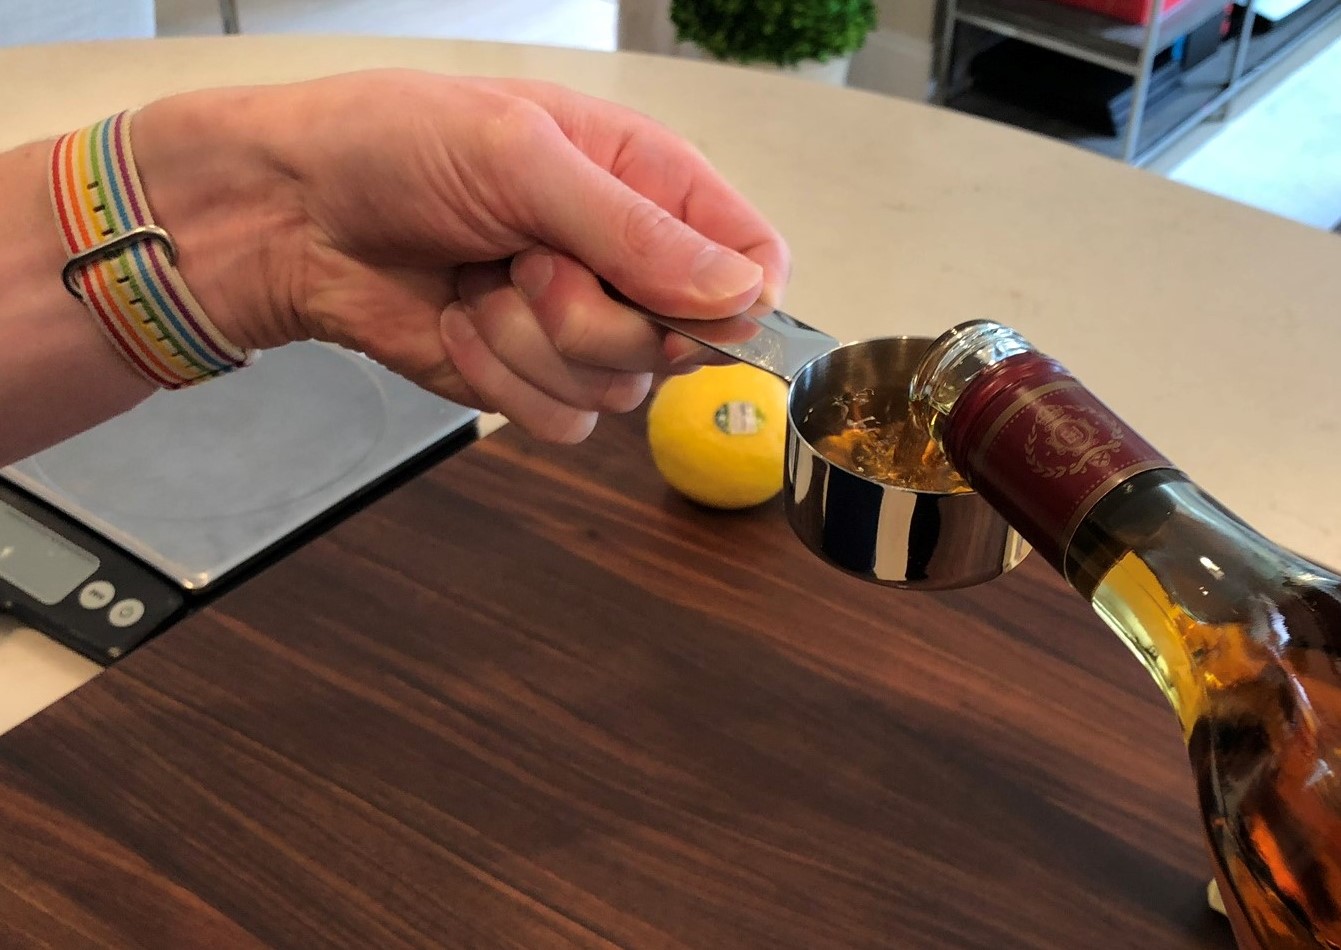
You might want to measure out the 1/3 cup of brandy you’ll need, too. More on that in a bit.

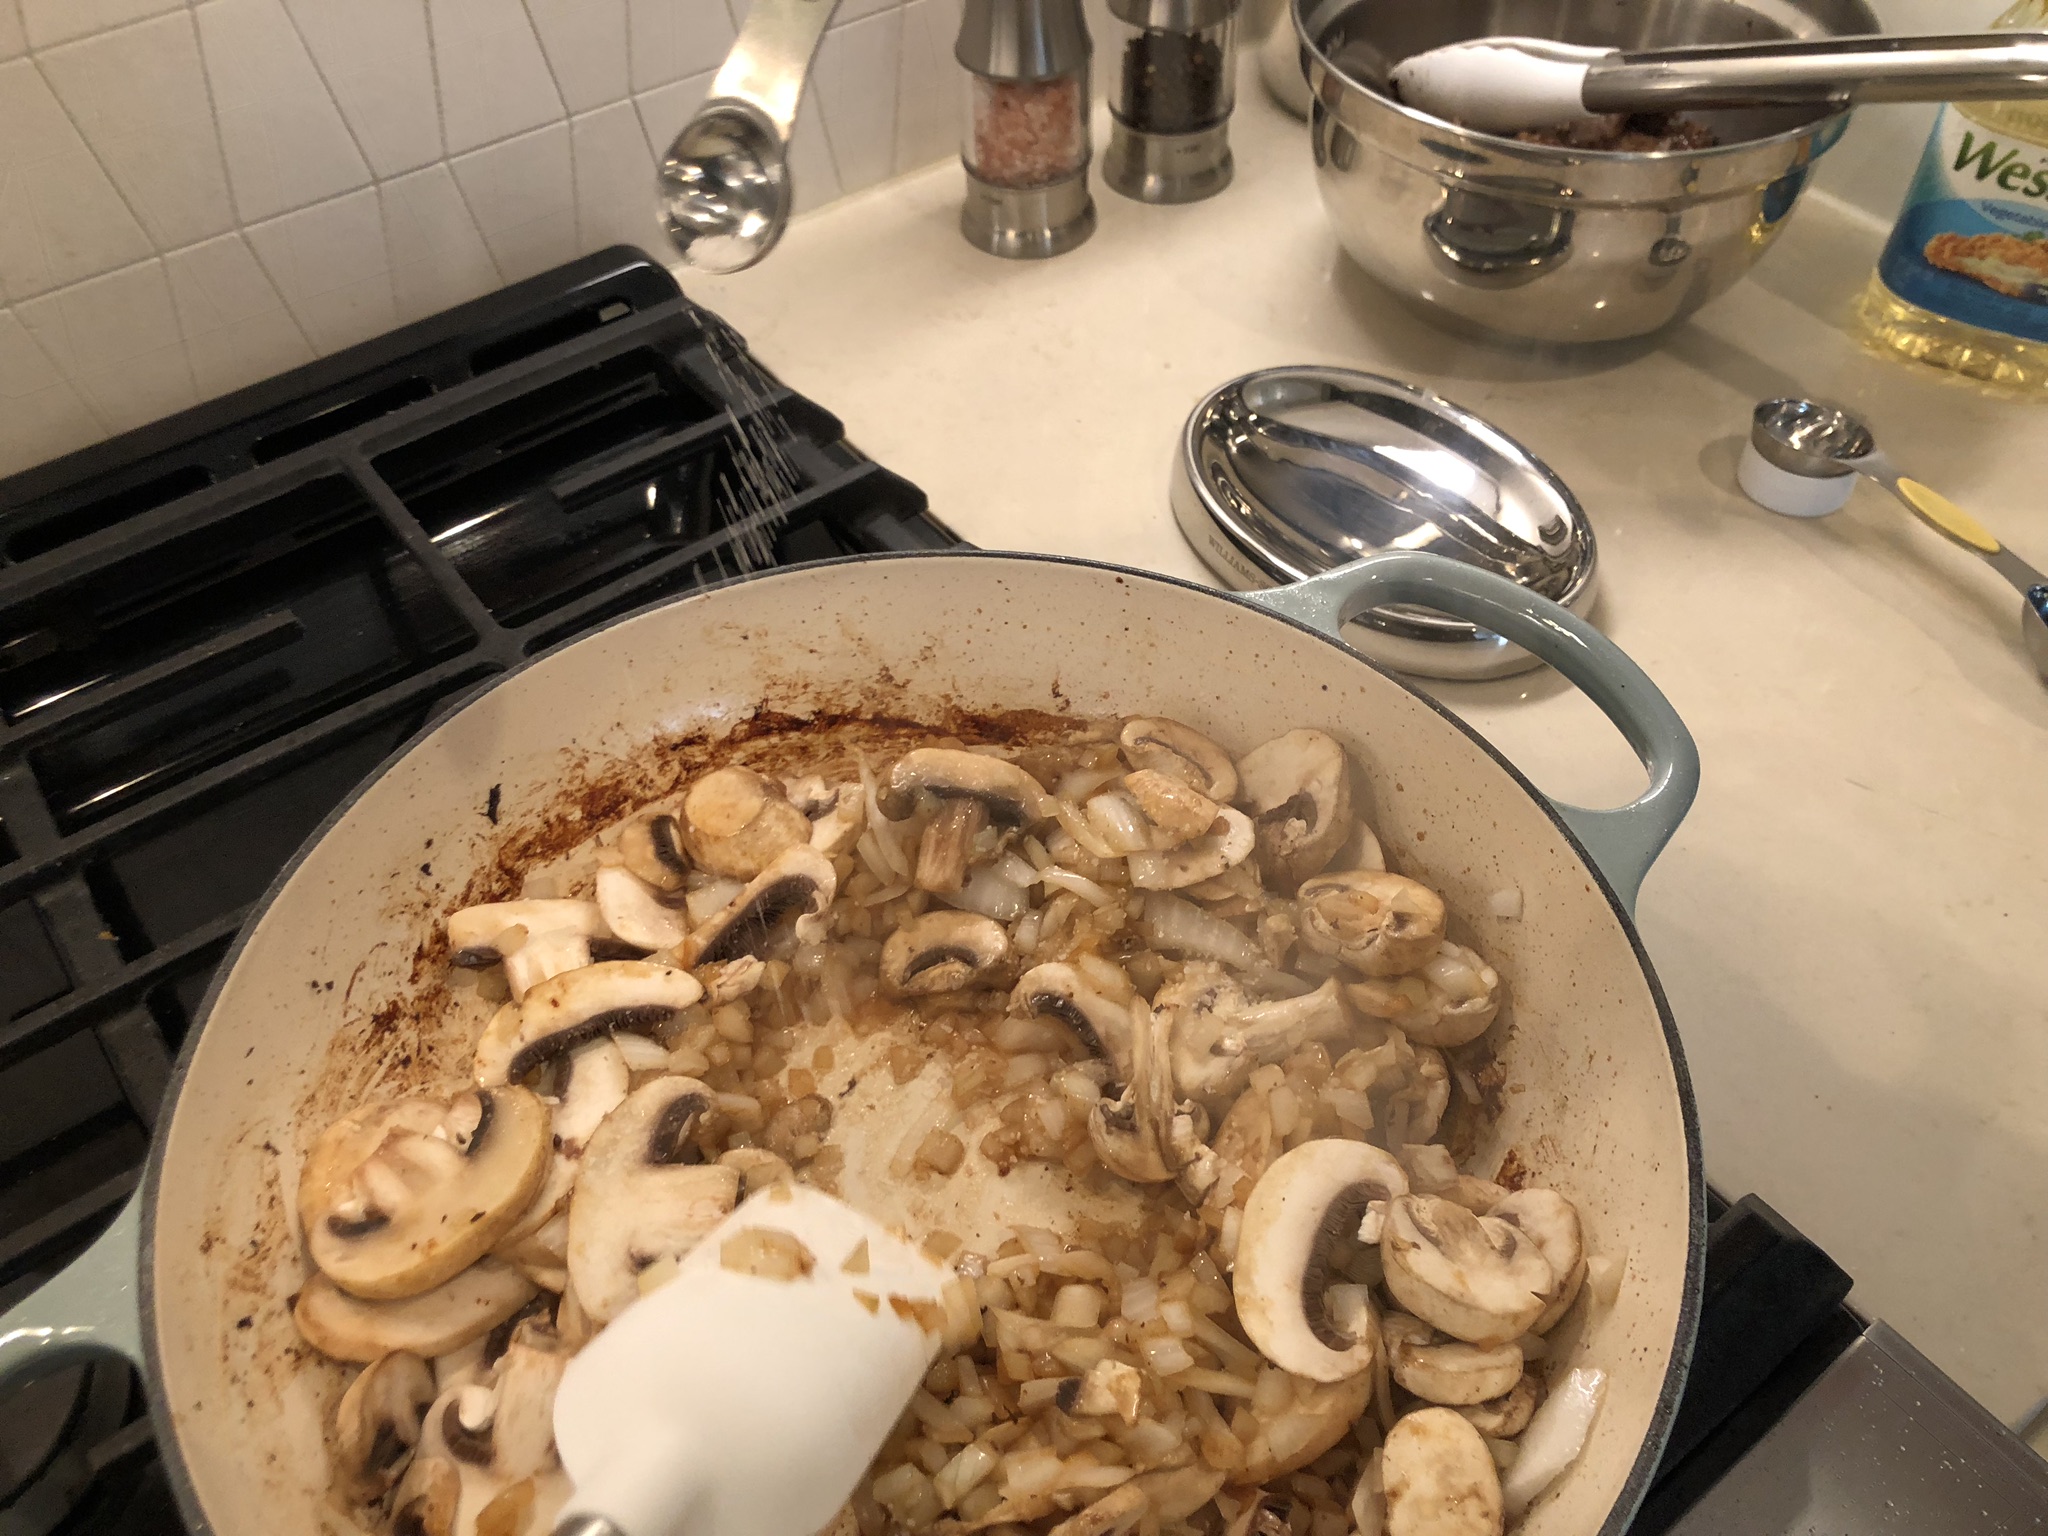
Okay, back to the mushroom and onion base that were on the stove … this looked about right so we needed to move on to the next step.
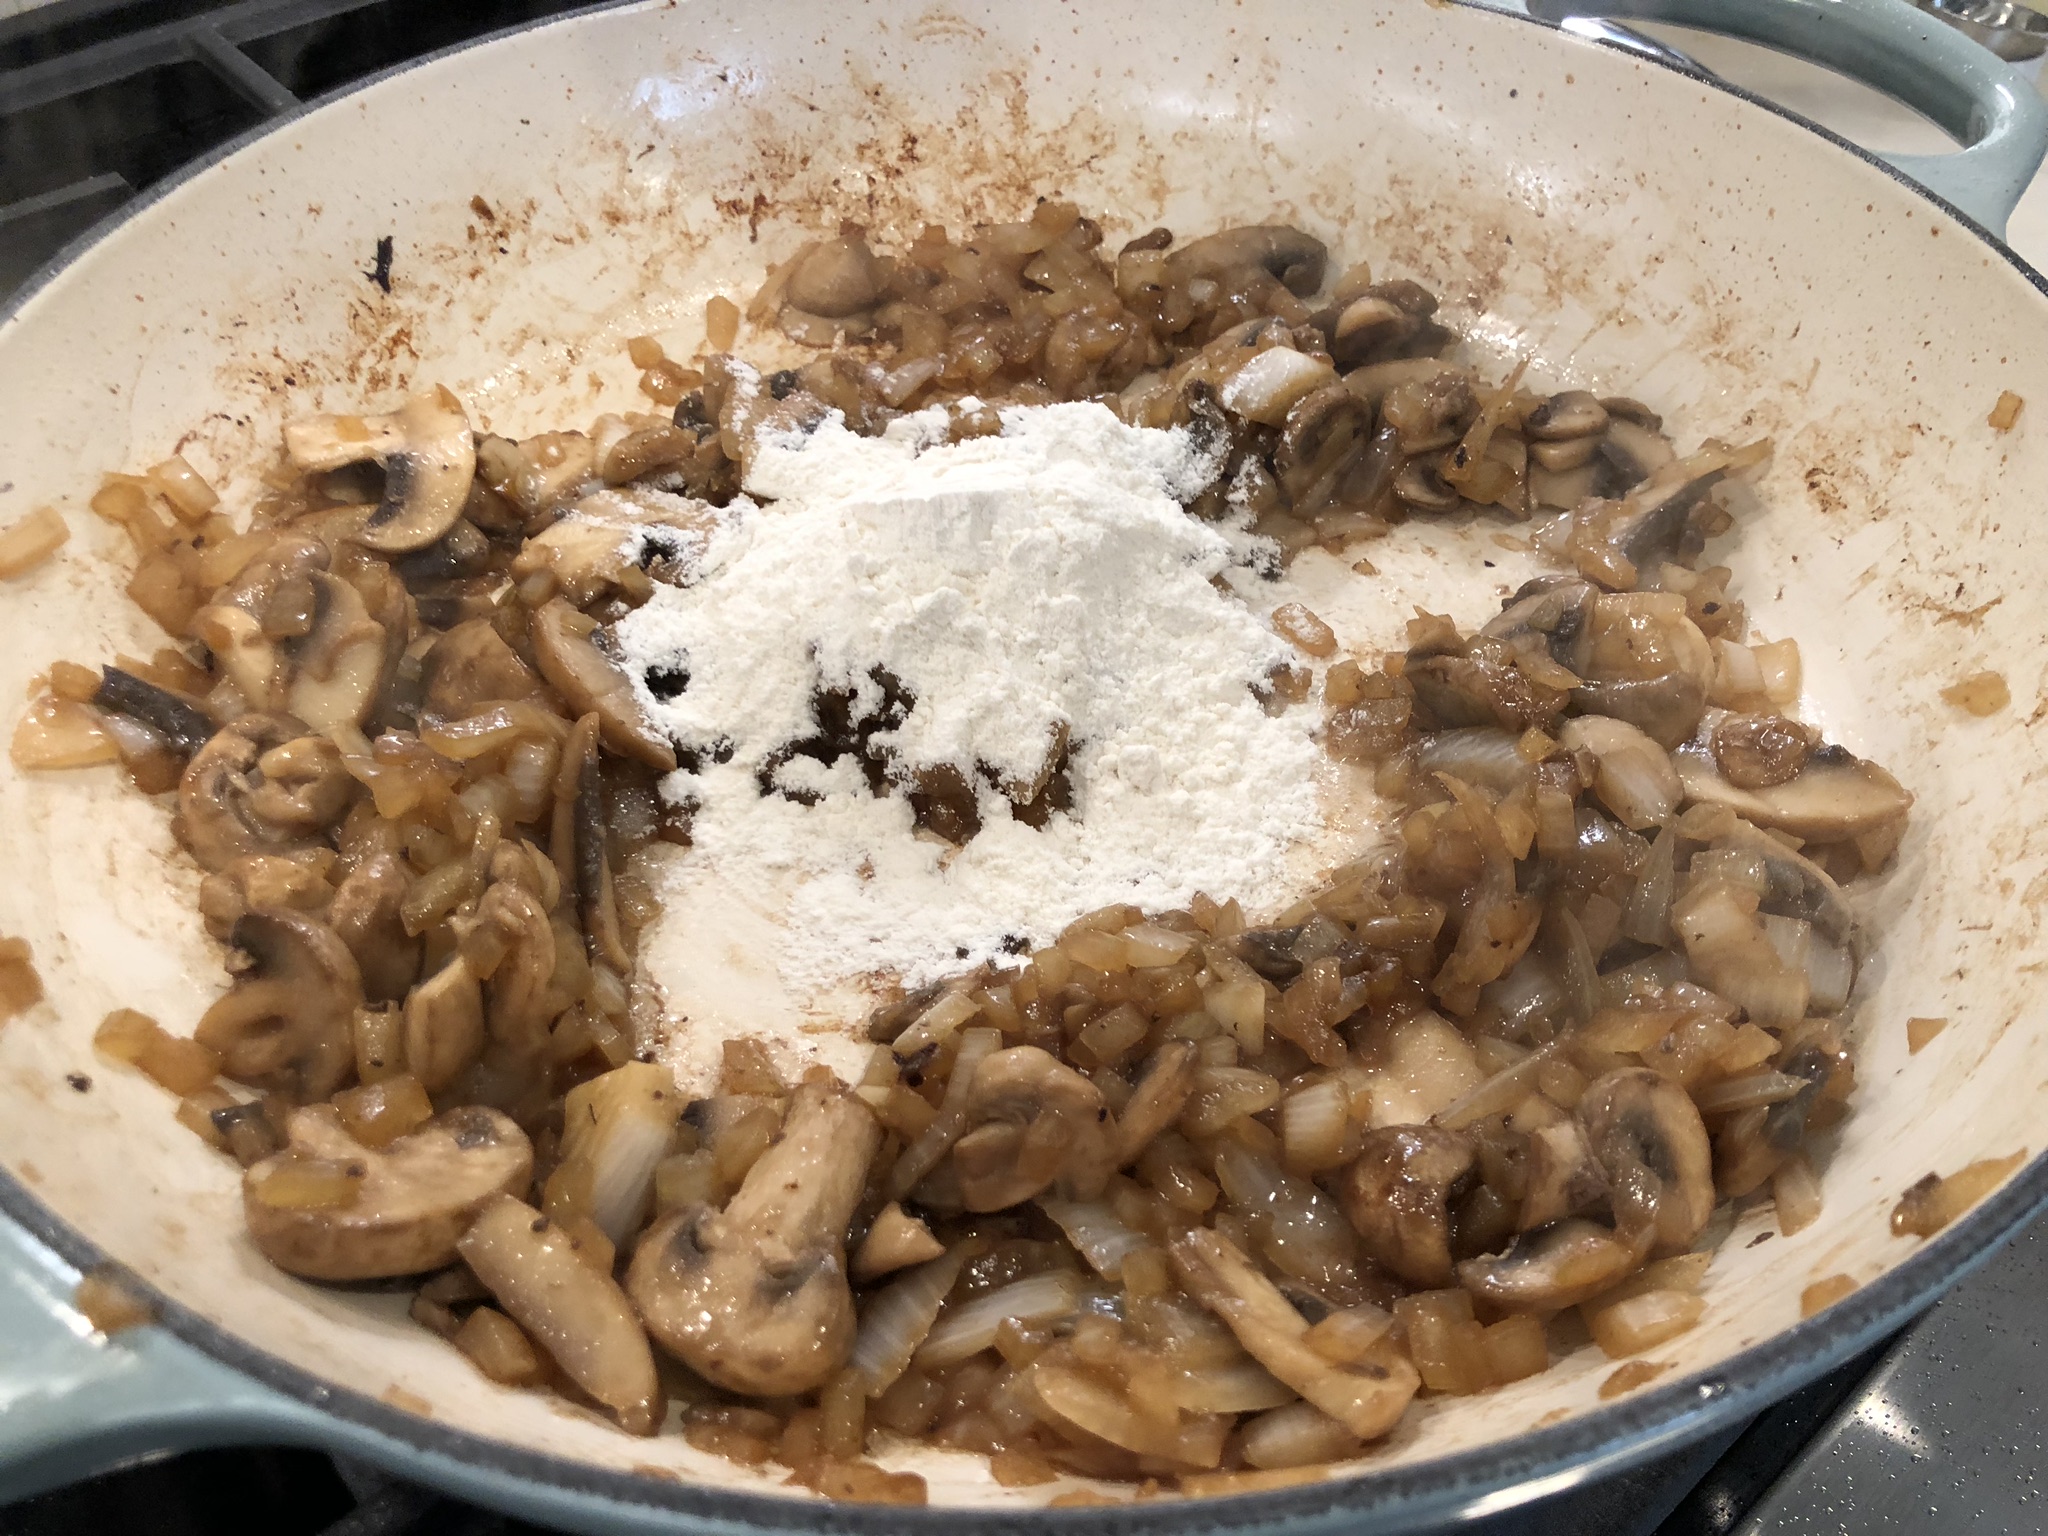
We added the two tablespoons of all-purpose flour, stirring it into the vegetables until it thickened significantly, almost to a paste-like consistency. As I mentioned a few moments ago, it was important to act quickly during this step once we had fully mixed in the flour because we needed to add the liquids to avoid burning the contents of the braiser. Then, we …
… added the 1.5 cups of low-sodium beef broth …
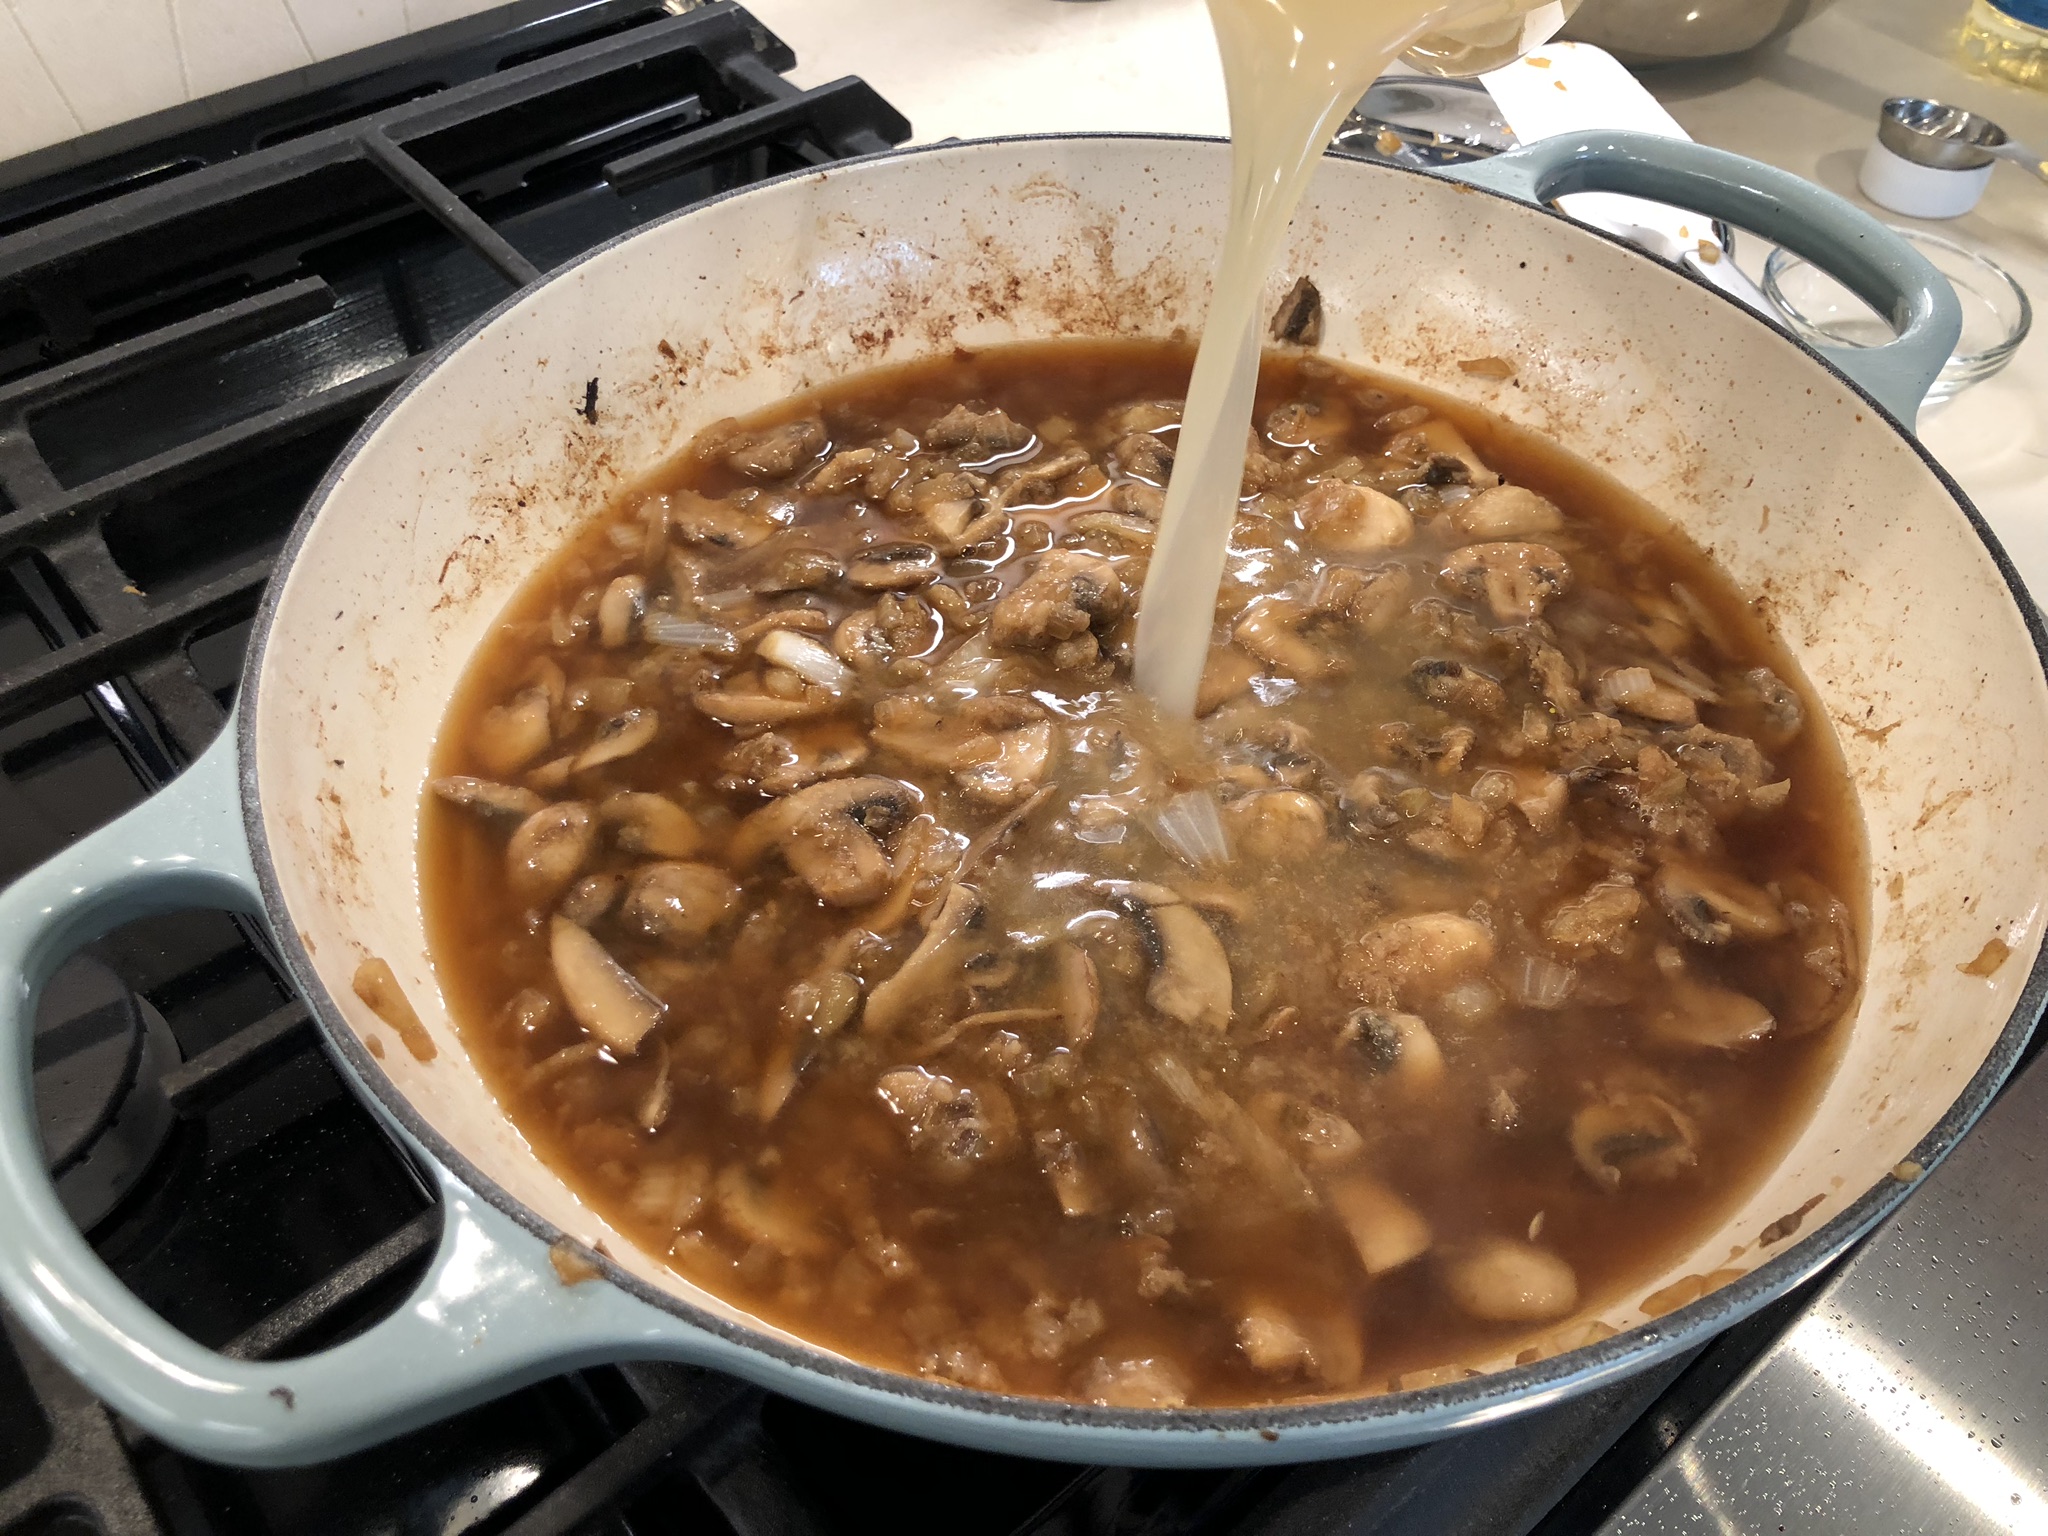
… followed by the 1.5 cups of low-sodium chicken broth …
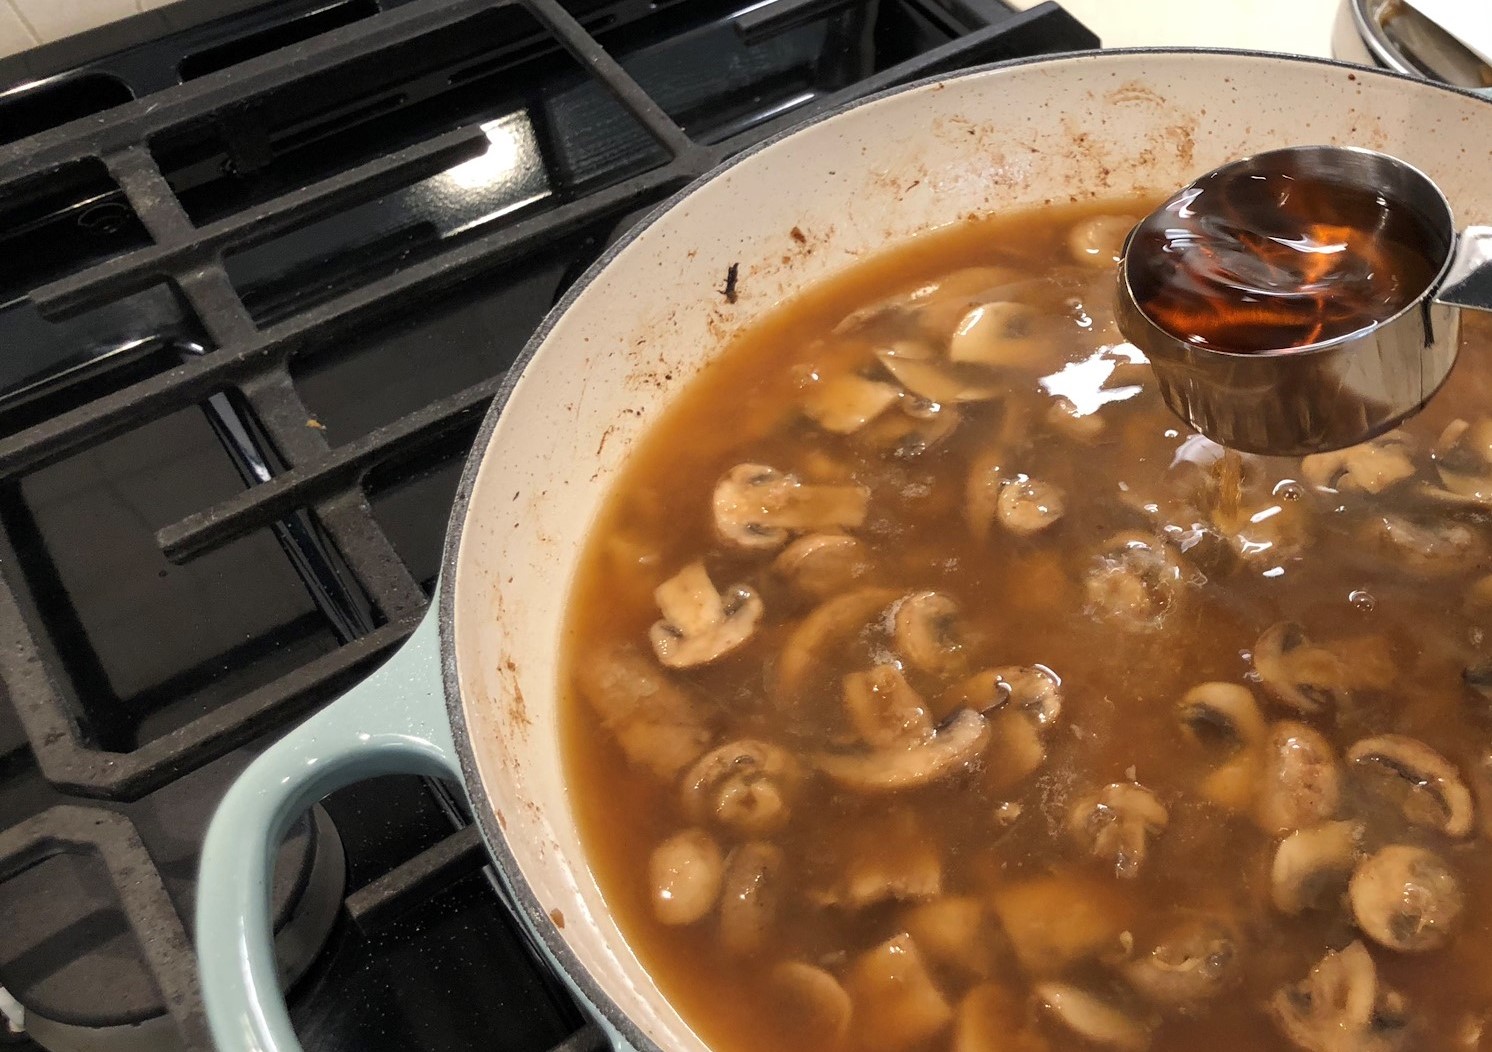
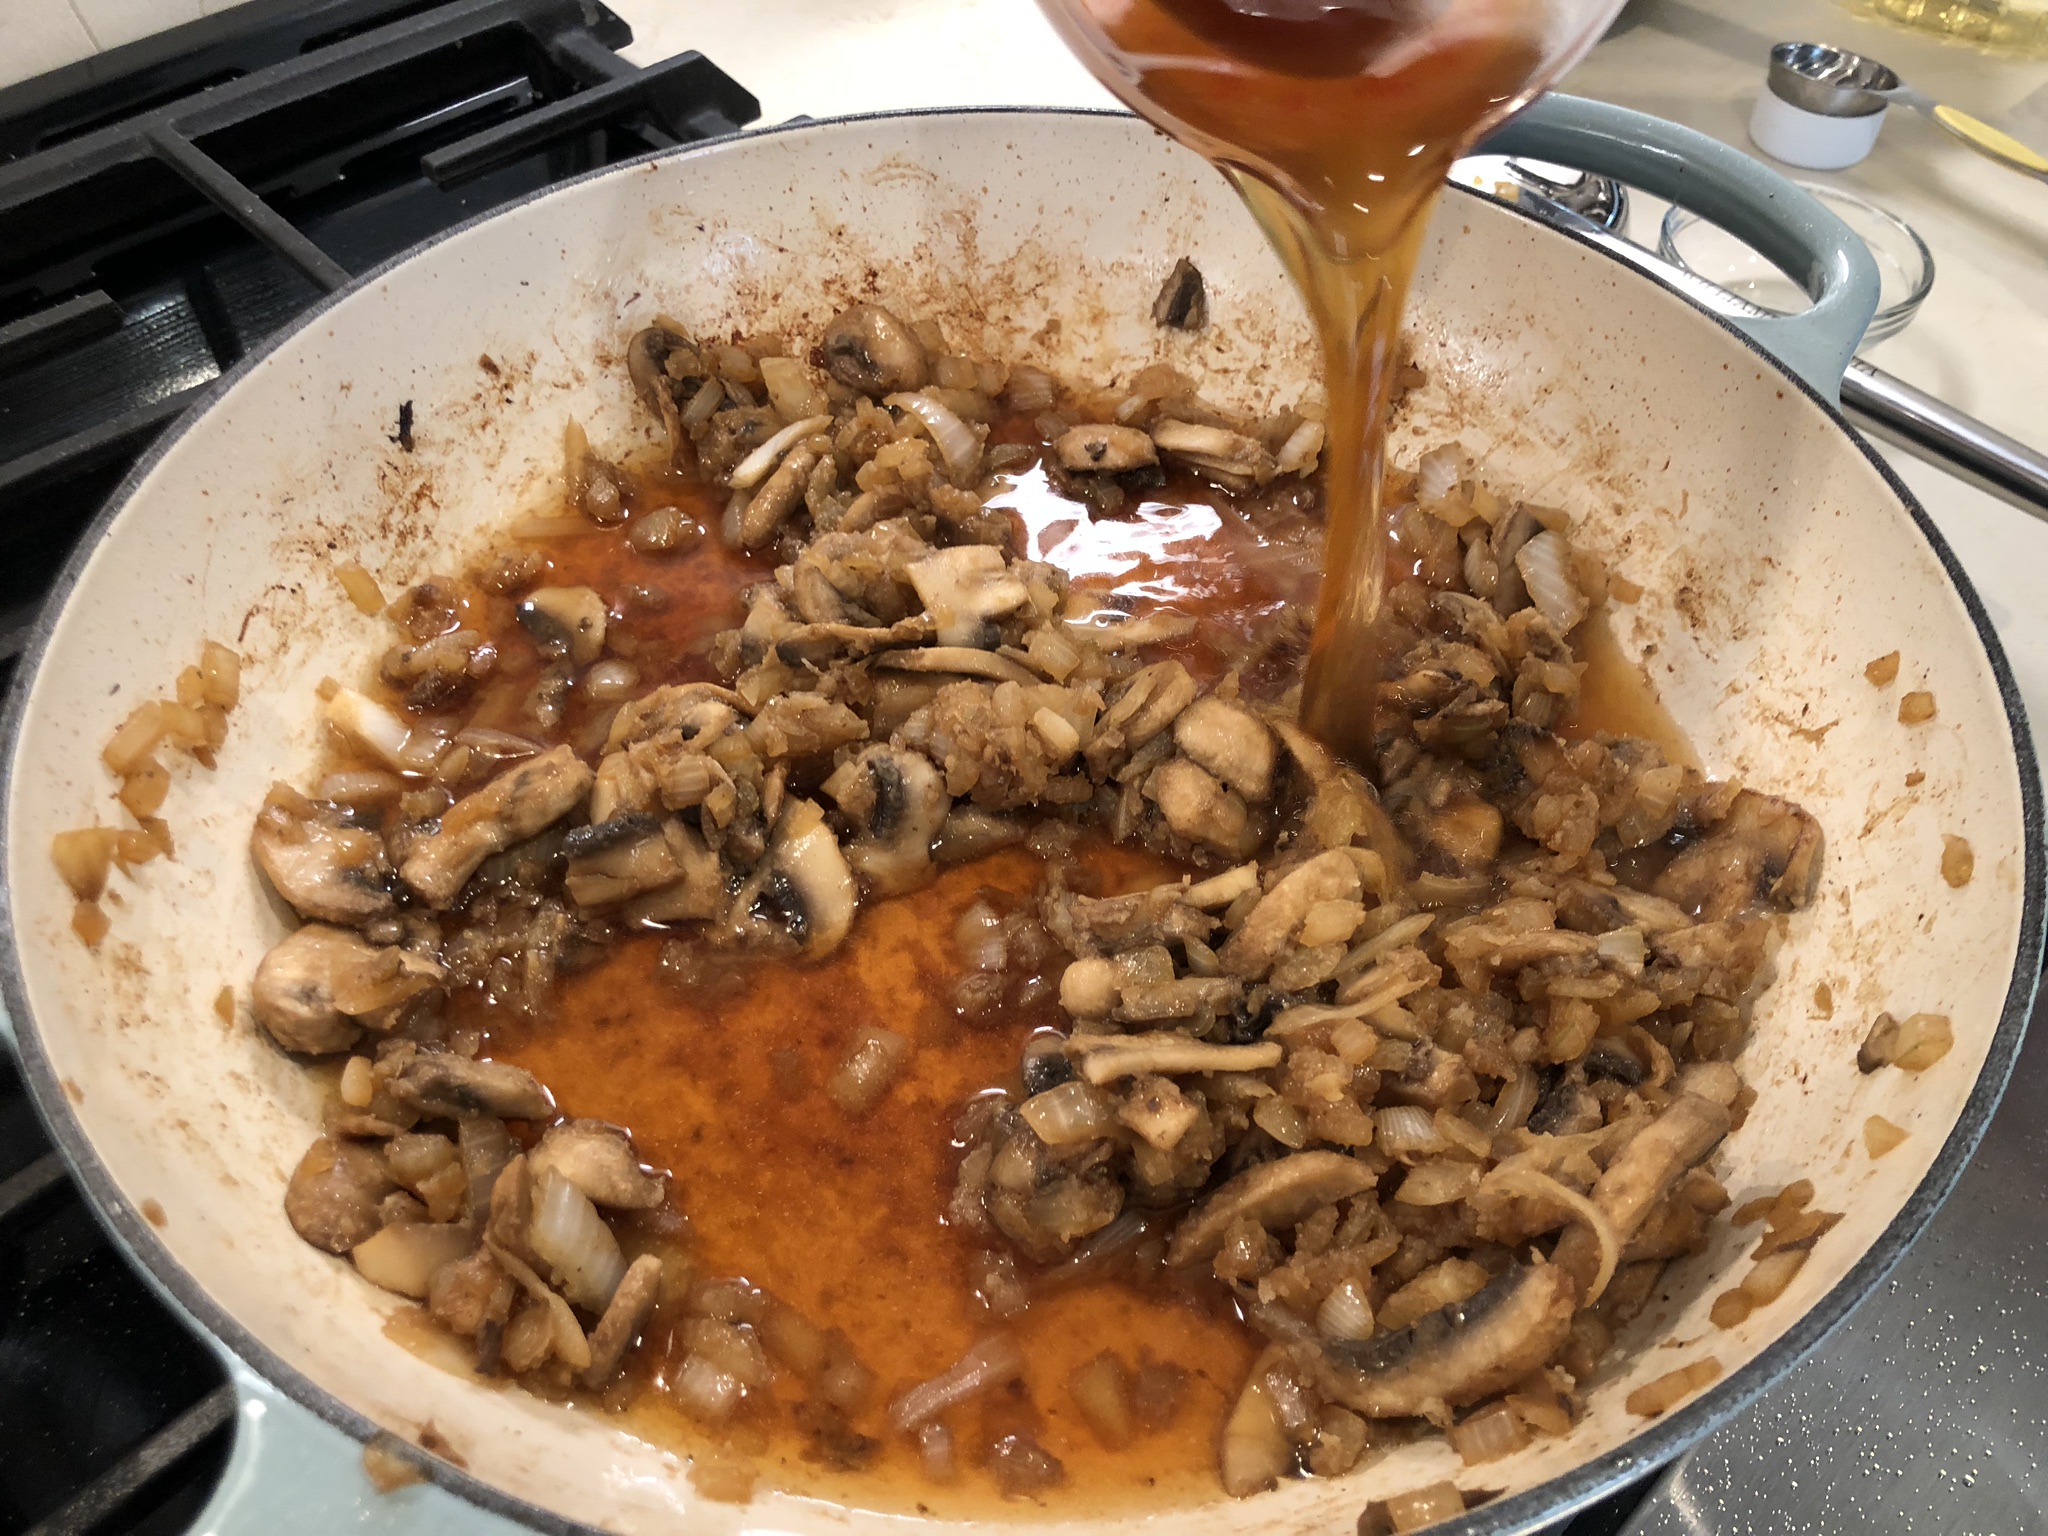
… then the 1/3rd cup brandy (we did it in this order because if you add alcohol to hot cookware and the temperature is sufficiently high, it can ignite, causing a fire) …
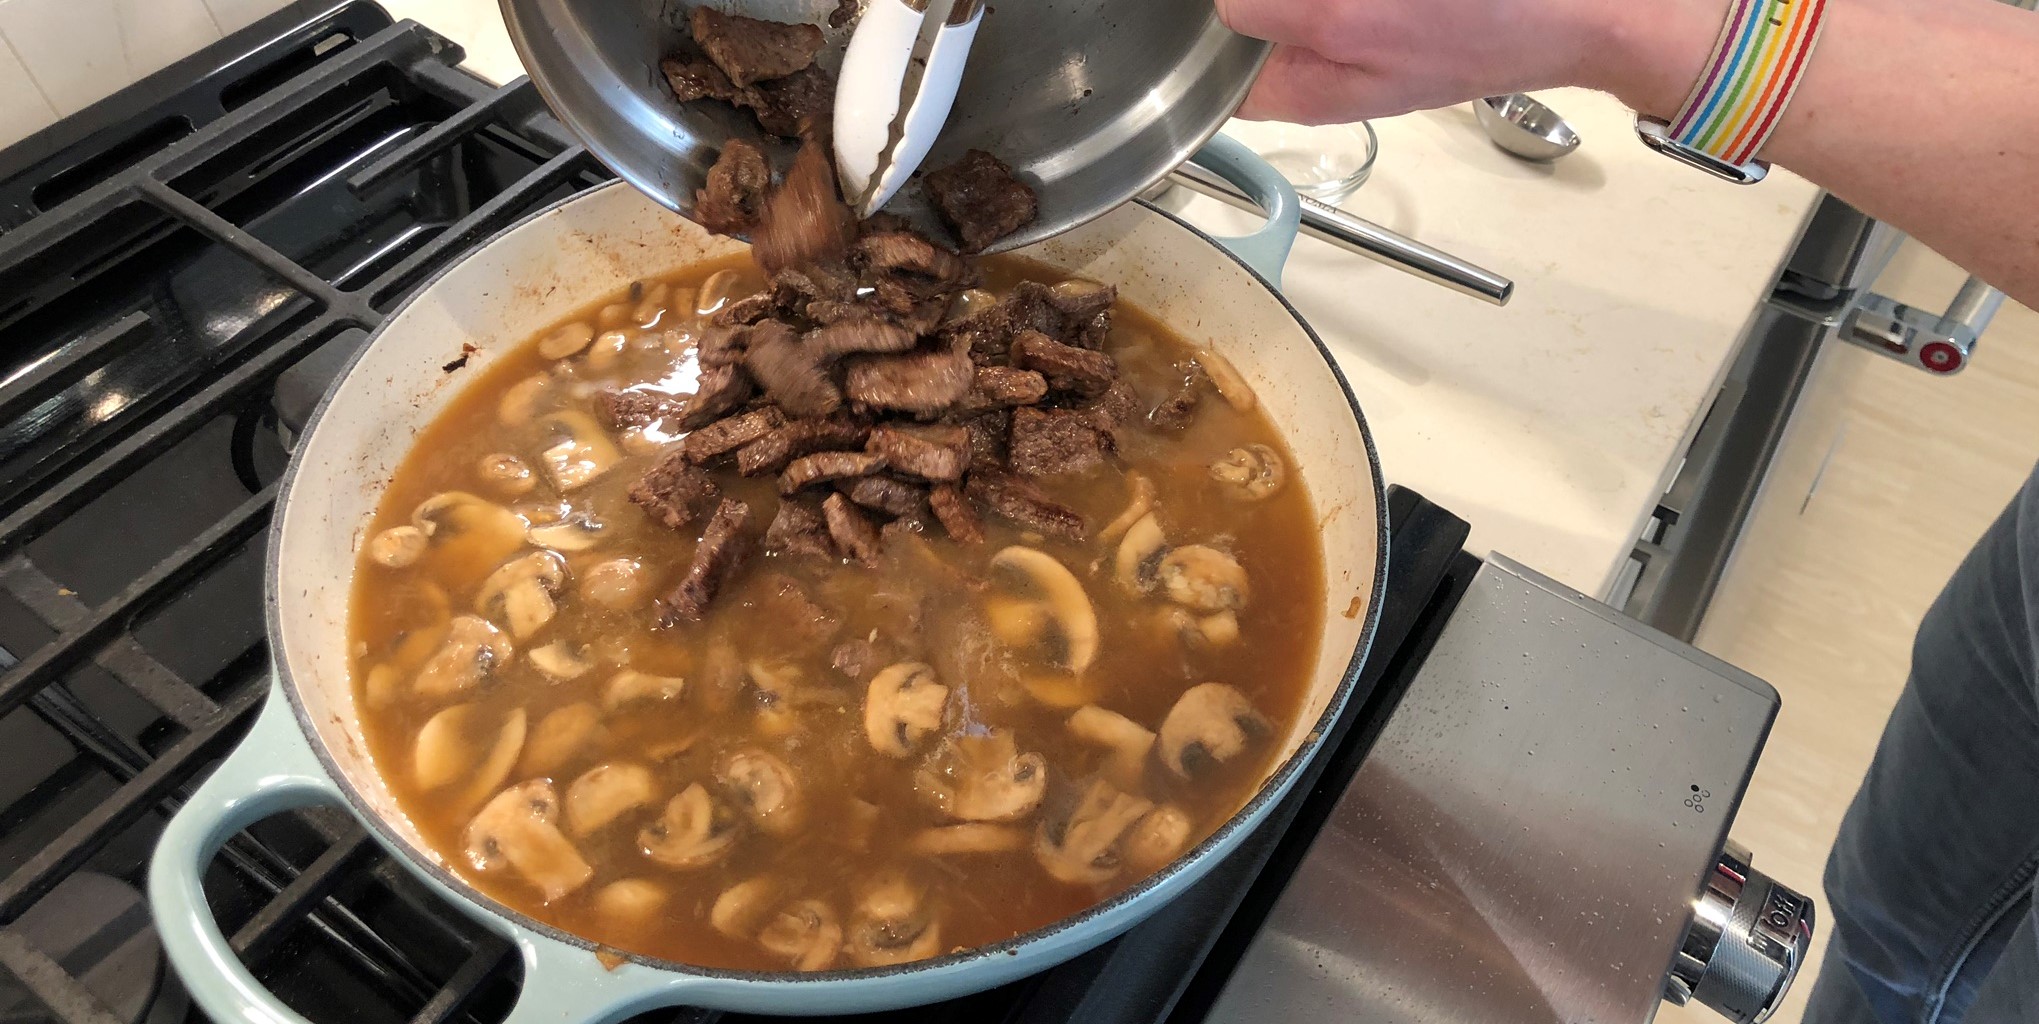
… and last but not least, all of that wonderful browned beef we set aside earlier in the process. It’s important to also get all of the juices that accumulated added to the braiser, too, so none of that delicious beef flavor is lost.
We stirred things around, mixing it all together. Then, we brought it to a simmer, covered the braiser, and cooked over low heat until the beef was tender. The particular Beef Stroganoff recipe we used said this would take 30 to 35 minutes and that seemed to be about right.

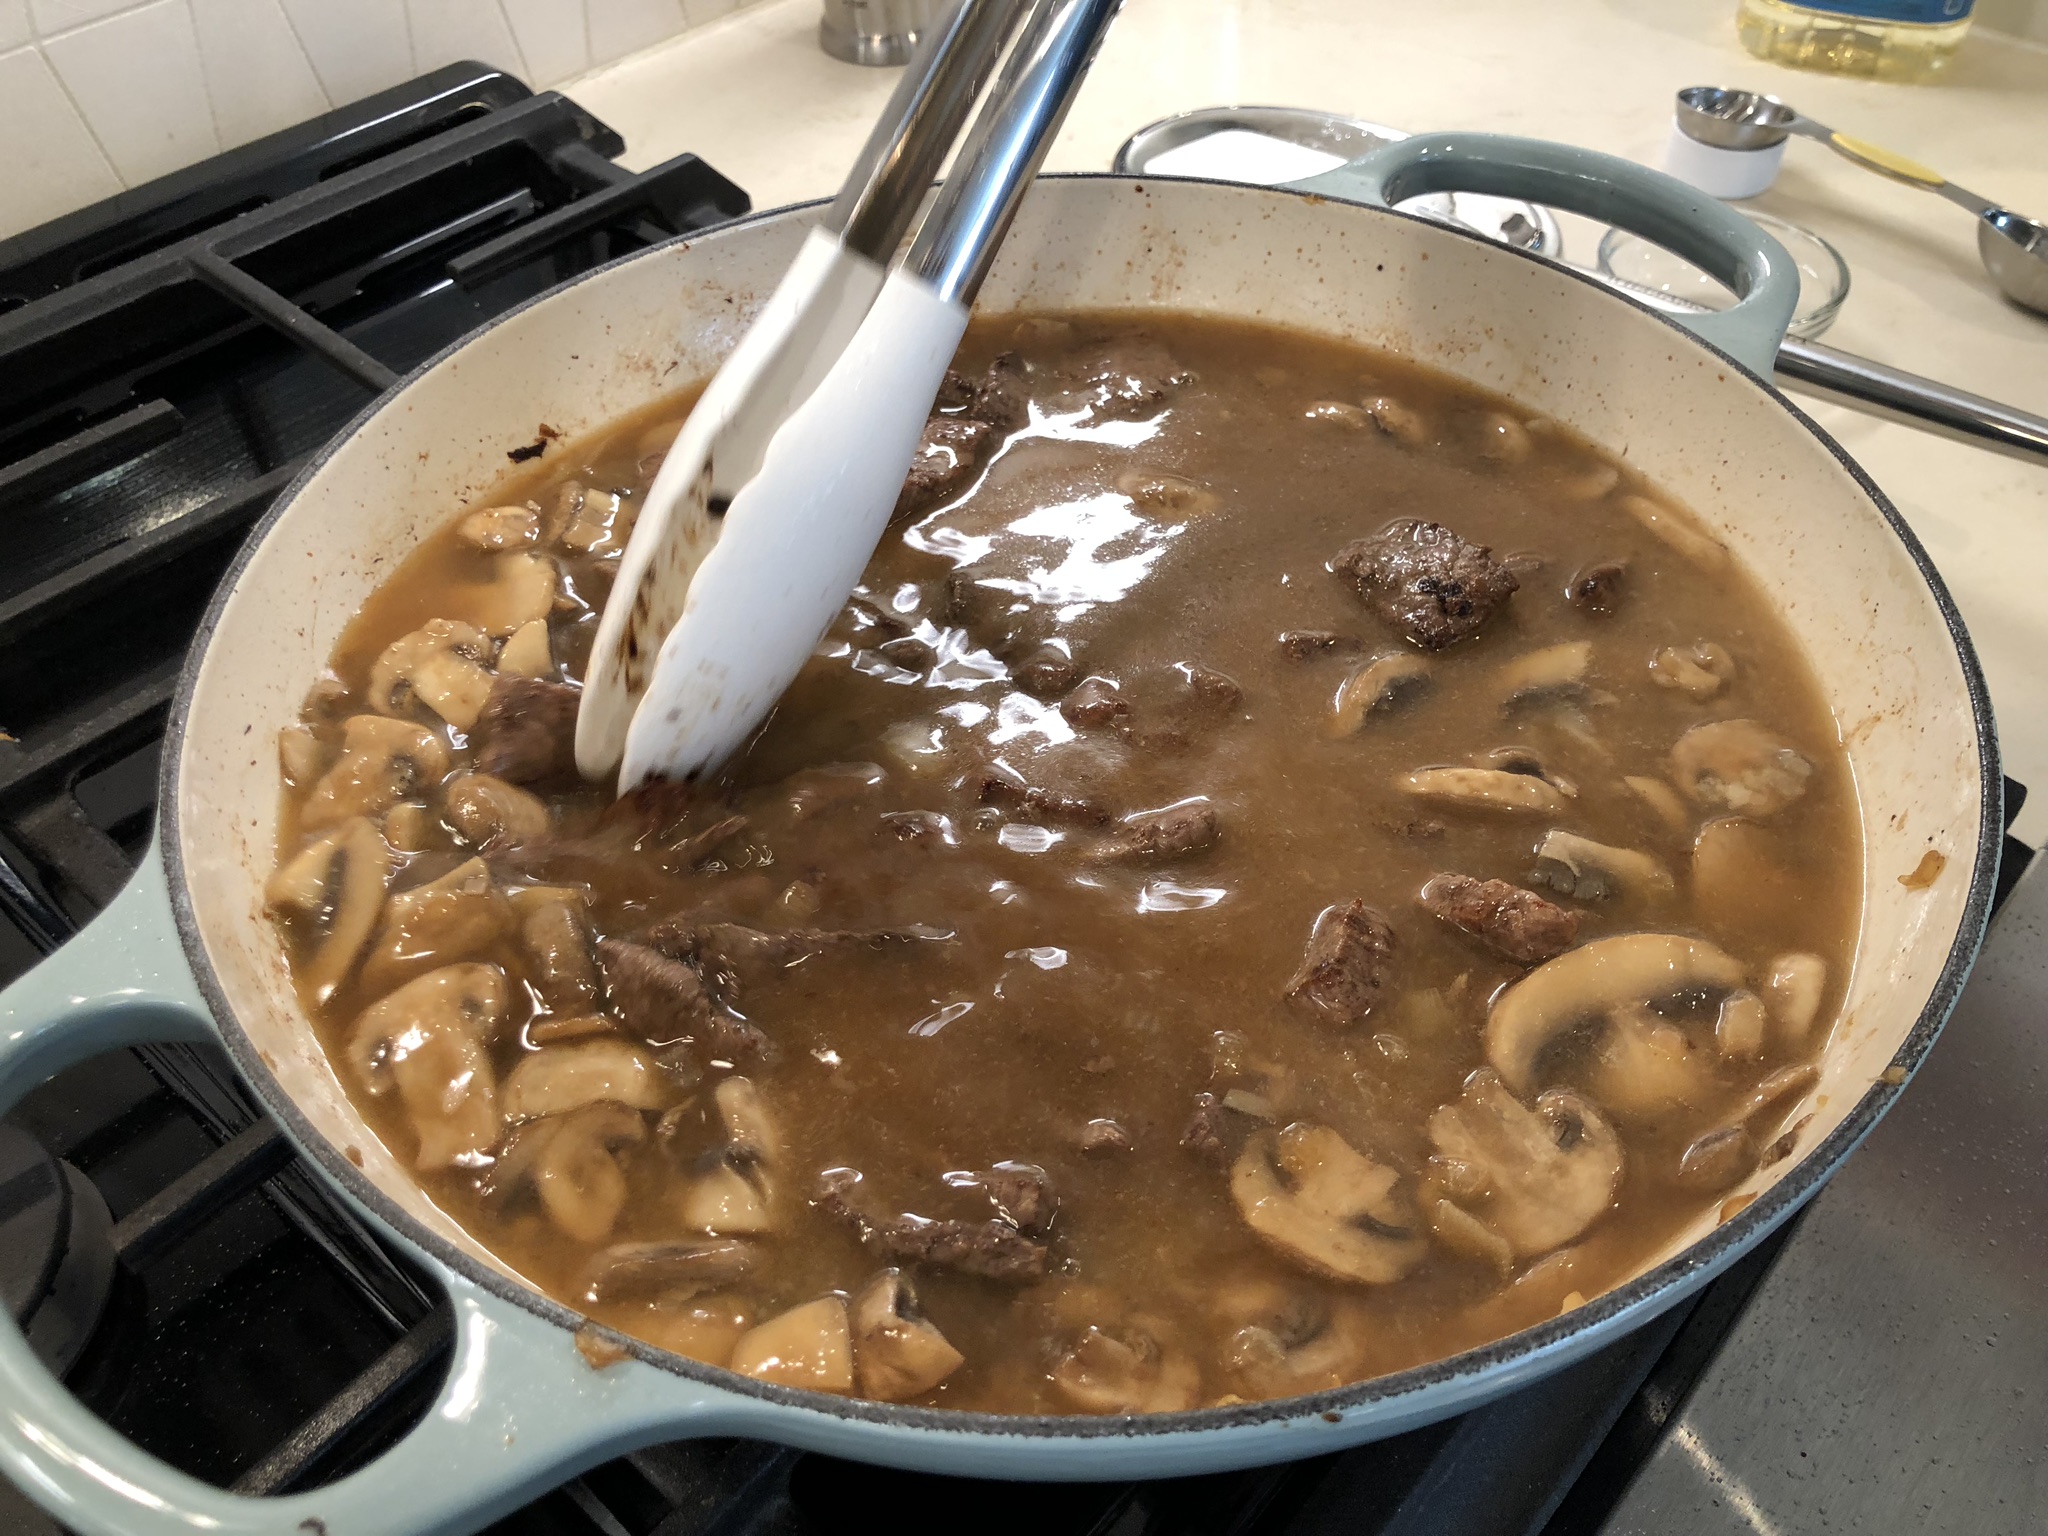
… covered and simmering … simmering … simmering …
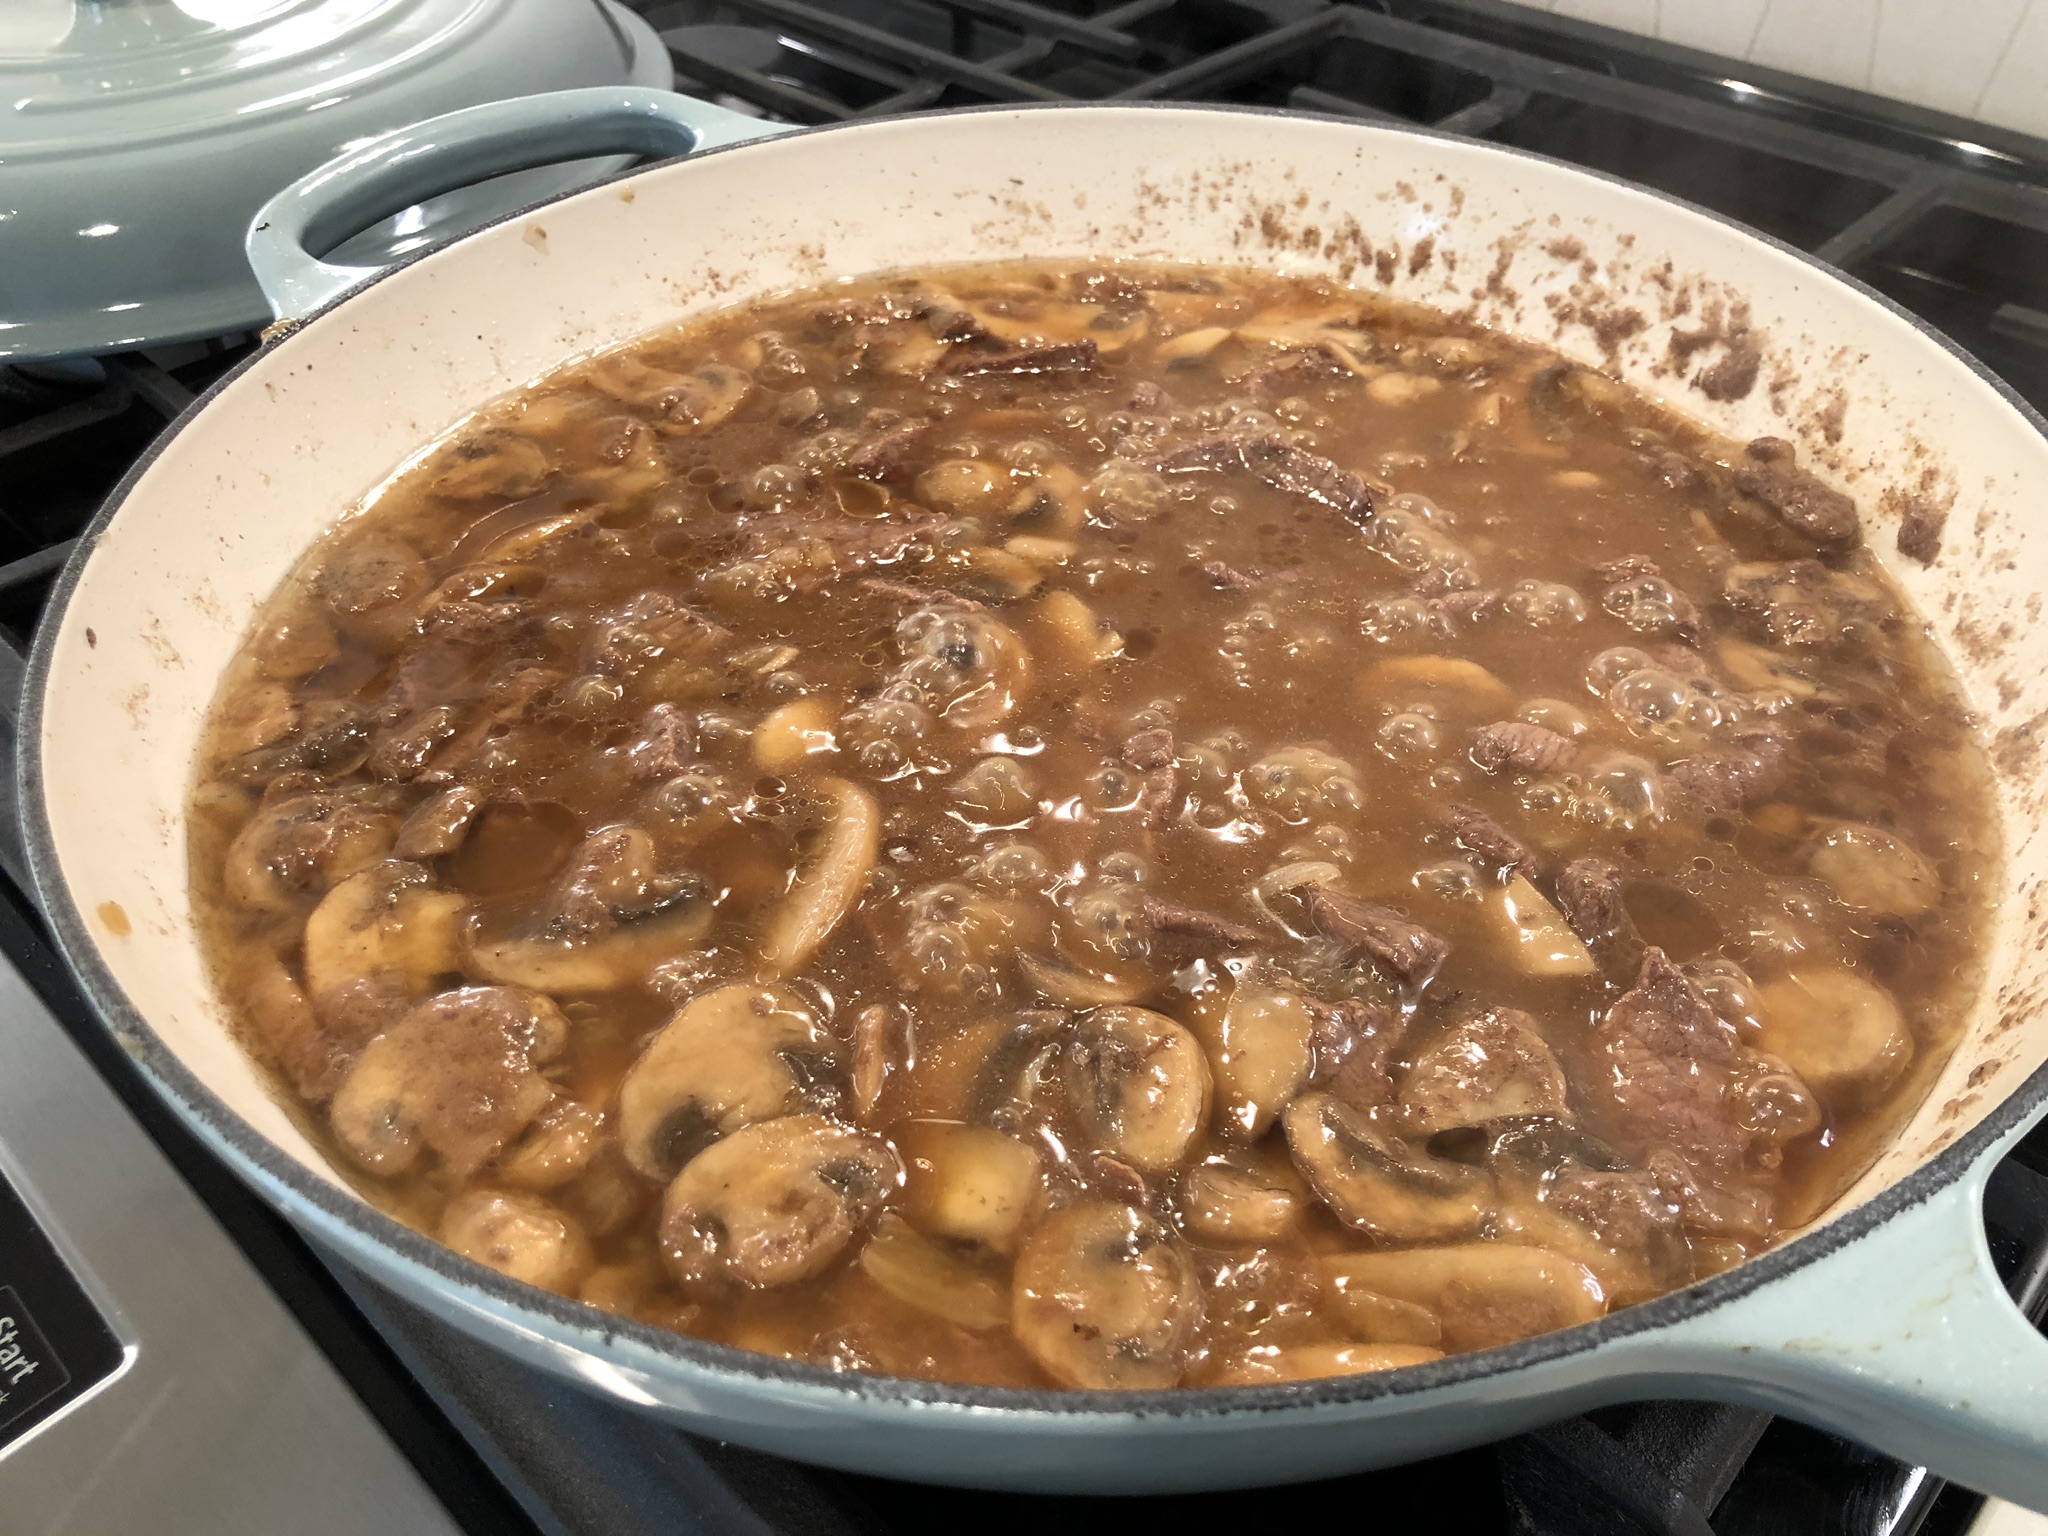
… and done! Once the beef was tender – in our case, again, the 30 to 35 minute window turned out to be exactly right – we removed the lid so we could proceed to the next steps.
For that next step, we had to prioritize efficiency. You know that we love making handmade pasta. Not only does it taste better, there’s something comforting and magical about it. There is no doubt in my mind that this recipe would have been even better had we included hand-made egg noodles. However, as I mentioned earlier, we were making the dish during our lunch break at the firm so we had to stick to a deadline. Making the pasta by hand would have added some time due to the additional clean-up and prep it would have involved. That wasn’t going to fit within the allocated part of our day so we, instead, decided to use part of a box of De Cecco Egg Pappardelle no. 101. Some of you might remember the first time we tried this company’s products in a recipe, six years ago, after hearing it was one of the best packaged pasta brands available in the United States. We’re glad we discovered it. All else equal, it is still our preferred boxed brand. Both Aaron and I highly recommend it.

We needed to measure out 1/3 lbs. of wide egg noodles, or approximately 3 cups.
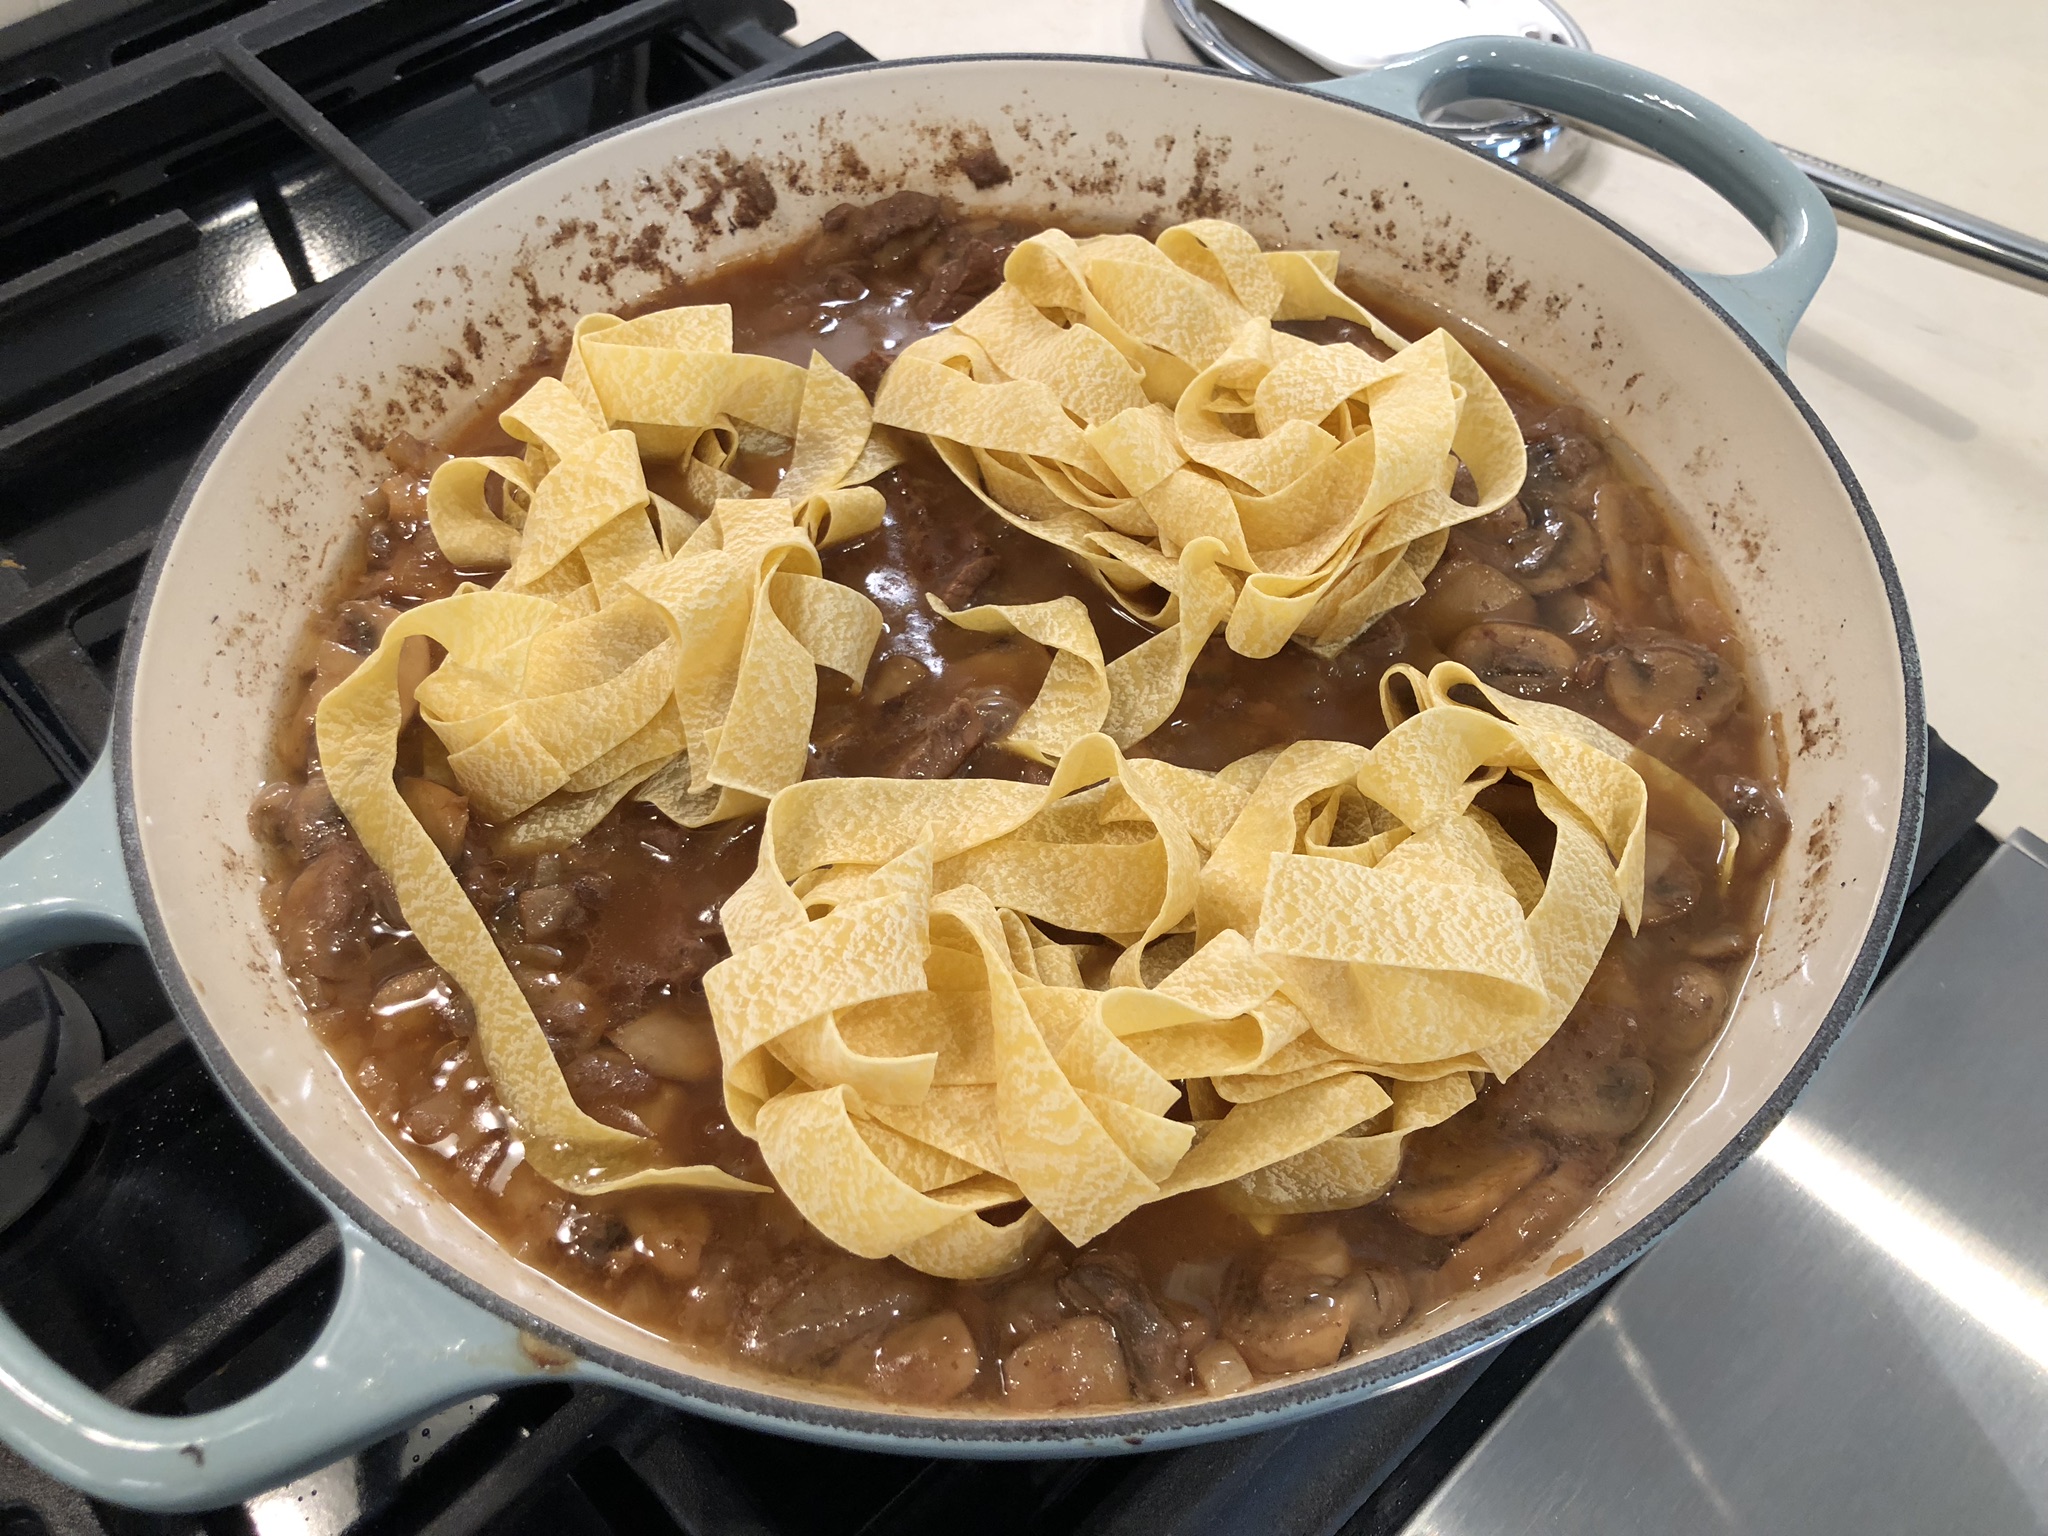
We placed the noodles into the Beef Stroganoff mixture, gently coating them and turning them over so they started to soften. Then, we covered the braiser, uncovering it to stir occasionally, letting the noodles cook. This process took approximately 10 to 12 minutes (even though the box of pasta said 6 minutes, since we weren’t boiling these in water, we had to follow the recipe.)
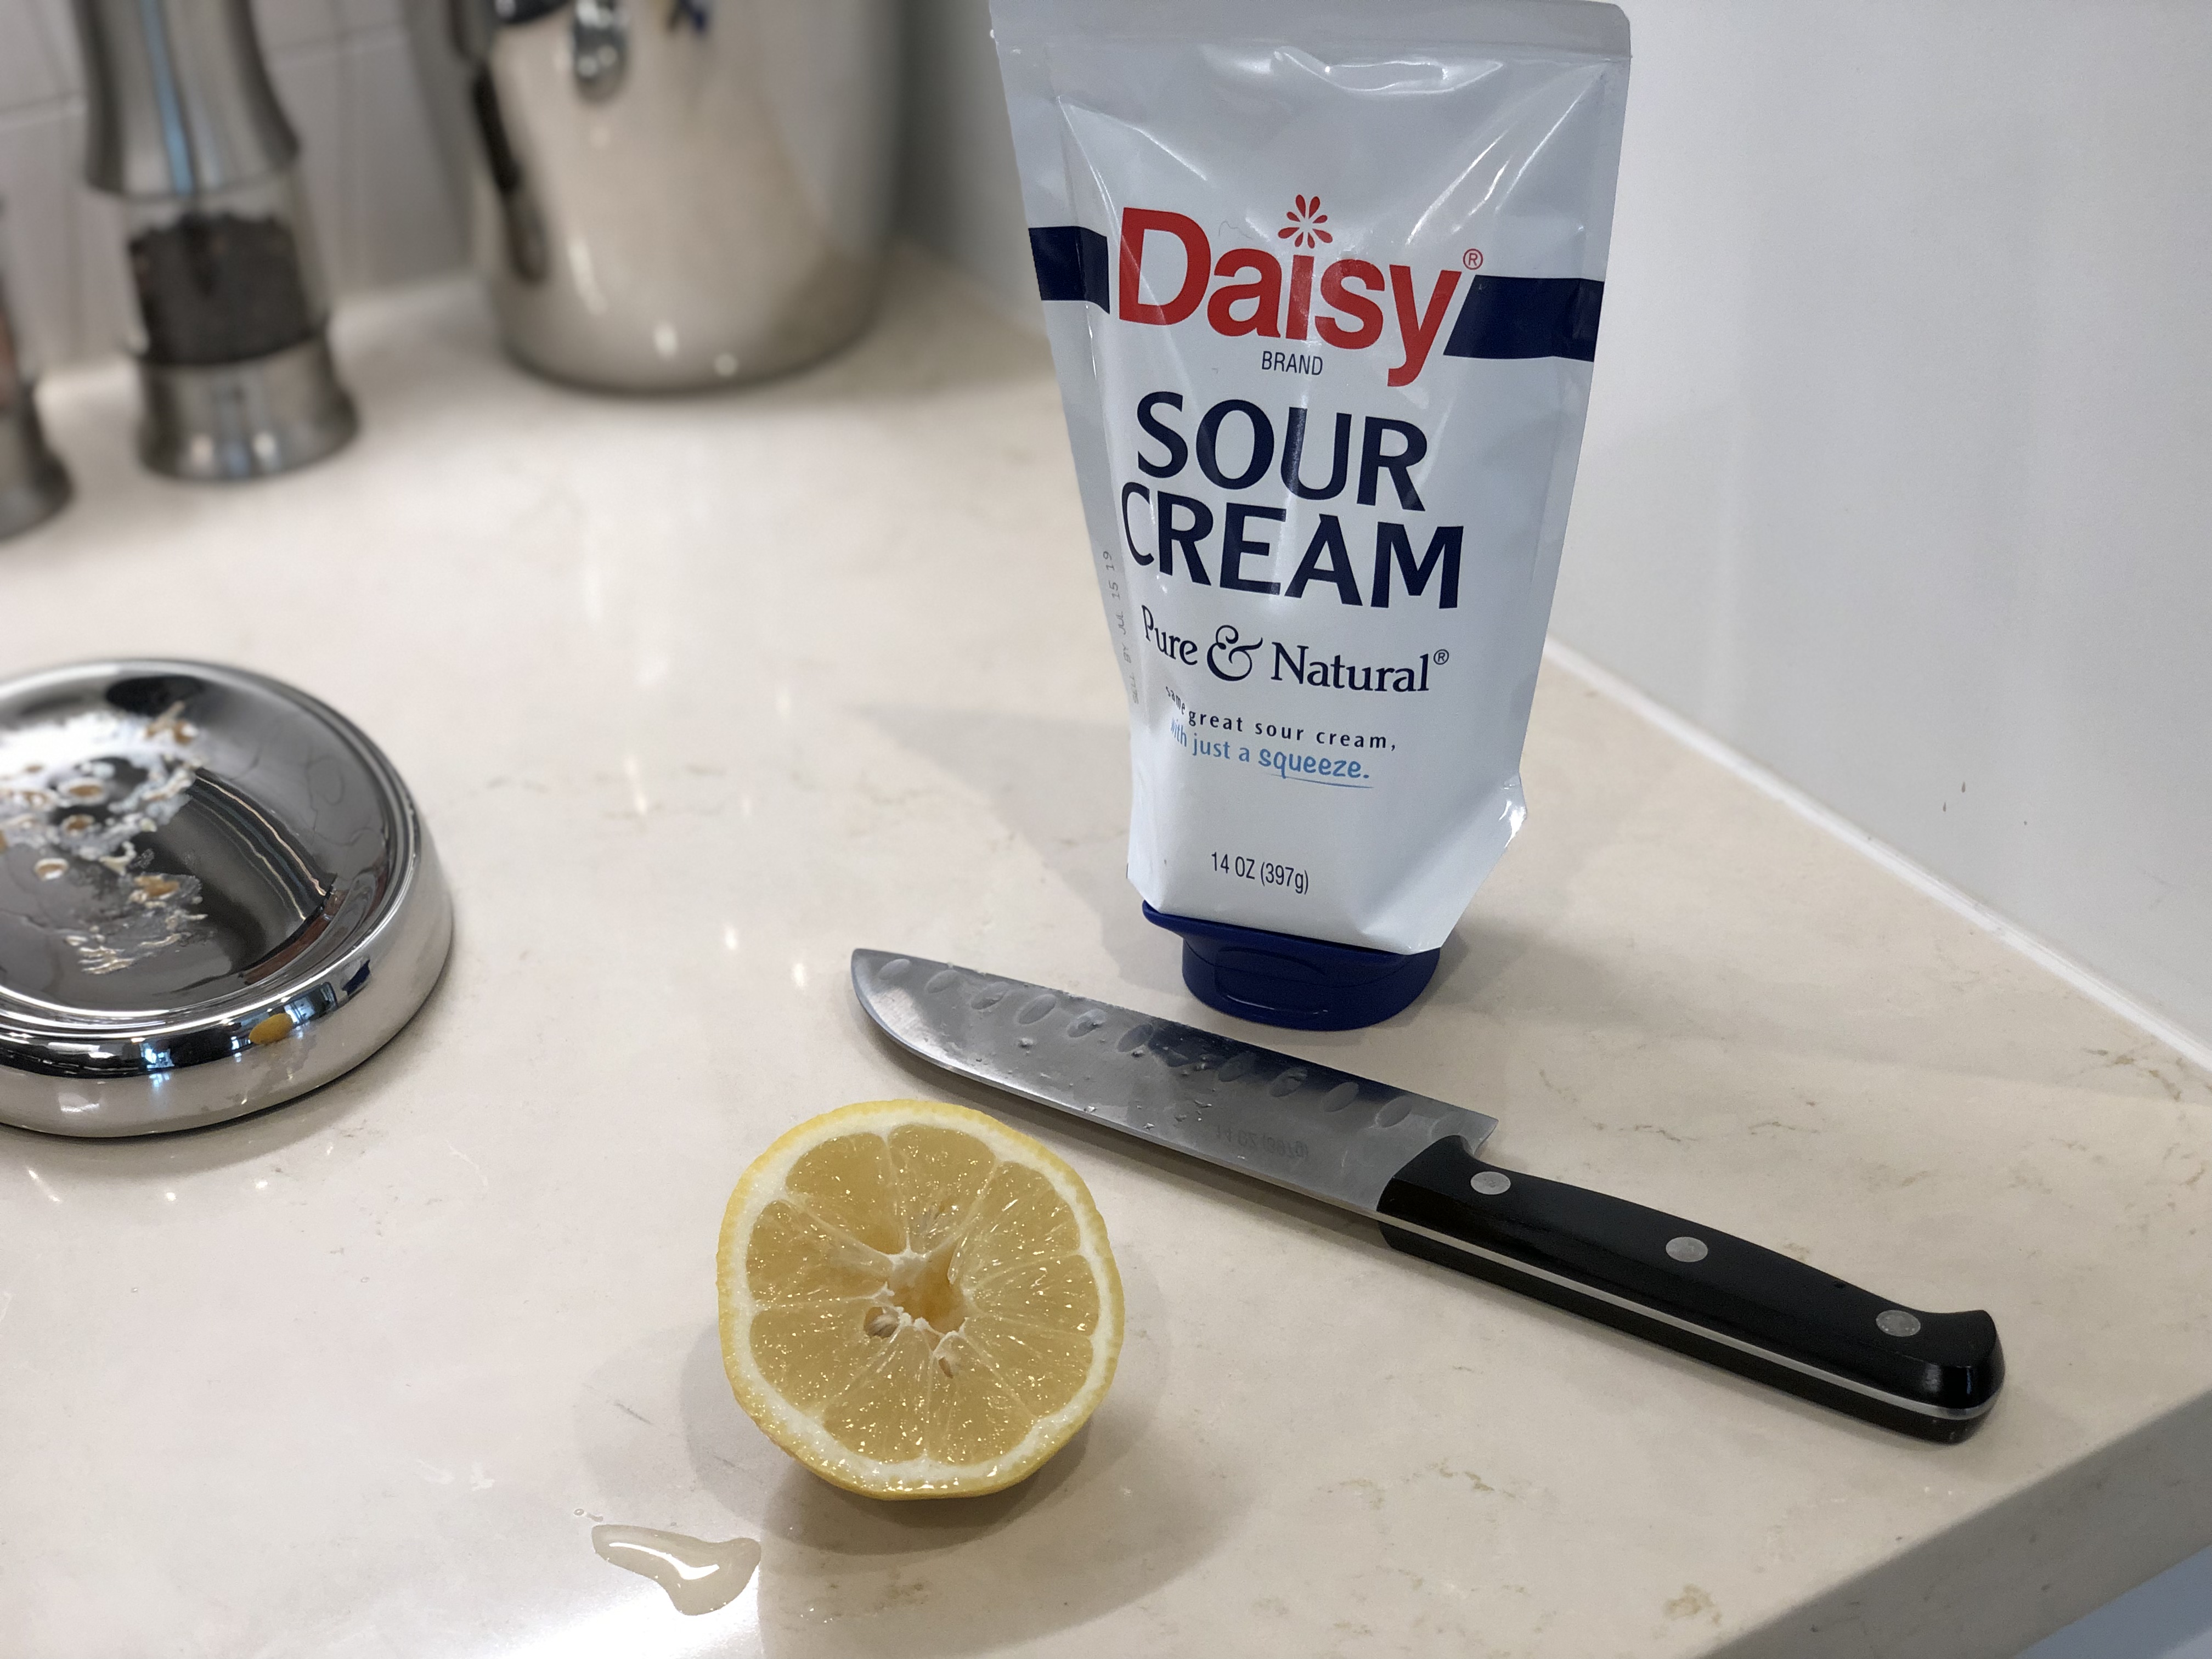
While the noodles were softening, and in-between our occasionally uncover-and-stir responsibilities, we prepared the 2/3rds cup of sour cream along with the 2 teaspoons of freshly-squeezed lemon juice, getting them ready to add to the Beef Stroganoff.
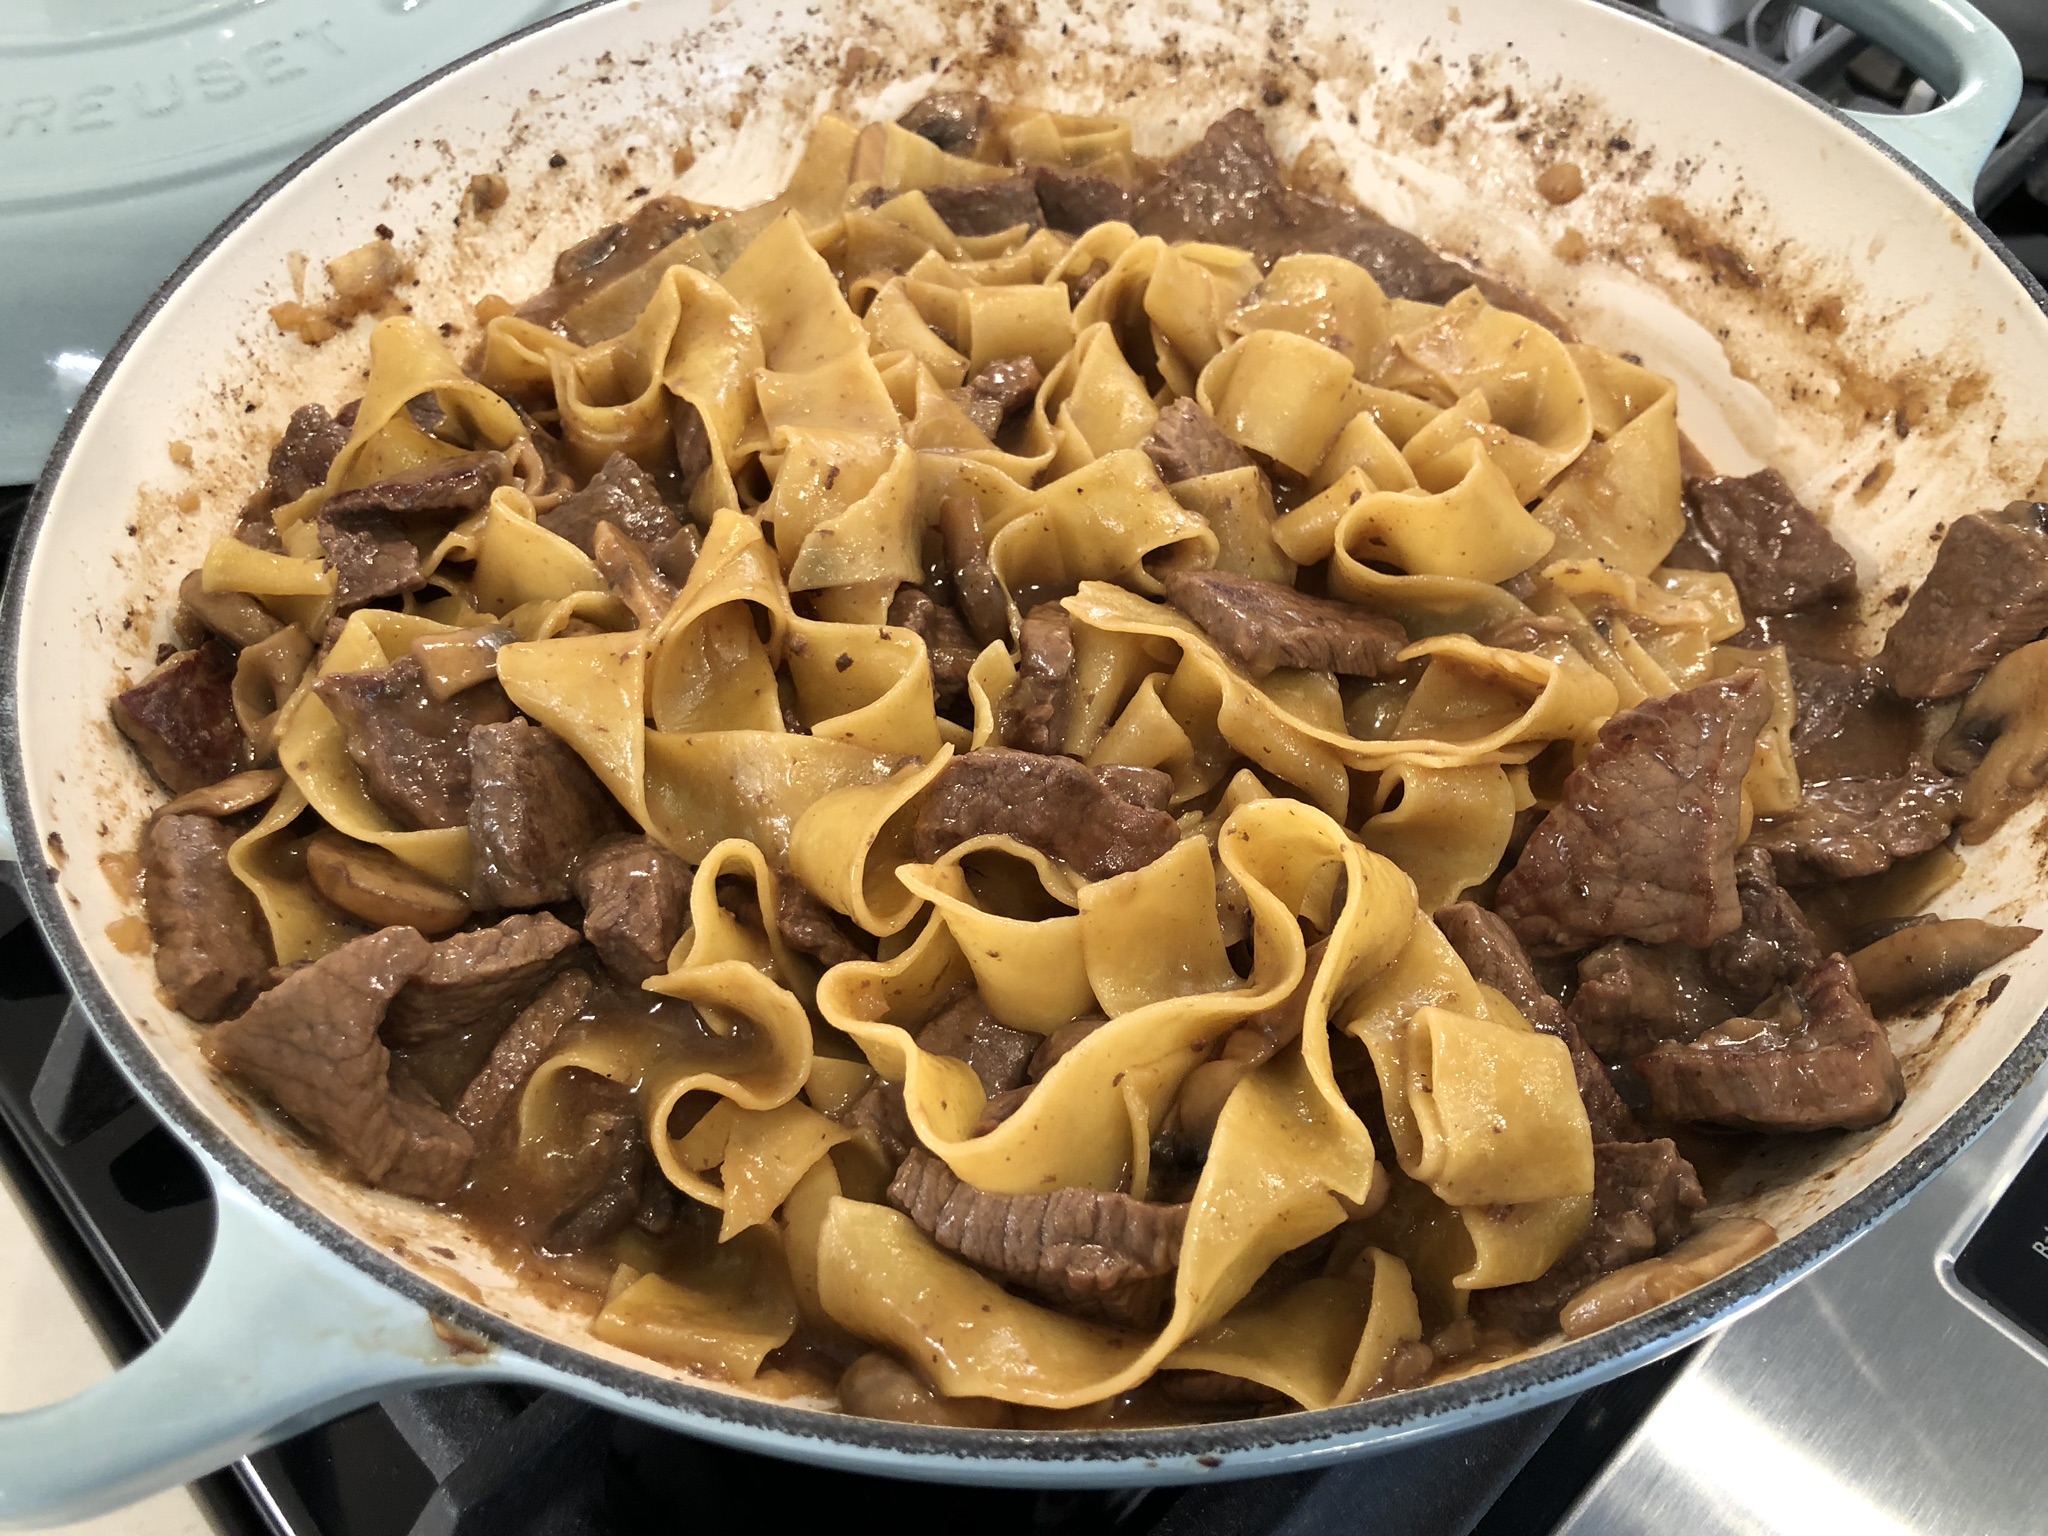
Perfection. After the 10 to 12 minutes elapsed, the pasta itself was soft enough to eat. (We sampled some with a fork to make sure they weren’t undercooked.) The next step was to remove the braiser from the heat because all of the cooking was done. Finally, it was time to assemble the Beef Stroganoff.
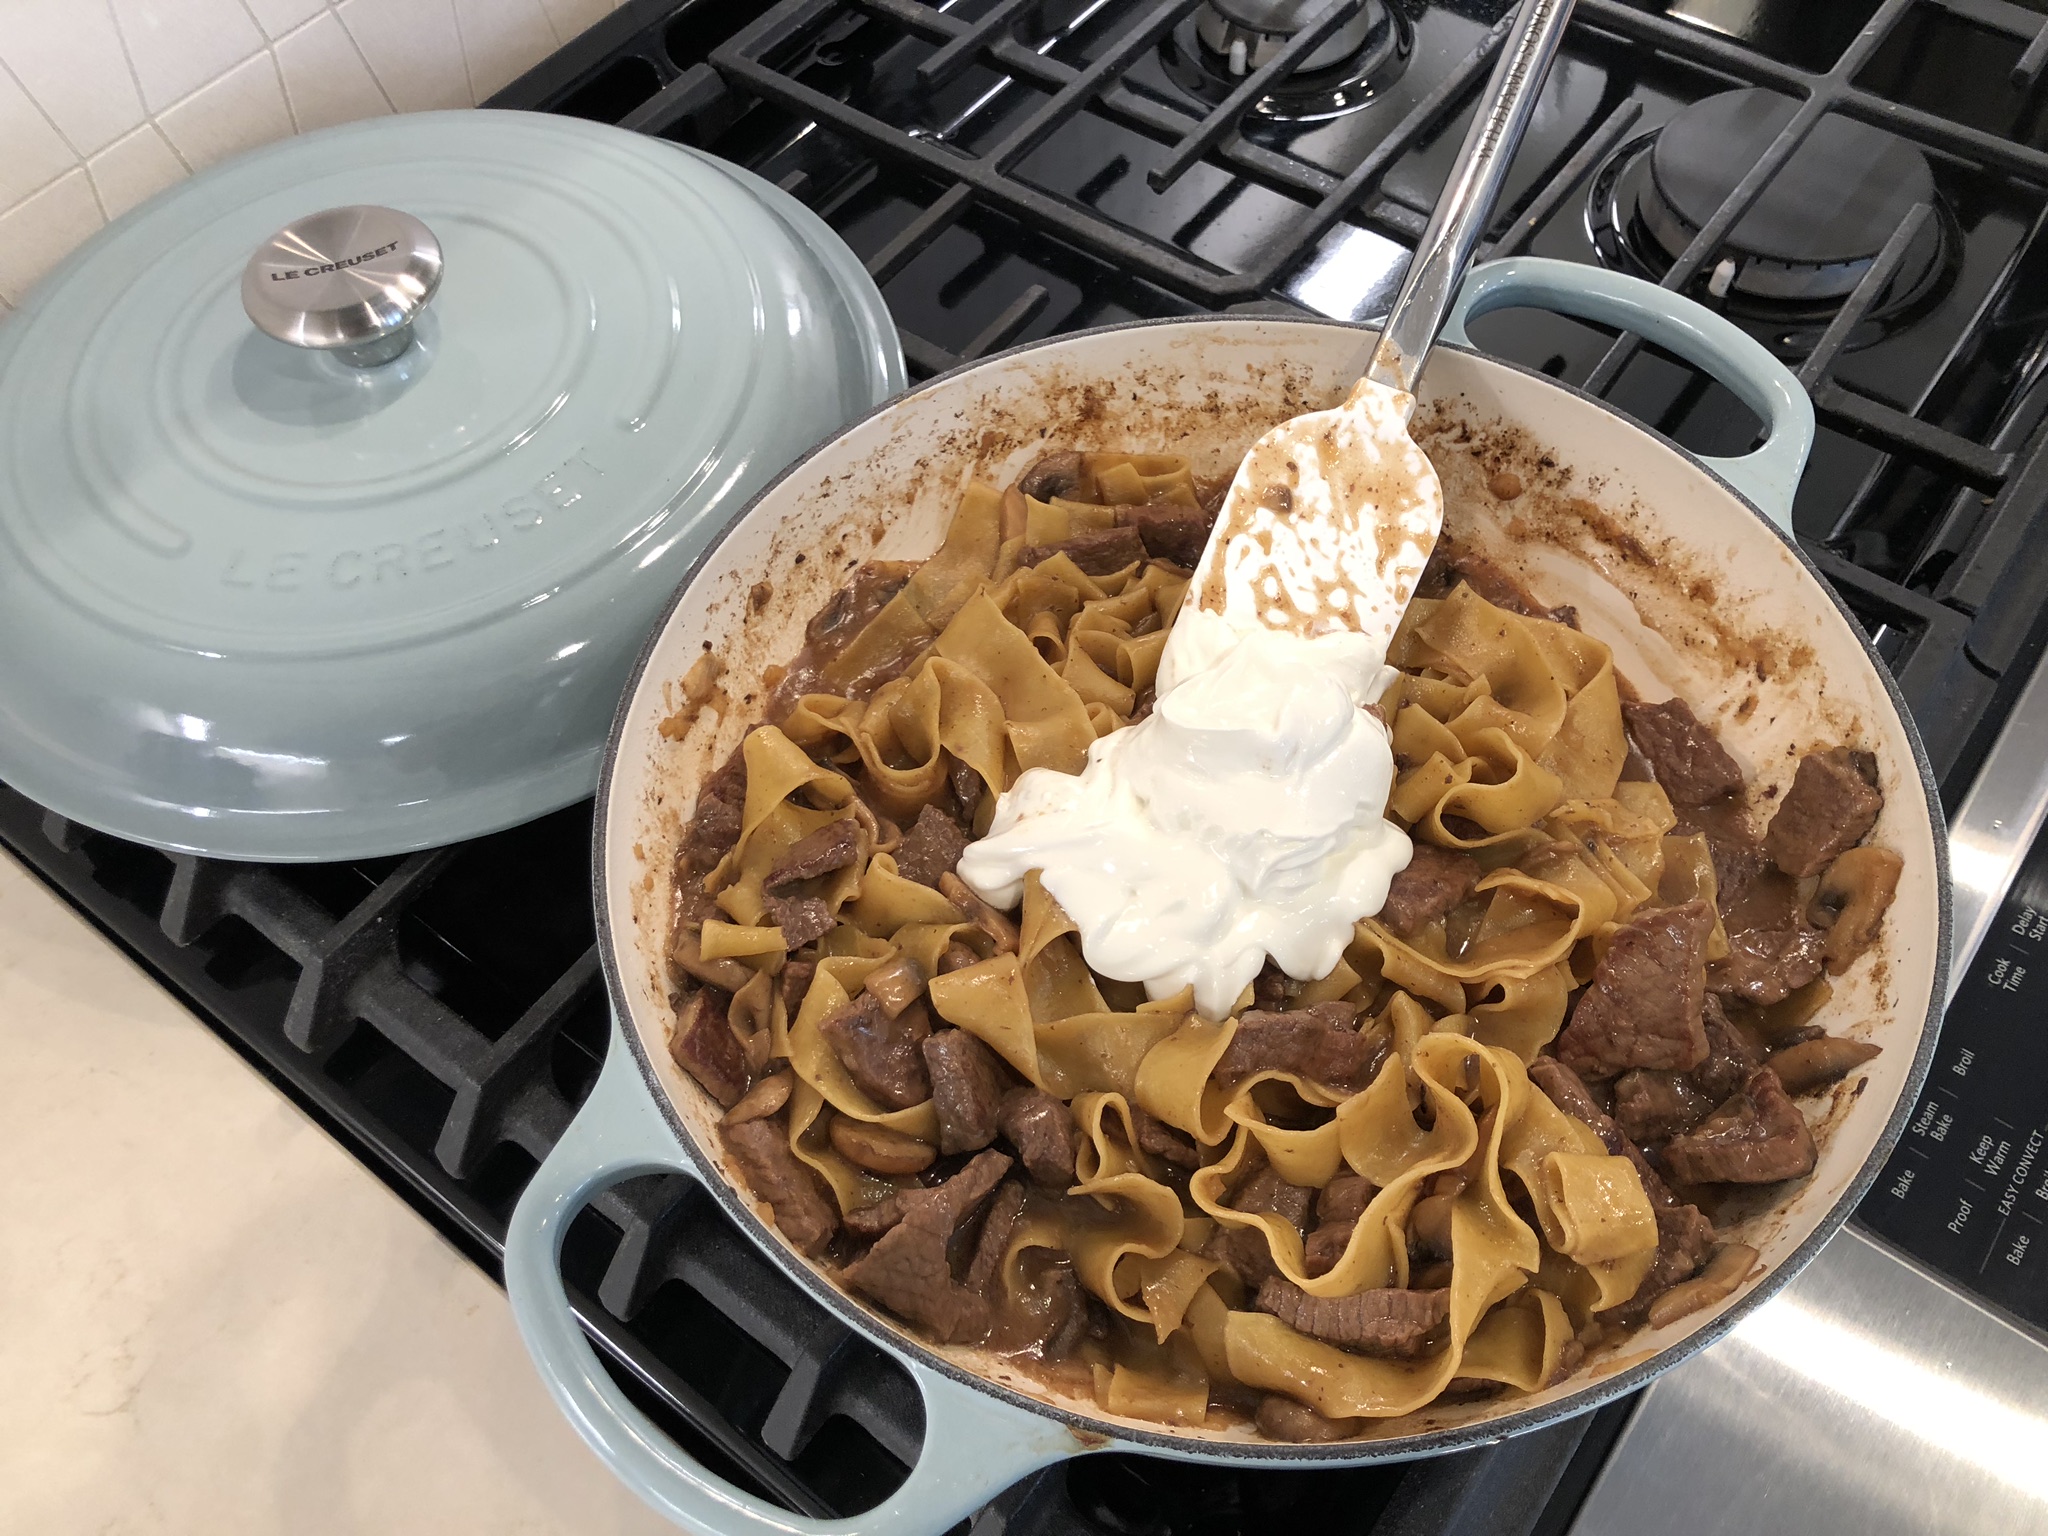
With the braiser now off-heat, we added that 2/3rds of a cup of sour cream we had set aside …
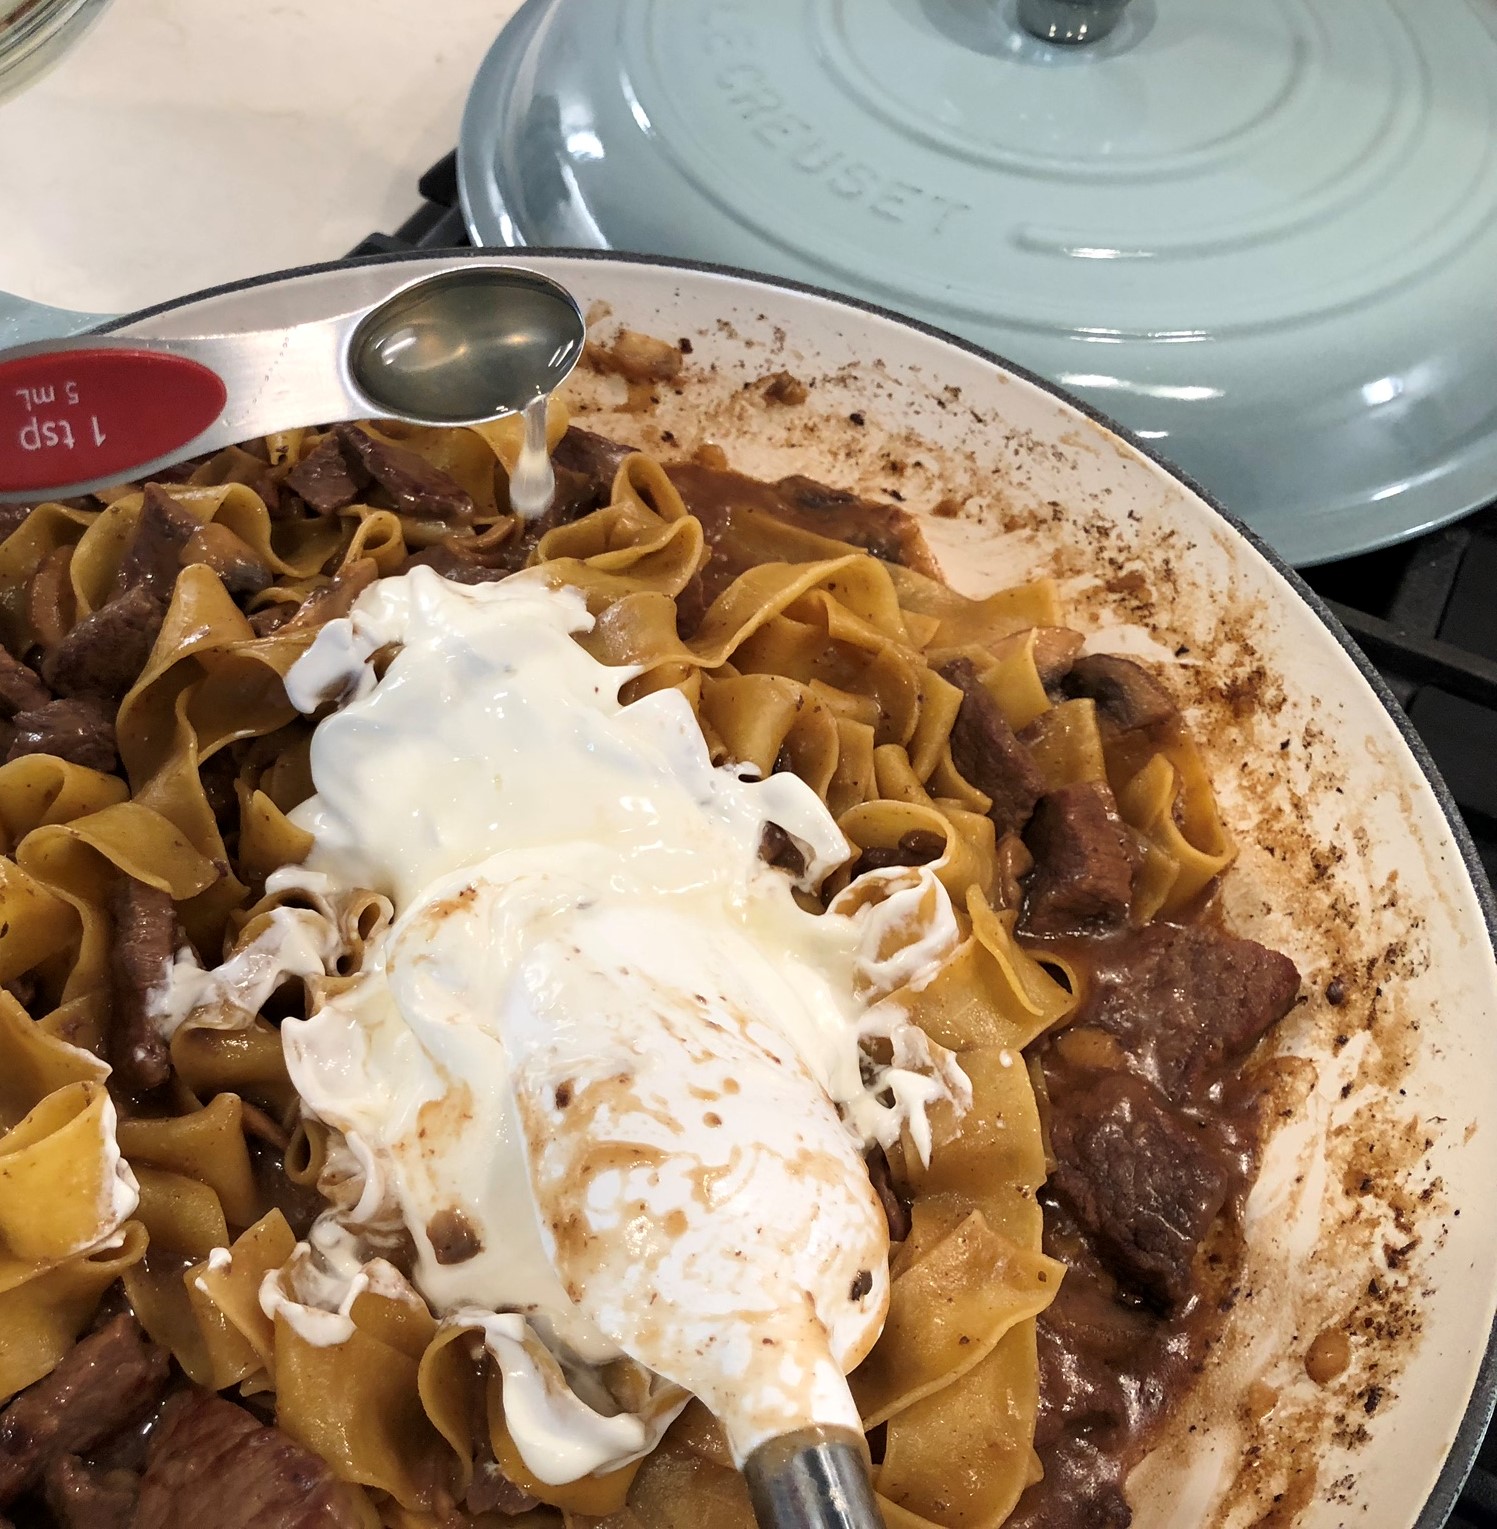
… along with the two teaspoons of freshly-squeezed lemon juice we had prepared …
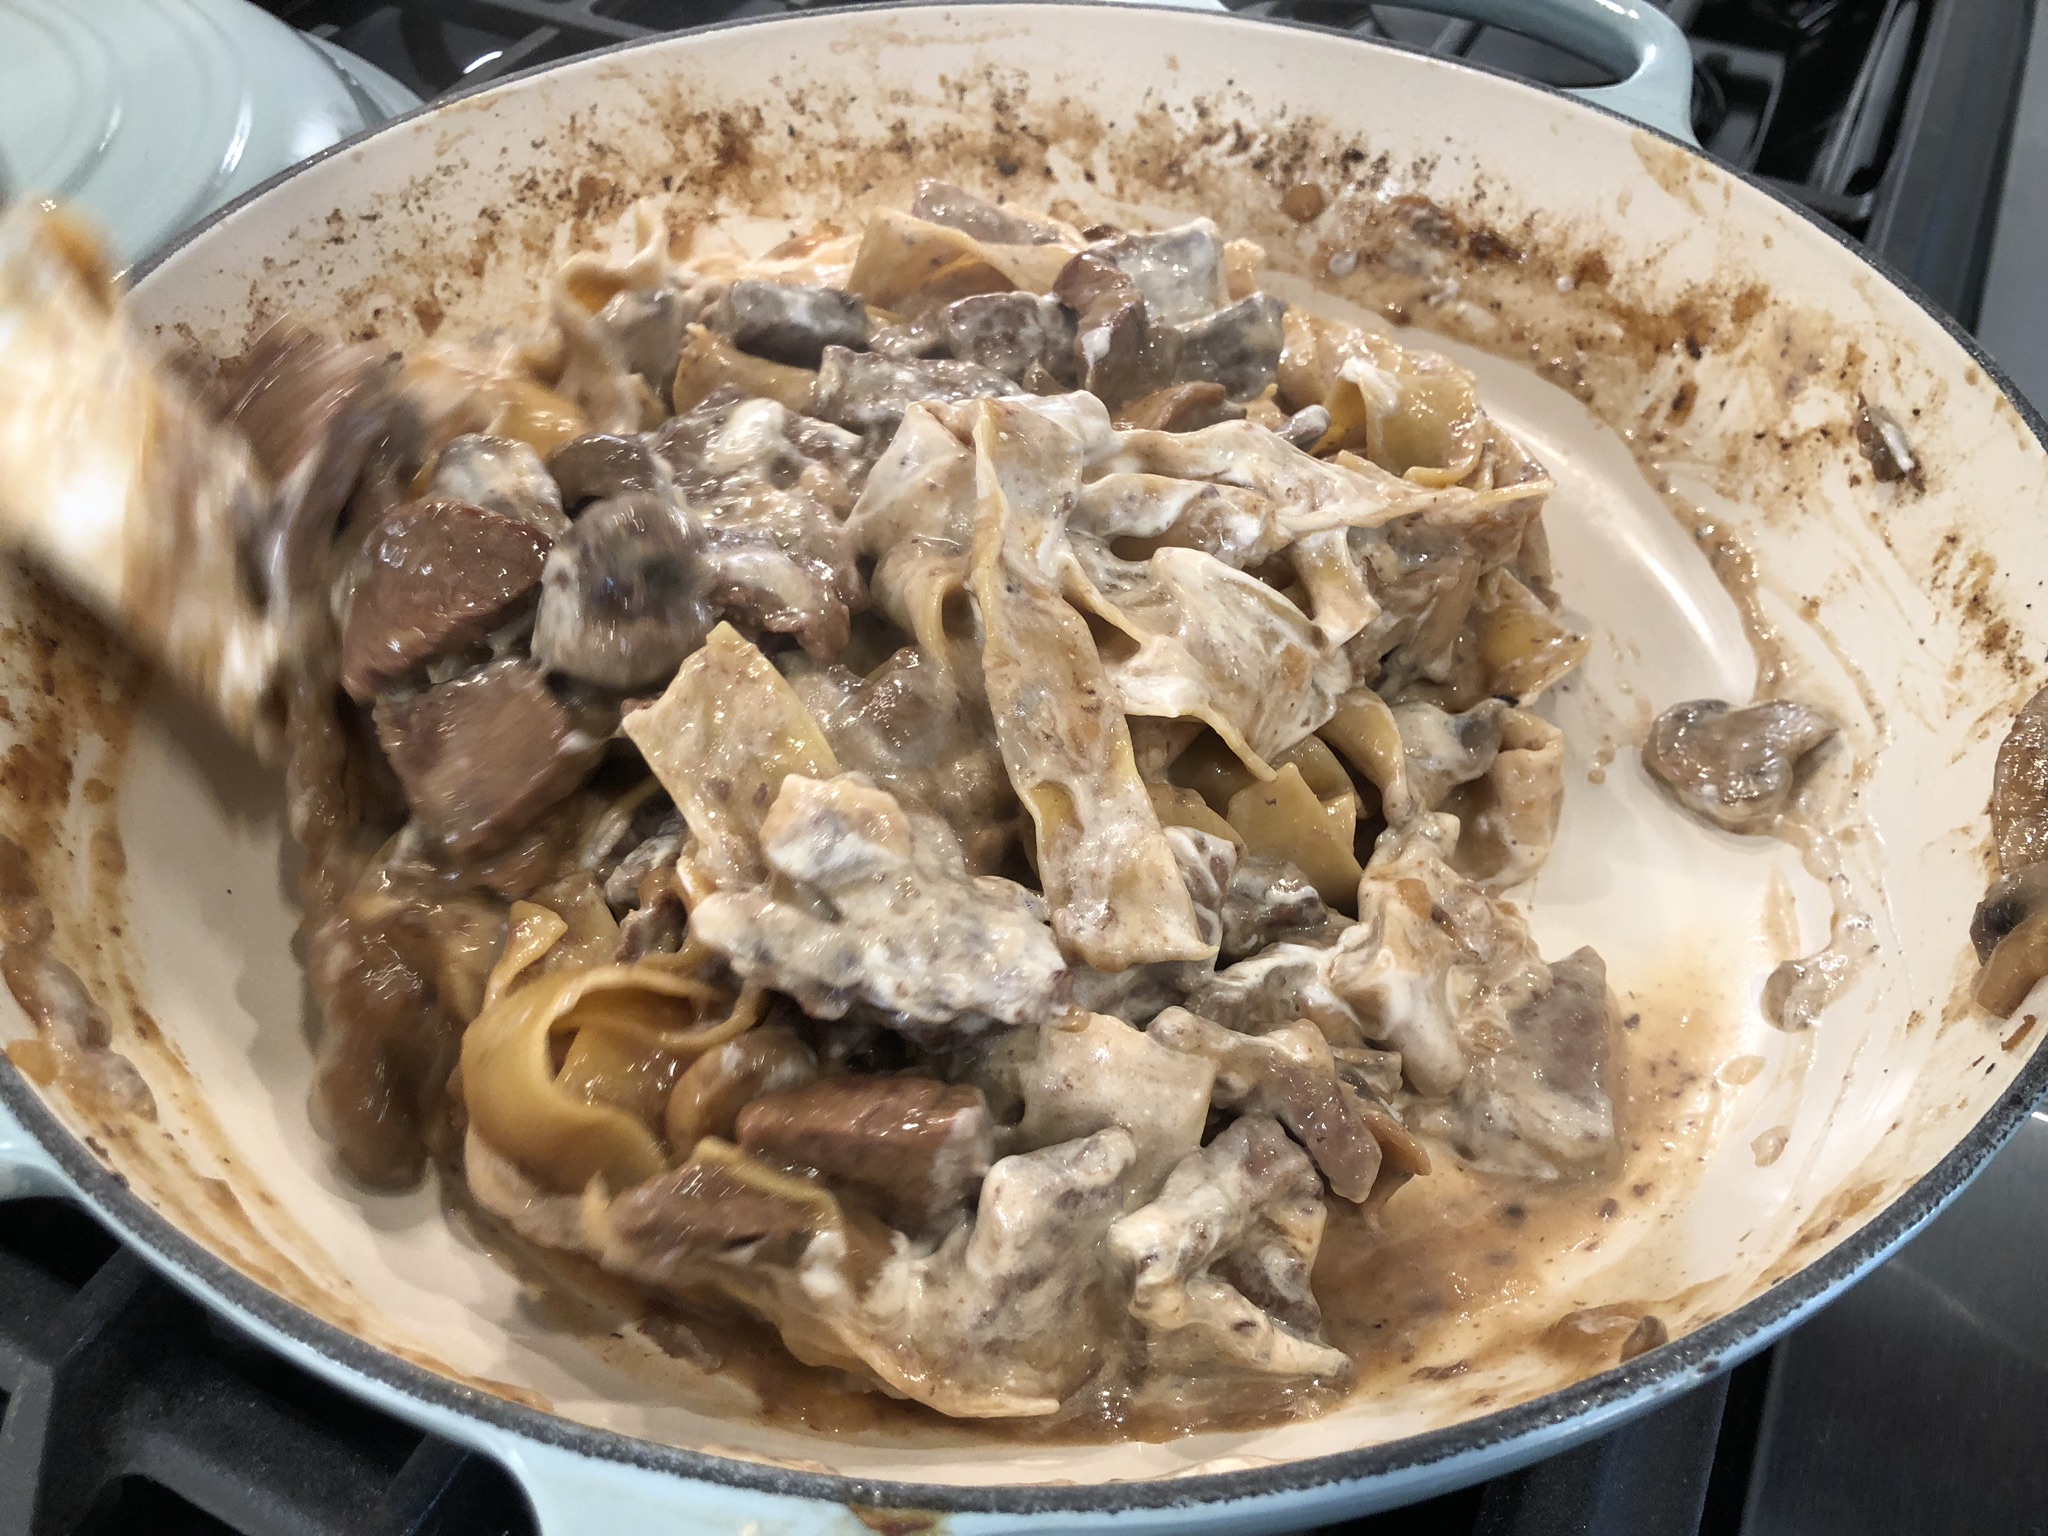
… then stirred and tossed, coating the contents evenly so the Beef Stroganoff was uniform and consistent.
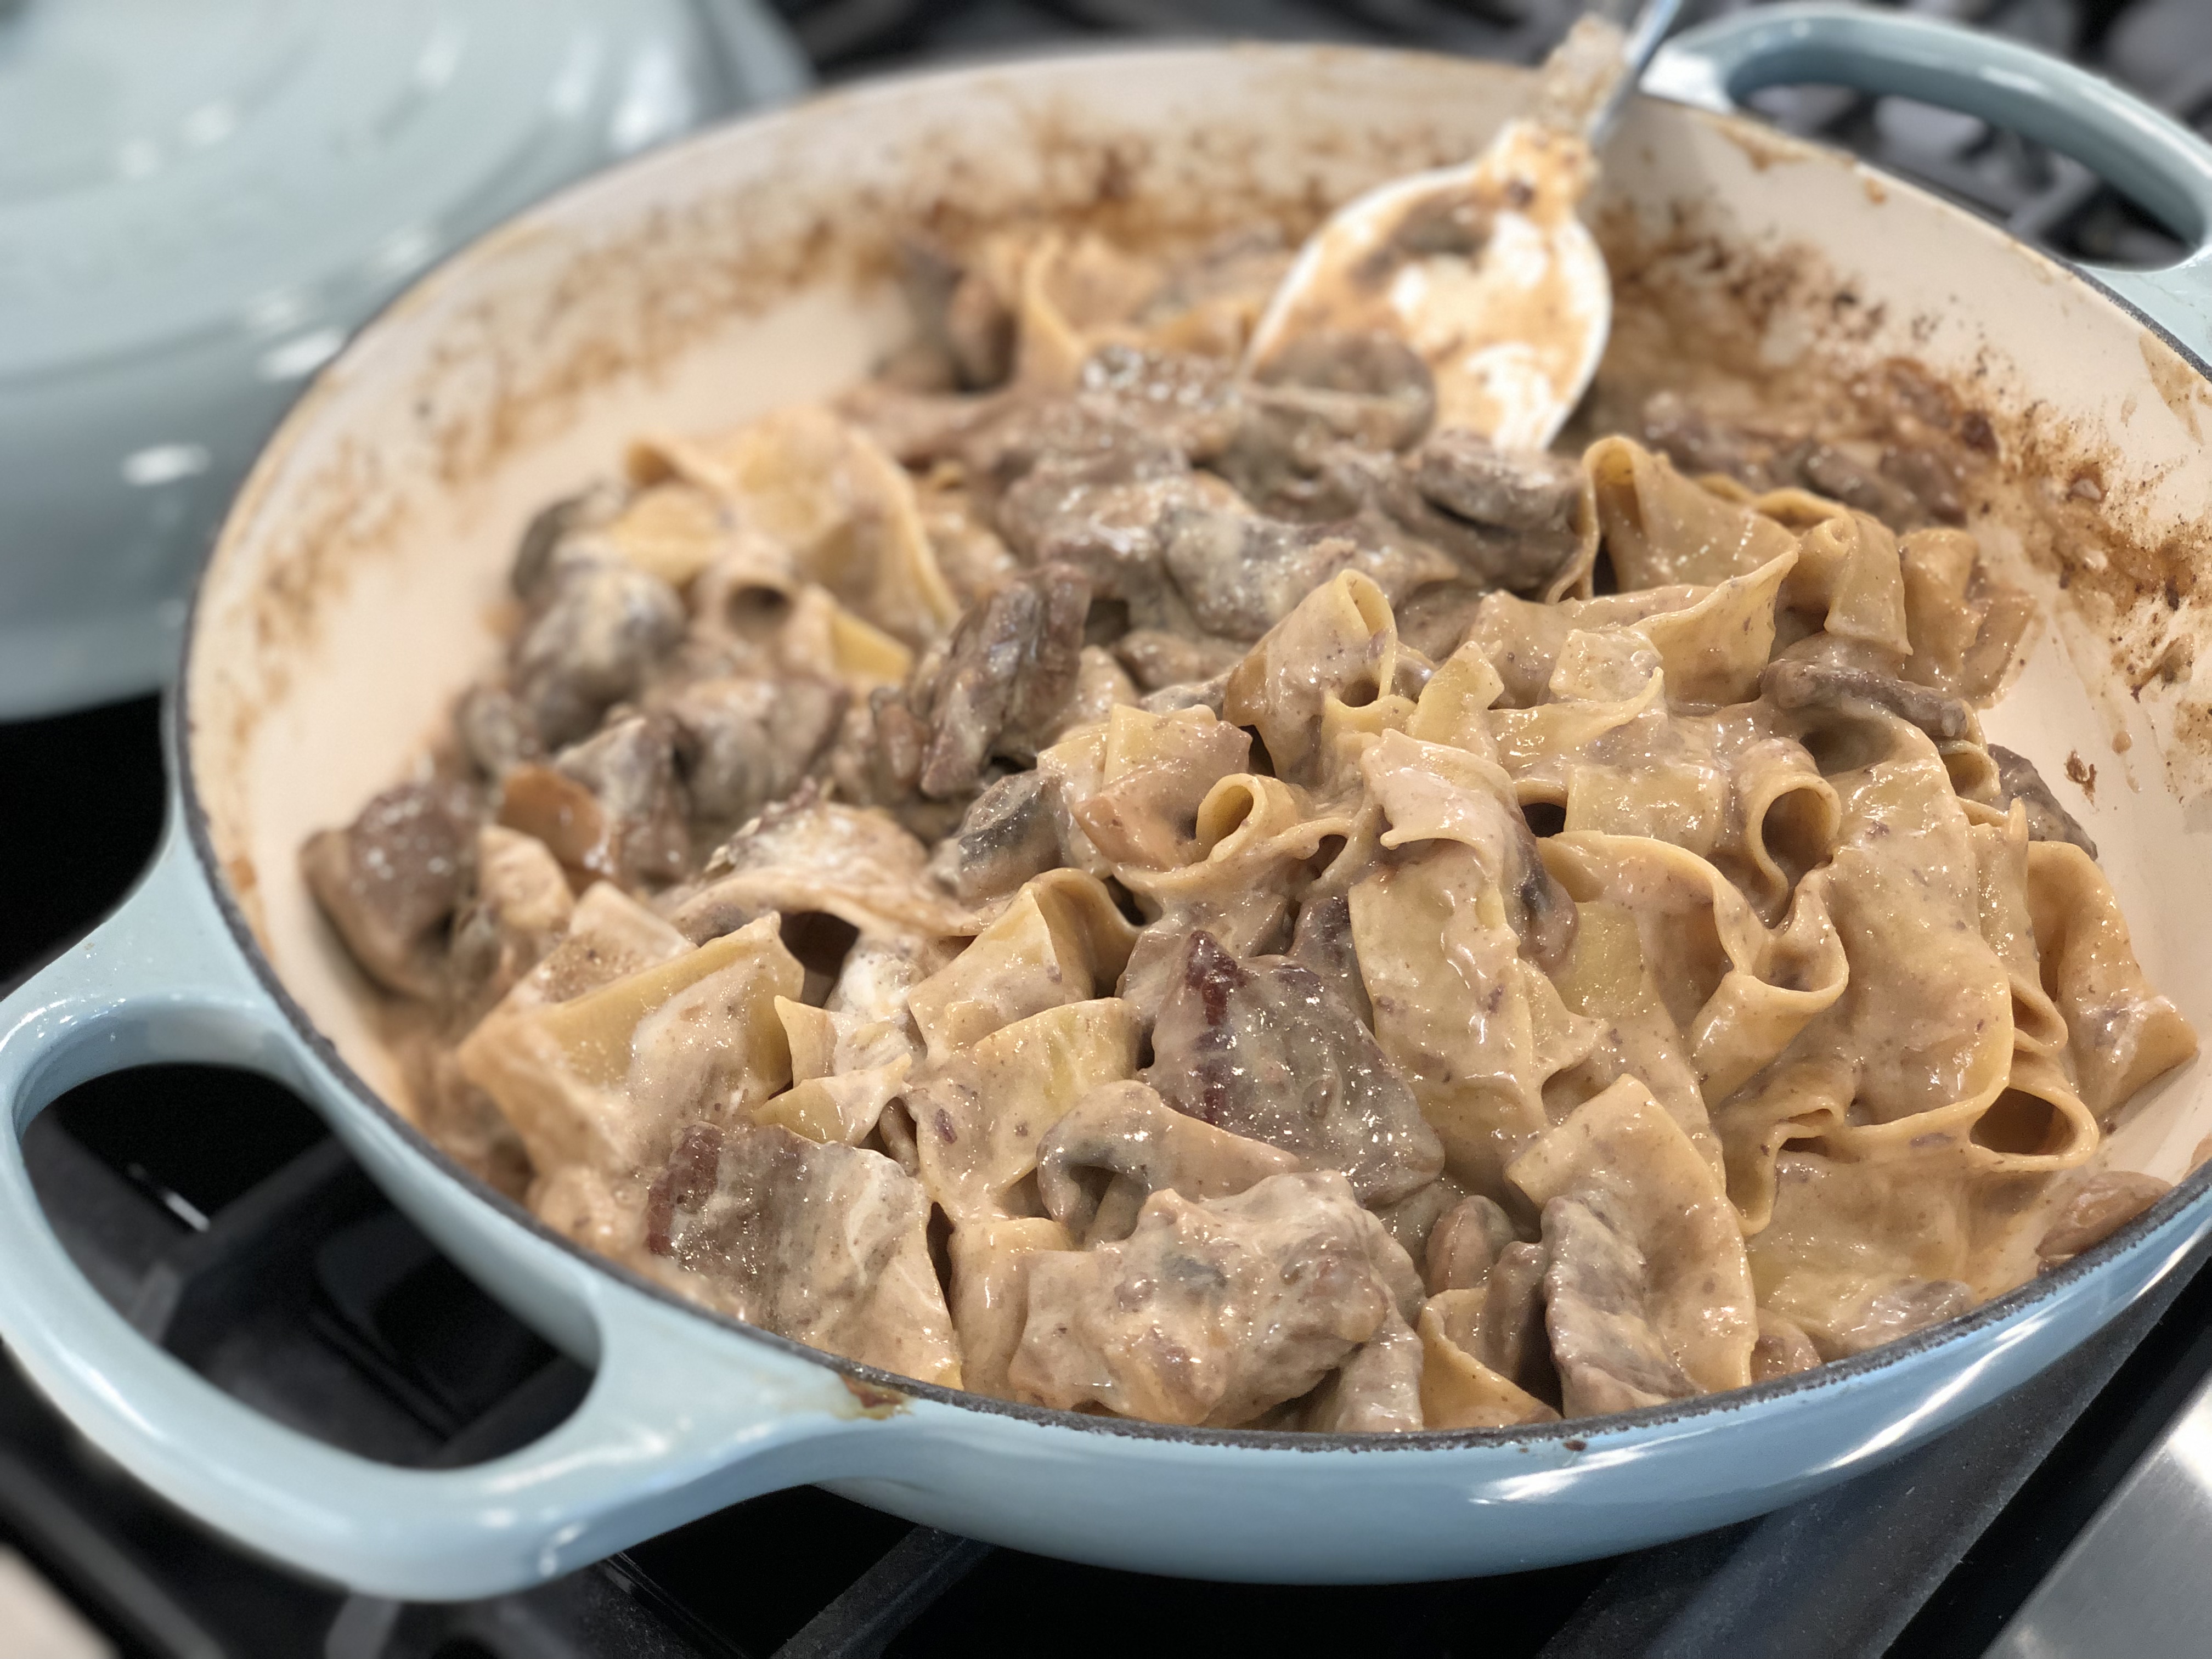
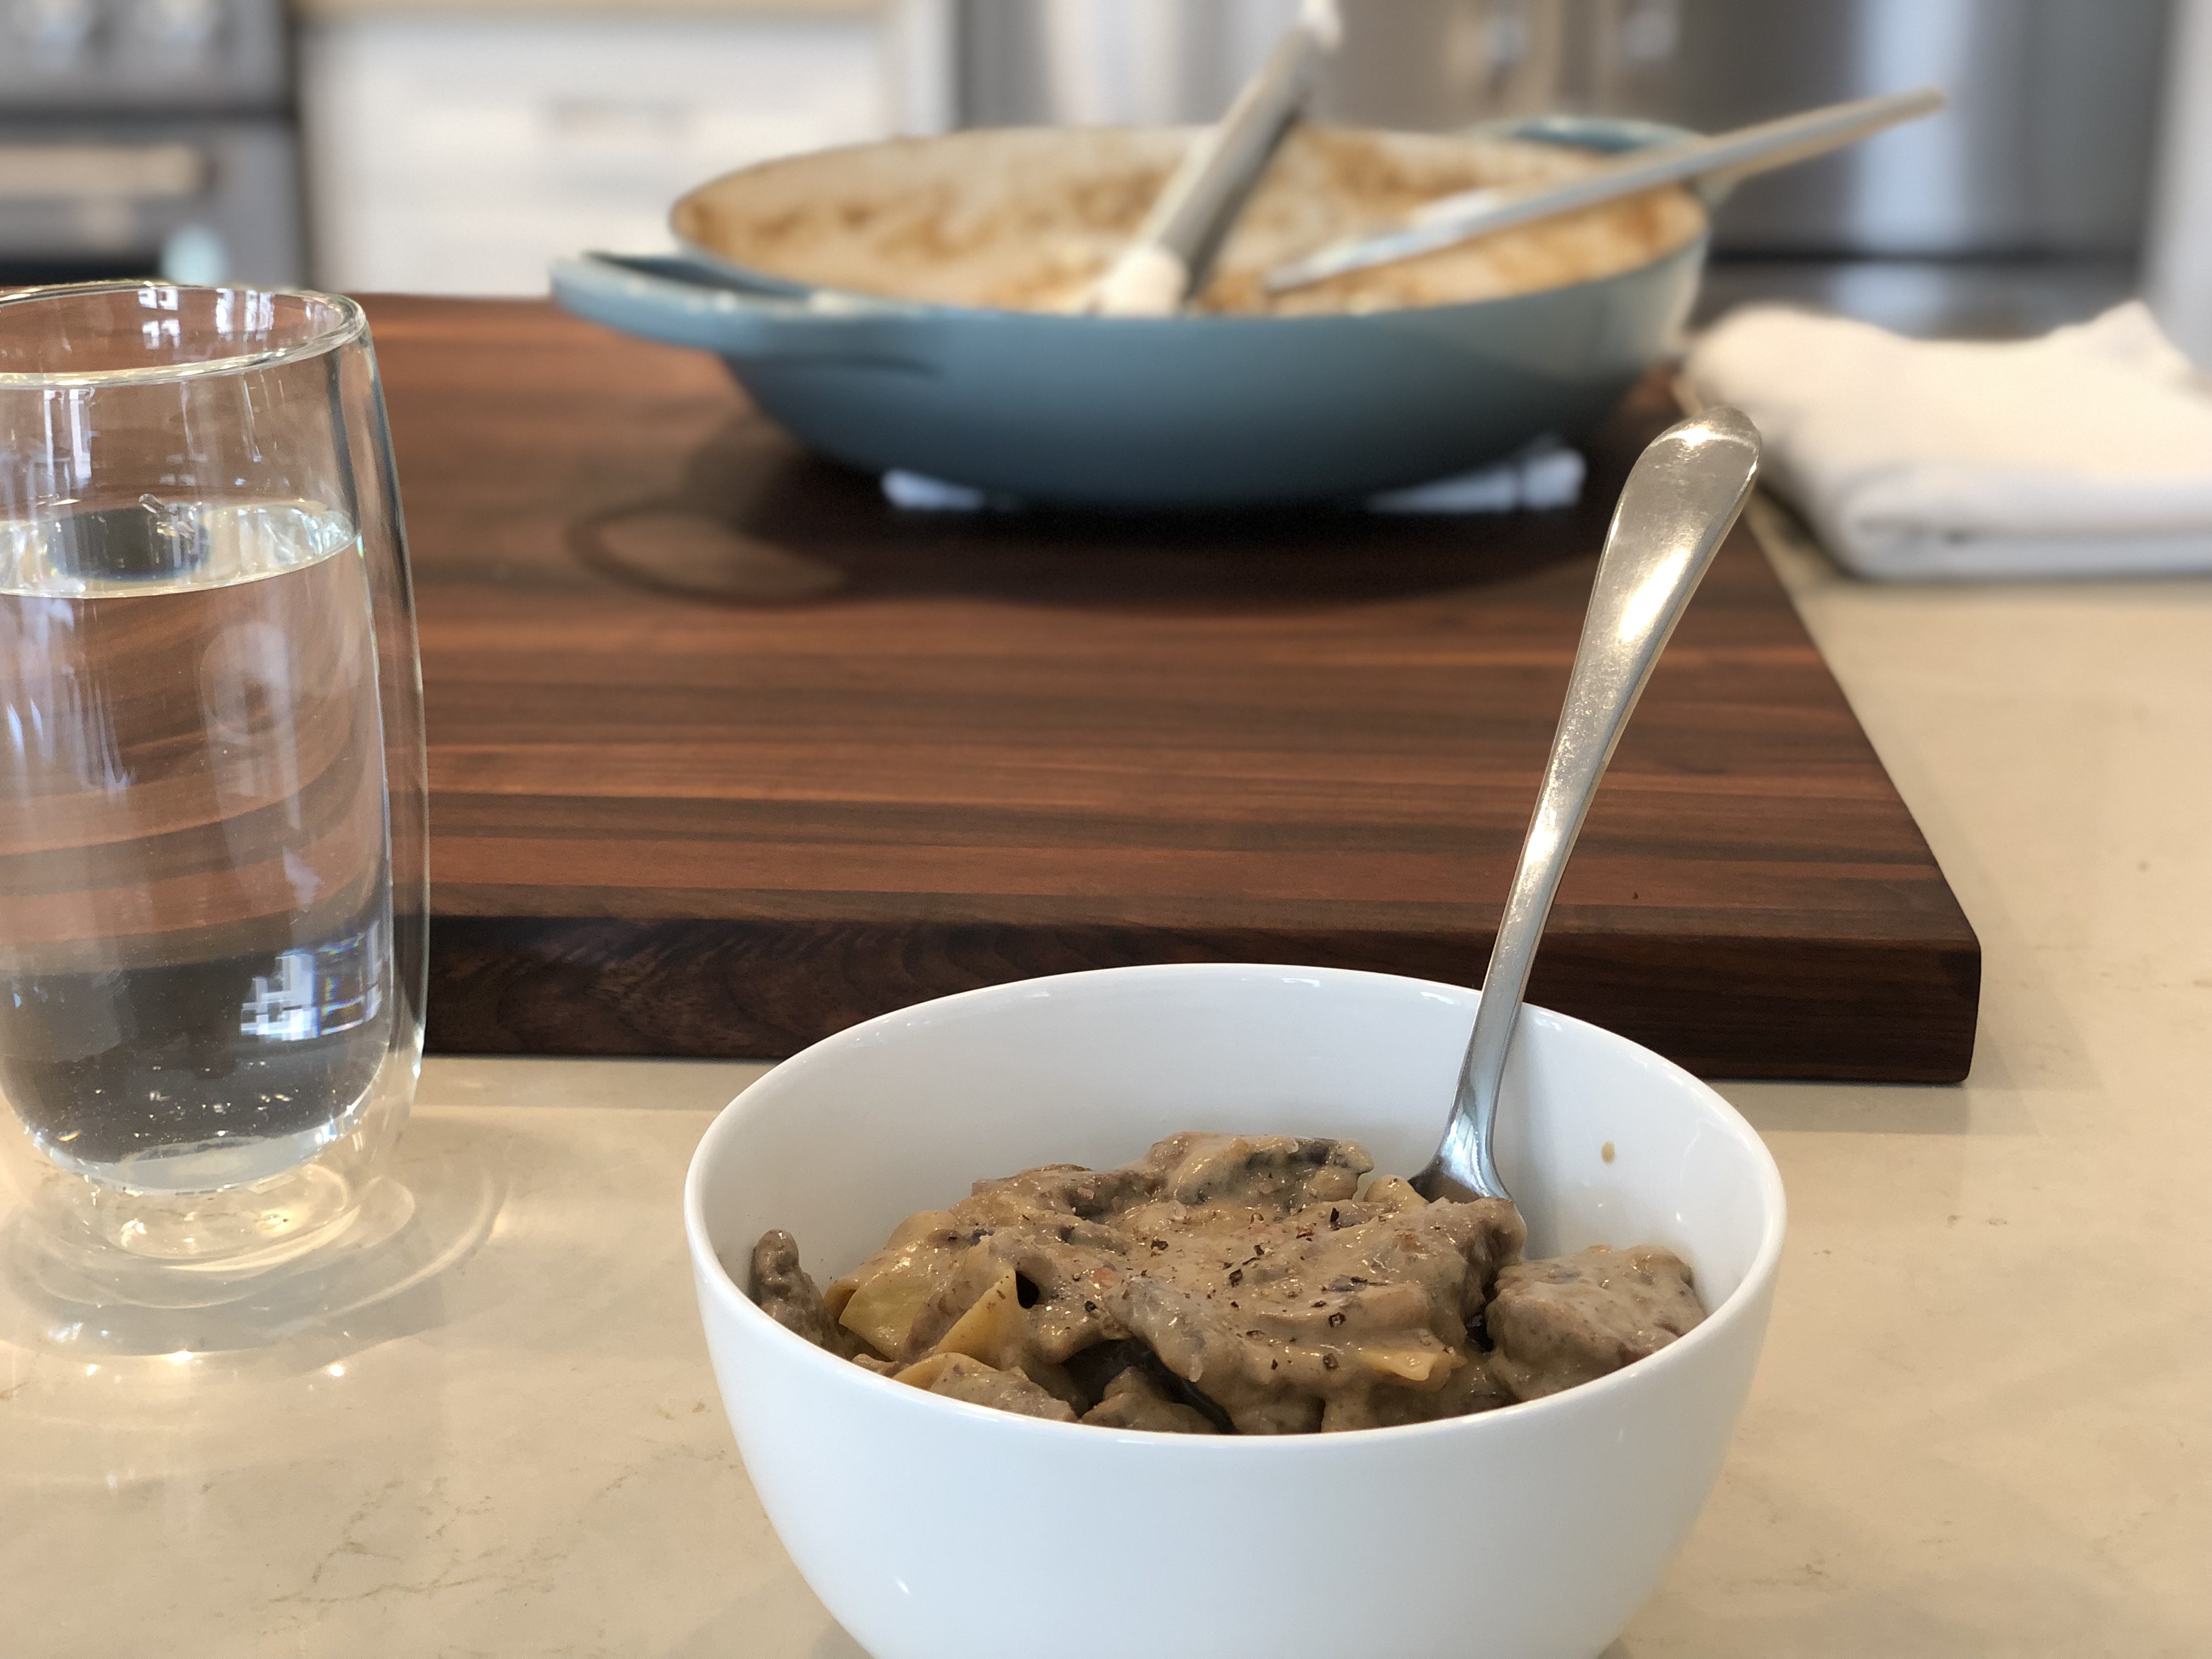
We were hungry. Very, very hungry. At this point, all we needed to do was to add salt, pepper, and divide it into four equally-sized serving bowls.
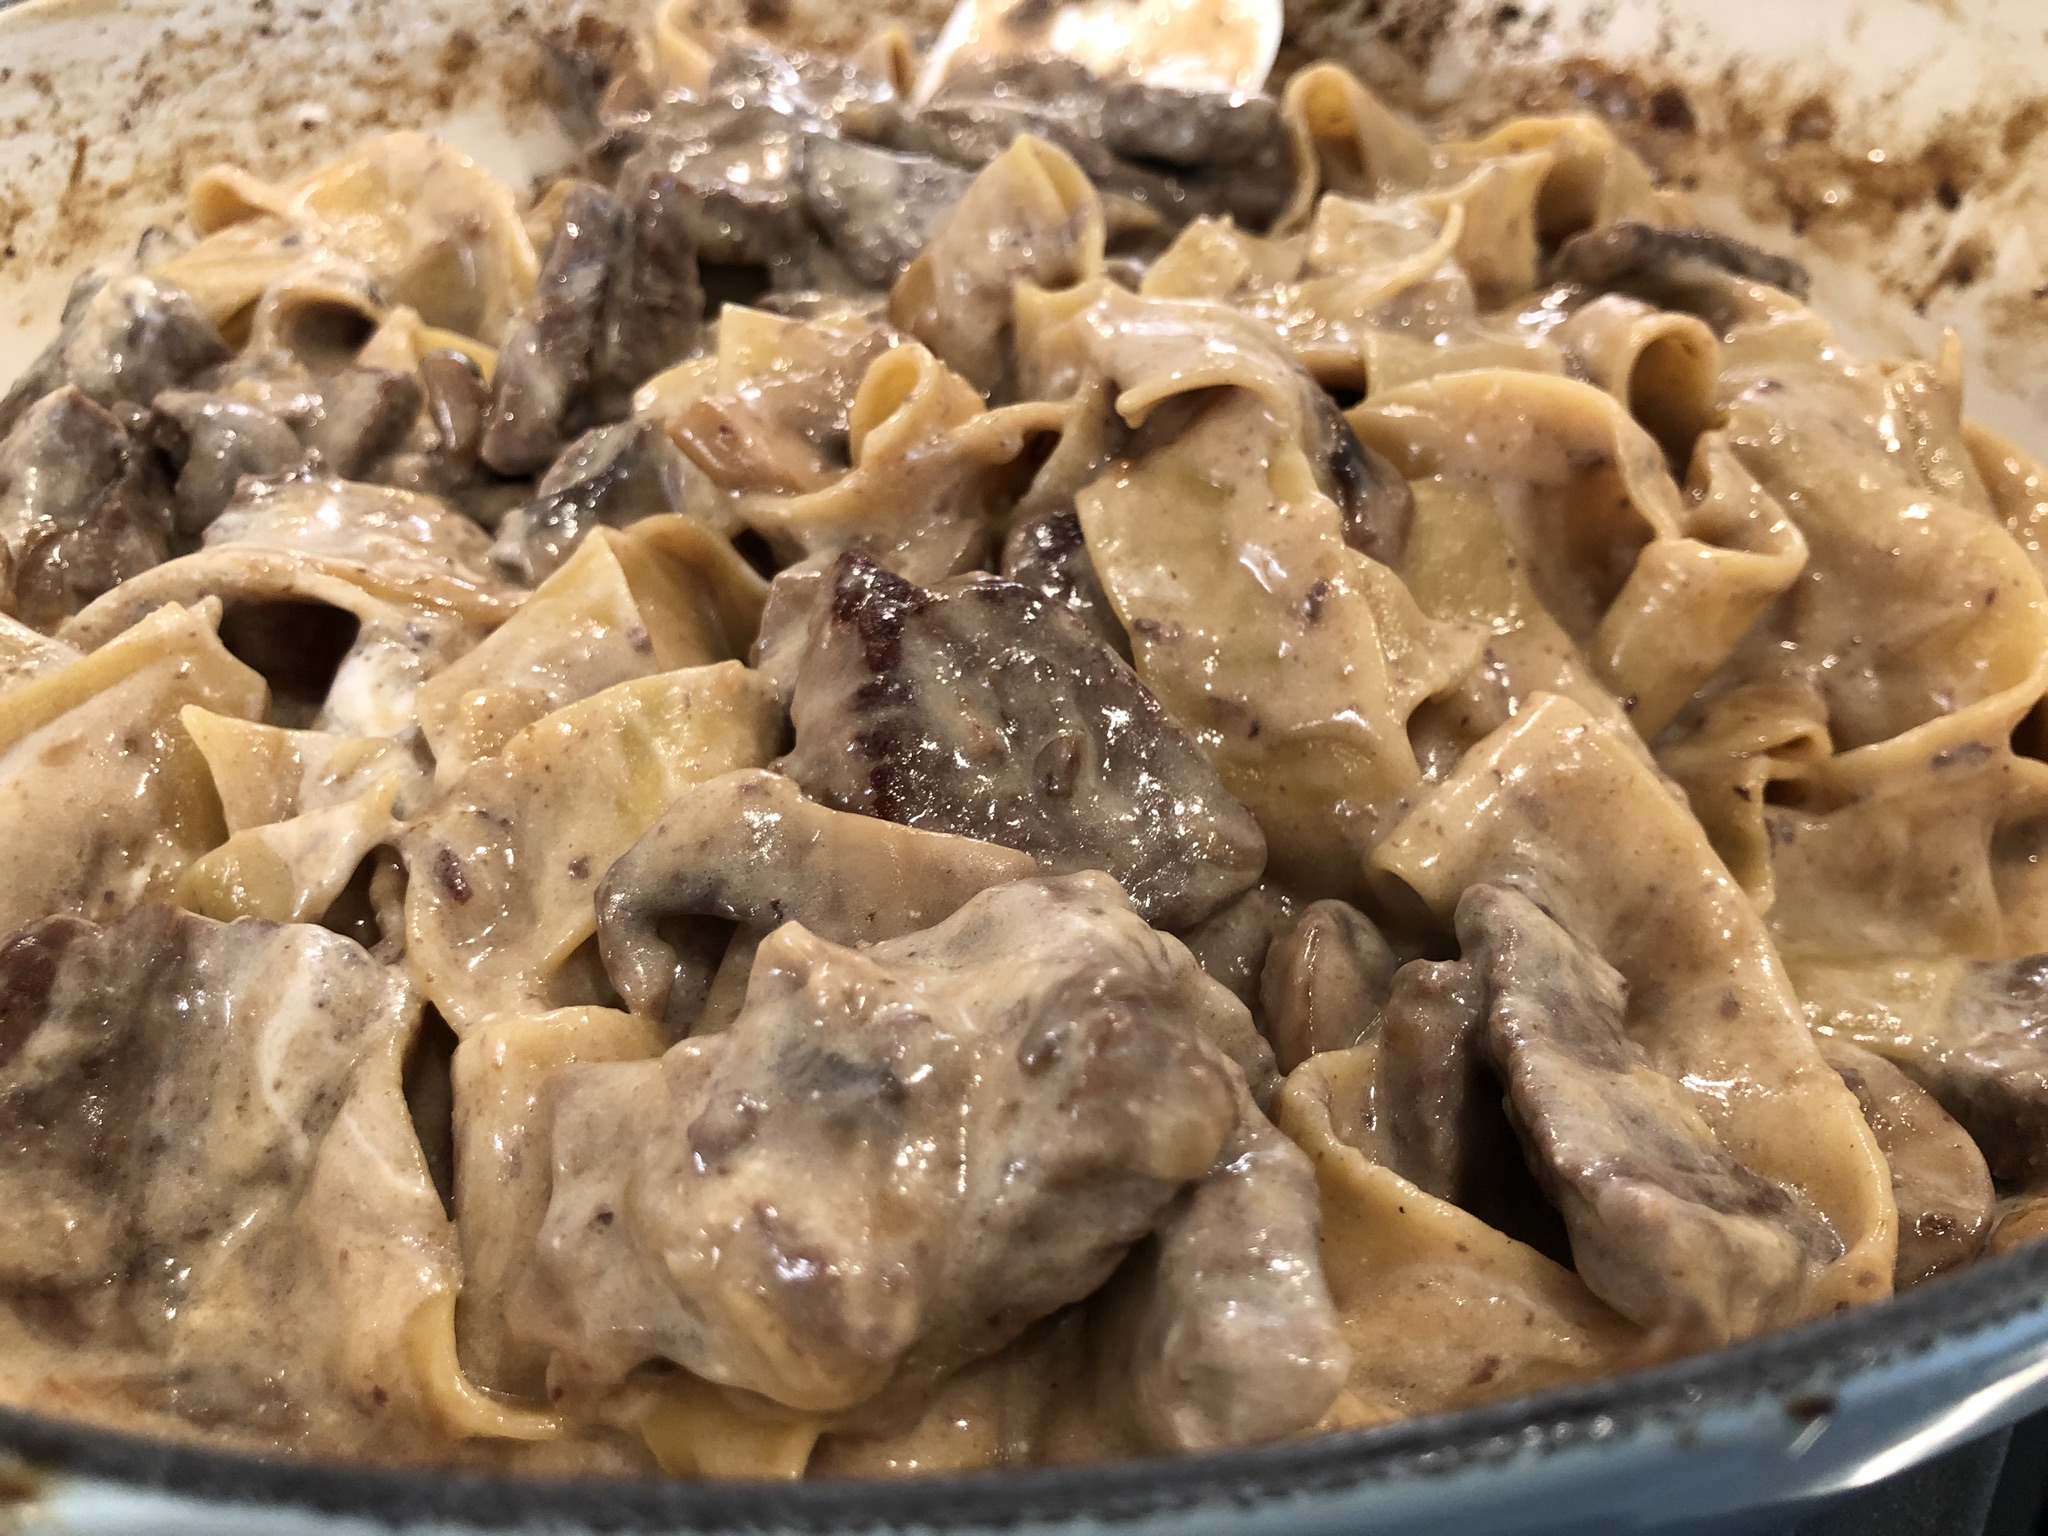
Let’s get a closer look … oh, yeah. I’m glad we did this.
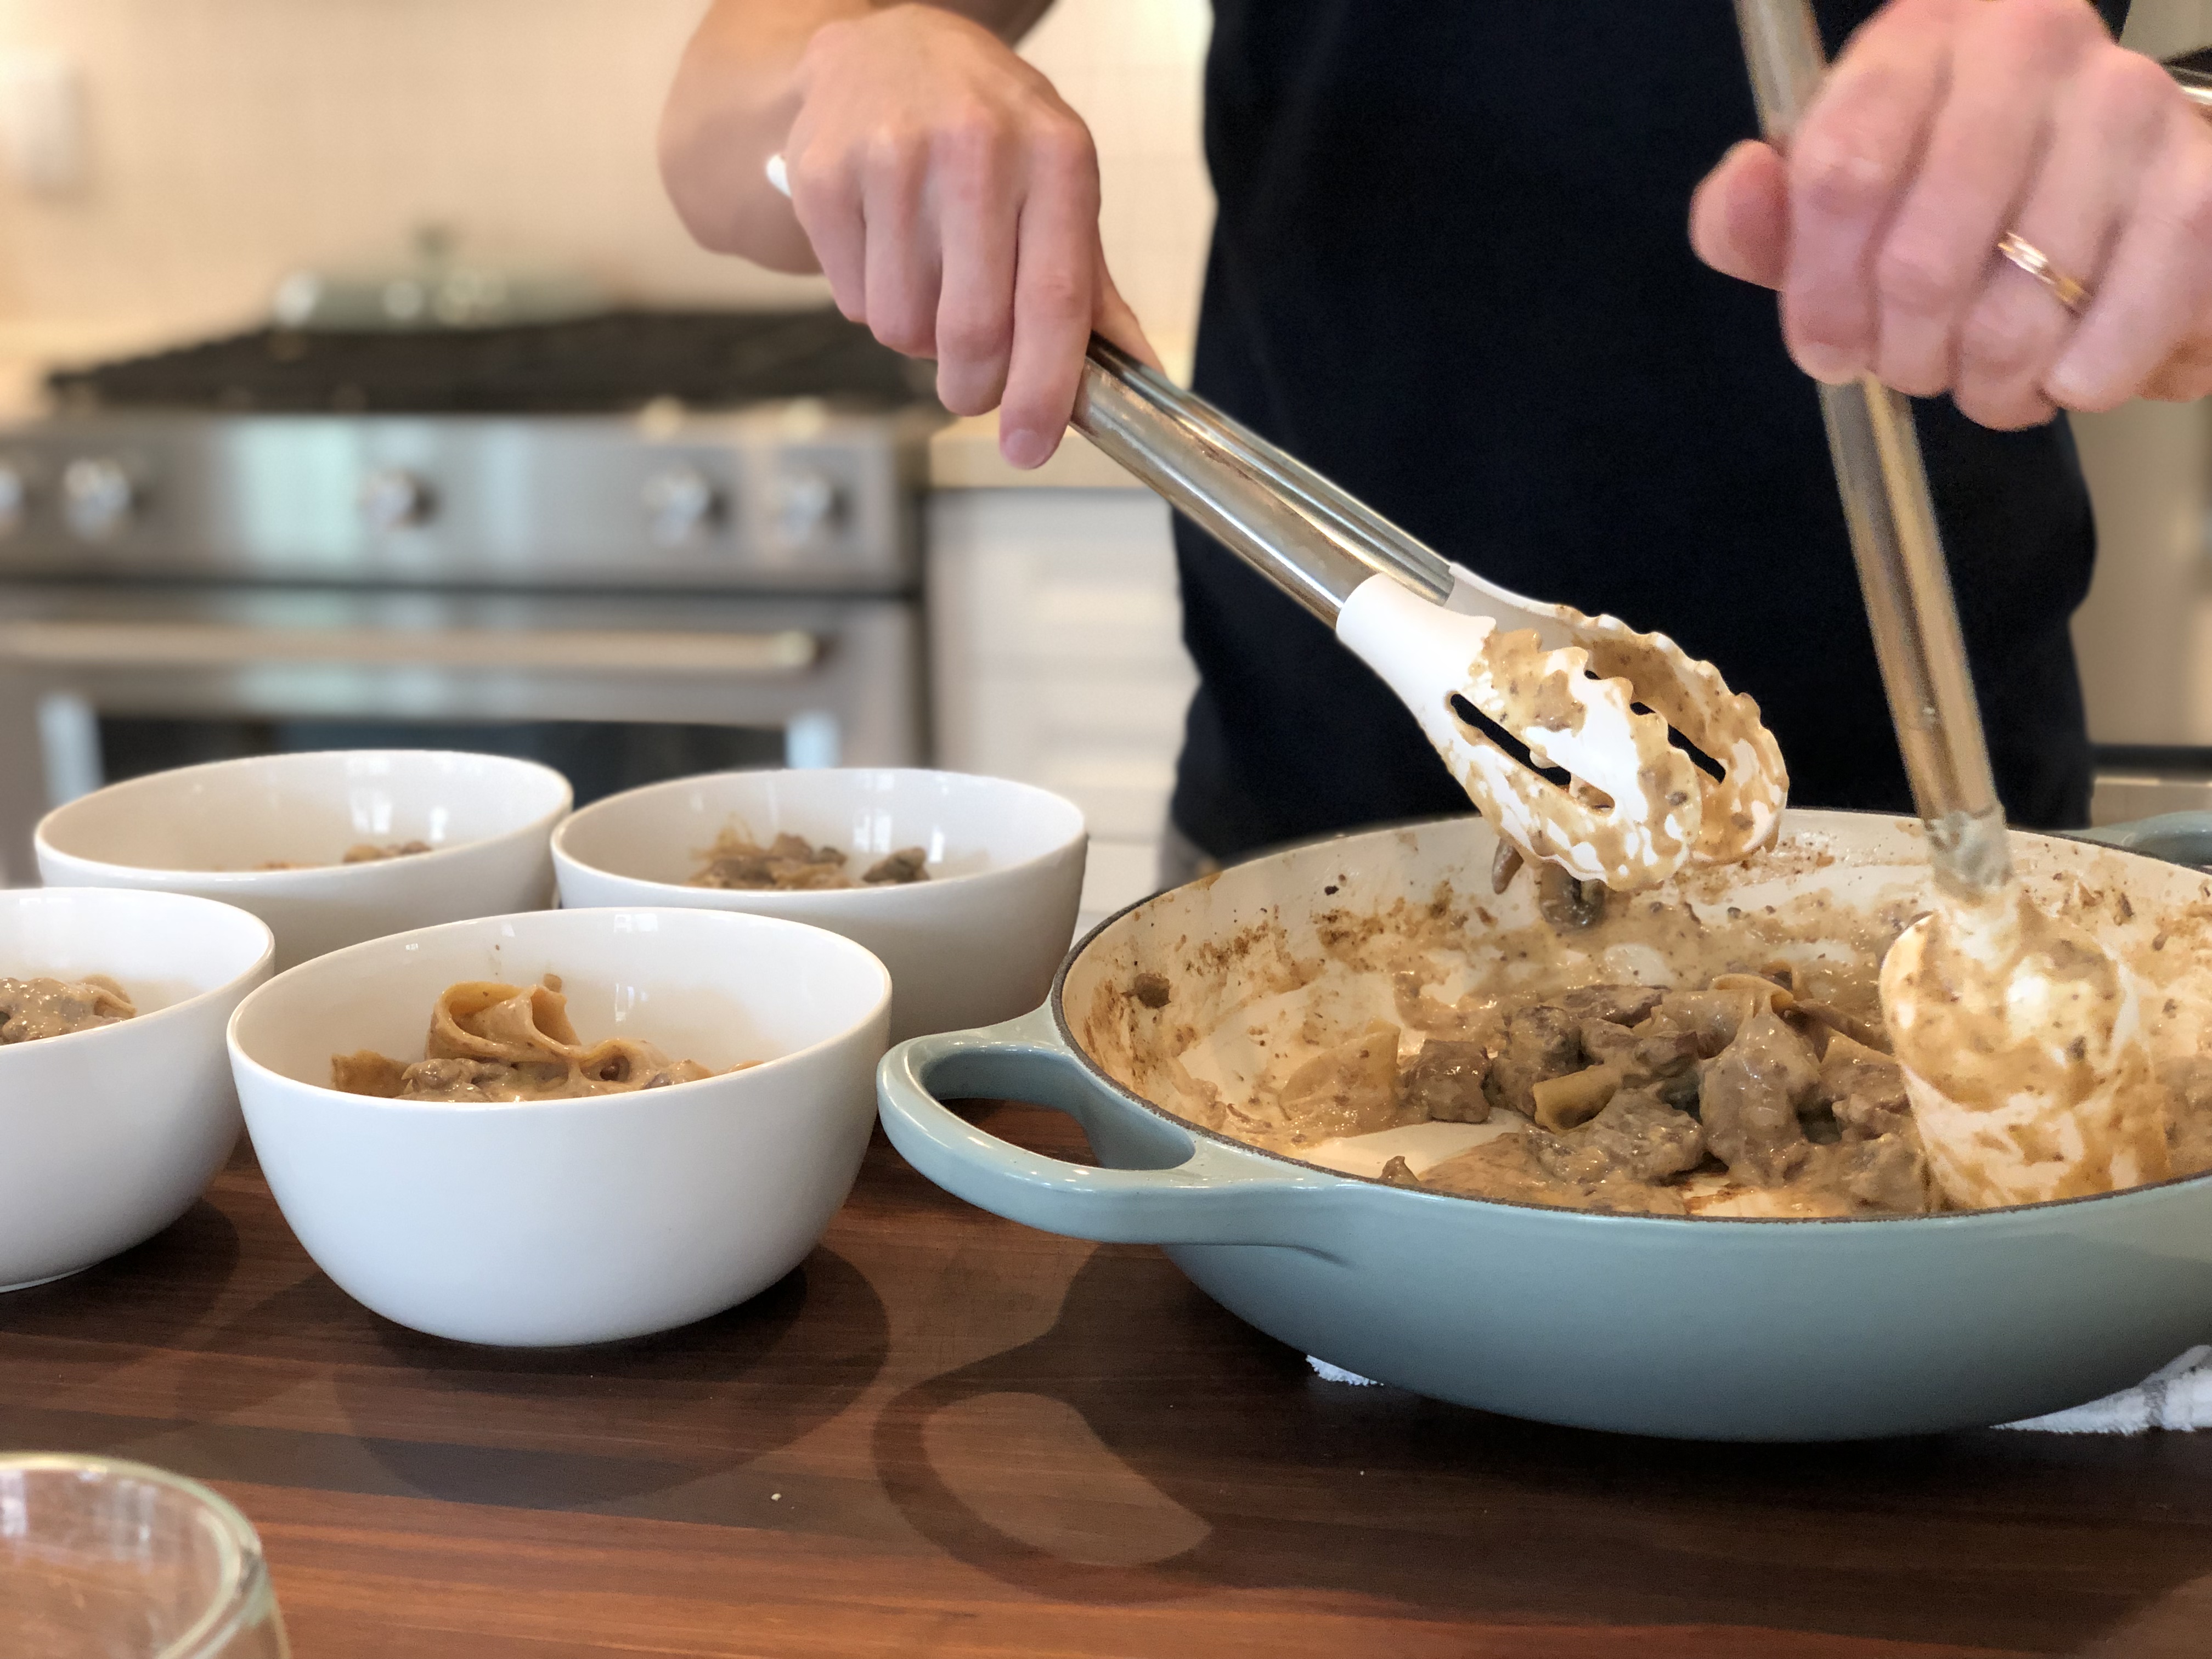
As I said earlier, we kept the recommended four servings for the recipe and each ate a bowl on the day we made it and the following day for lunch, allowing us to take care of meals two days in a row.
Here we go …
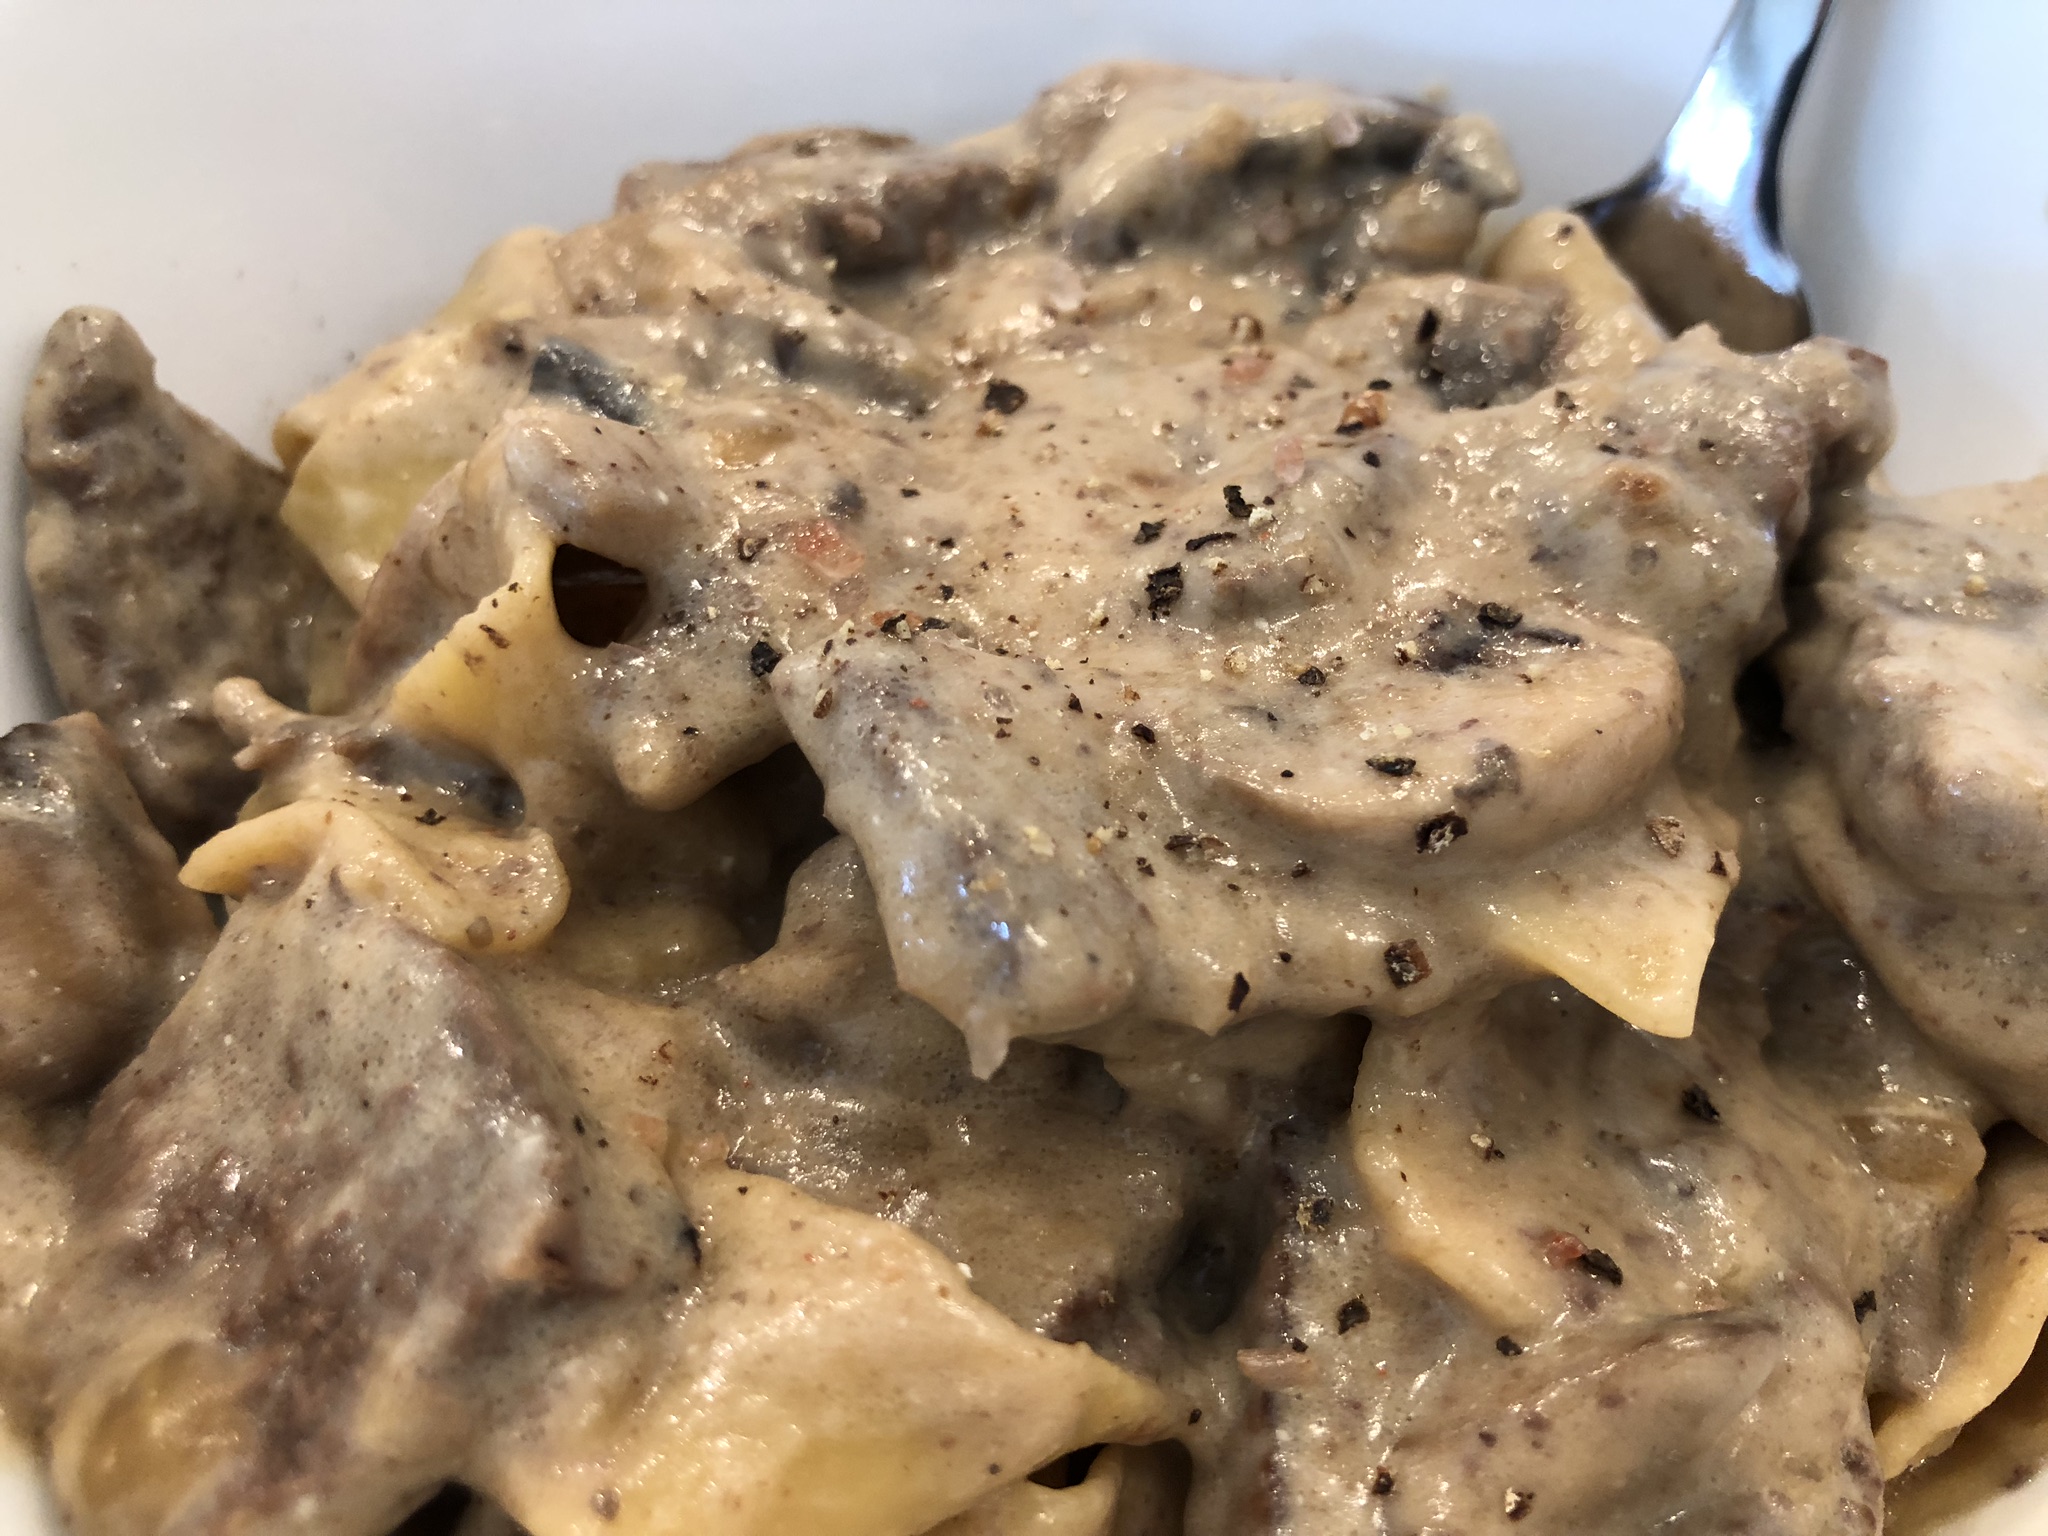
Yep. This was a fun recipe. Here is the finished product, in the bowl, seasoned with salt and pepper moments before we enjoyed it for lunch!
The verdict? It was a delicious Beef Stroganoff recipe. You can definitely tell the brandy enriched the sauce. The serving sizes are reasonable but the dish is heavy – we calculated each of the four servings at a bit more than 900 calories, which was slightly more than America’s Test Kitchen estimates – but for most people on a 2,000 calorie-a-day diet, that should be fine if they ate a reasonable-sized breakfast and dinner. Aaron pointed out that we should have baked fresh bread with it – something crusty that could be used to sop up the delicious drippings left behind after the bowls had been emptied.
If I were going to alter this recipe, I’d want to find a way to make it even more concentrated, flavor-wise. I’m not sure what that would take. Maybe a touch more brandy. Maybe adding a beef demi-glace, though that begs the question: at what point have you converted a Russian dish into a traditionally decadent French dish? At some point, you really begin to approach something like the flavor profile of beef short ribs braised in Cabernet with pasta, pearl onions and mushrooms.