

How To Make Homemade Fresh Pasta
For those of you who write me intrigued by the idea of cooking for the first time, I wanted to show you just how incredibly easy it can be. Since we are on an Italian kick lately, the best place to start would be the basic Italian staple: Fresh pasta. Homemade pasta has a unique flavor, texture, and element to it that even the best store bought boxed pastas can’t touch. Even better, you can modify and perfect your pasta dough recipe to reflect your own family’s tastes. I thought that I’d take an extra hour or so before dinner tonight and document the process to show you how it is done so you could try it yourself, in your own kitchen. This is one of those things that, if you get into it only once or twice, you spend the rest of your life thinking, “Why did I do this sooner?”.
To make fresh homemade pasta using the simplest, most traditional recipe, we need two things. These will vary depending on where you live, the temperature of your kitchen, the humidity in the air, and the particular chemistry of the eggs and flour you use.
2 large eggs
1 cup of flour
That’s it. I promise. I’m not going to throw you any curveballs. You can try the version that require olive oil, or that use a combination of whole eggs and egg yolks. For now, we’re sticking to the basics. These are the only two things you need to go get and put on your counter. Based on today’s prices at the grocery store, that is only $0.44 worth of ingredients. It will create 0.75 pounds of finished fresh homemade pasta dough, which is enough to feed two hungry men, three normal dinner portions for a family, or four appetizer portions, depending on the occasion, so divide appropriately to get the per-serving cost.
This pasta dough will work for all pasta shapes except enclosed pastas that need to be sealed, such as ravioli, in which case we would add 1/2 tablespoon of milk to the mix to make it stickier. As you make your pasta dough, if you find it too dry, you can either add a tiny bit of water to it to introduce more moisture, or an additional egg. Likewise, if it is still too wet by the dough ball stage, you can keep adding flour until your thumb comes out of the dough ball clean with no dough stuck to it. The exact process will never be quite the same, even if you hold all controllable conditions constant. You have to go by the feel of the pasta itself.
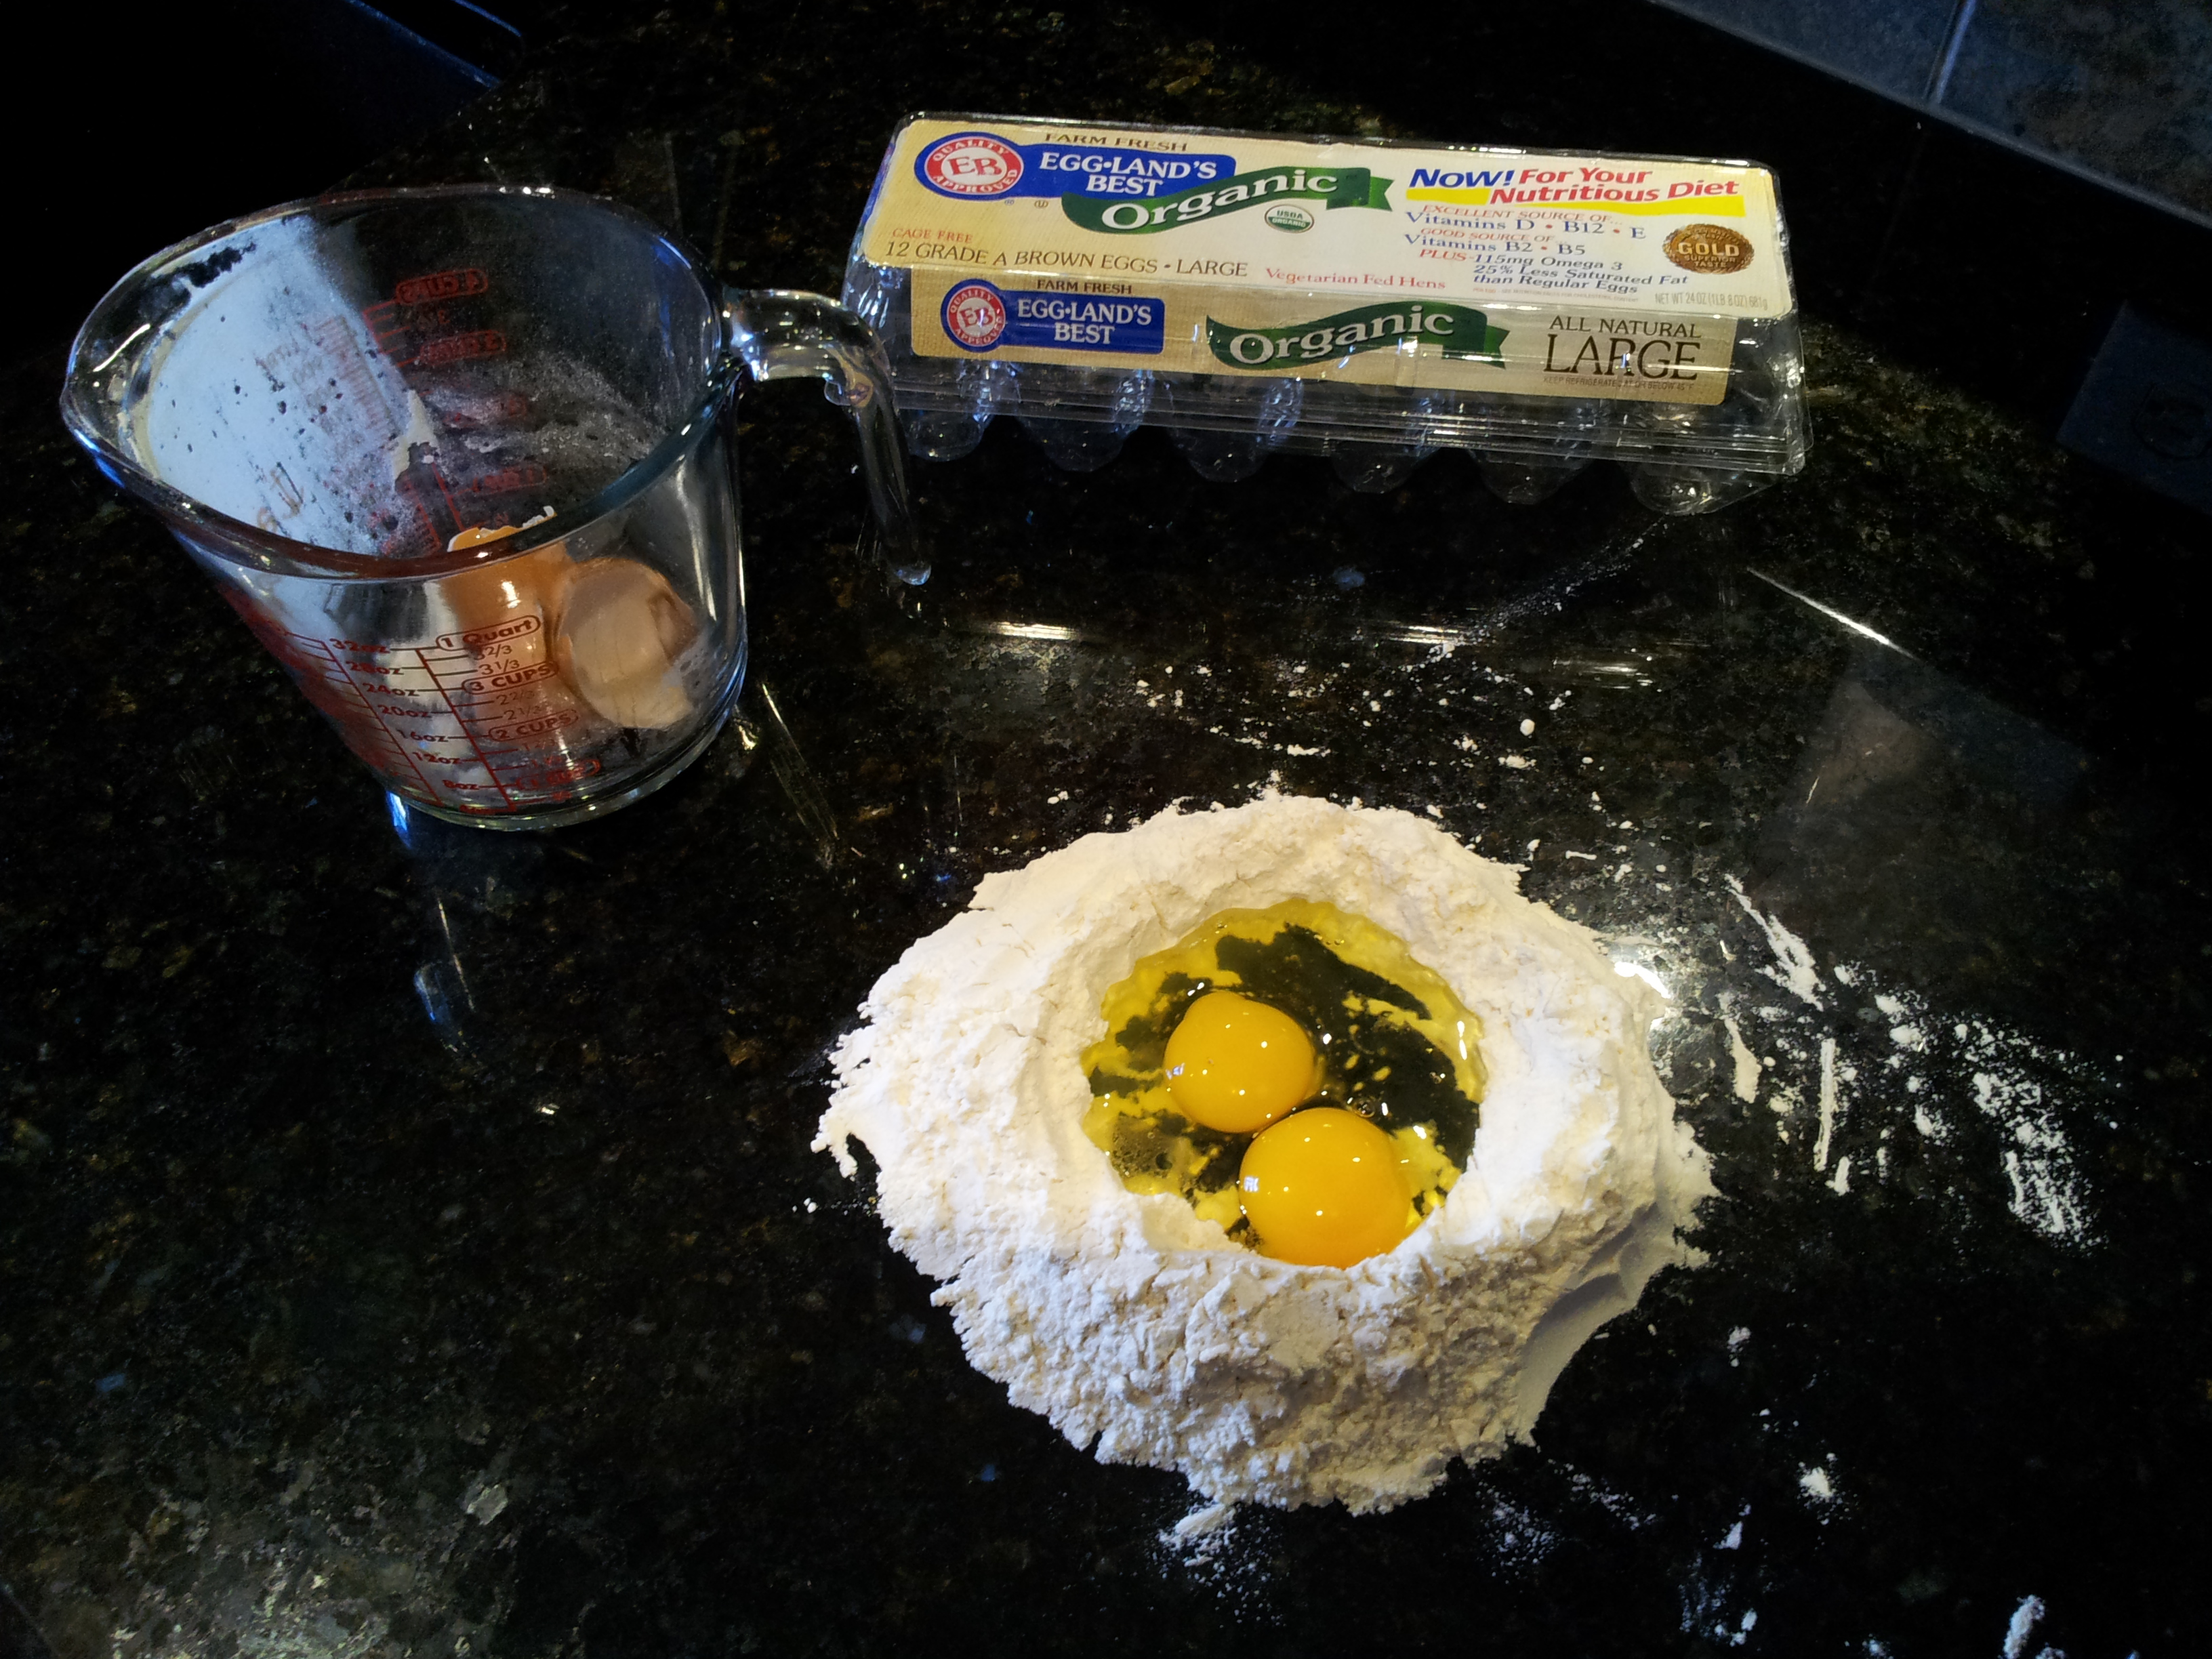
Homemade Fresh Pasta Step 1 – Eggs and Flour
First, to begin the process of making your homemade fresh pasta, measure out 1 cup of all purpose flour and form it into a well with solid sides. It needs to be structurally sound so it can contain the two eggs, which you will crack and put in the center. For this process, marble and granite are not particularly ideal as they are a bit too cold – wood or another surface might be better – but this is what is in my kitchen. I’m using the simplest form of the recipe, and the one found in the Italian cookbook I always recommend.
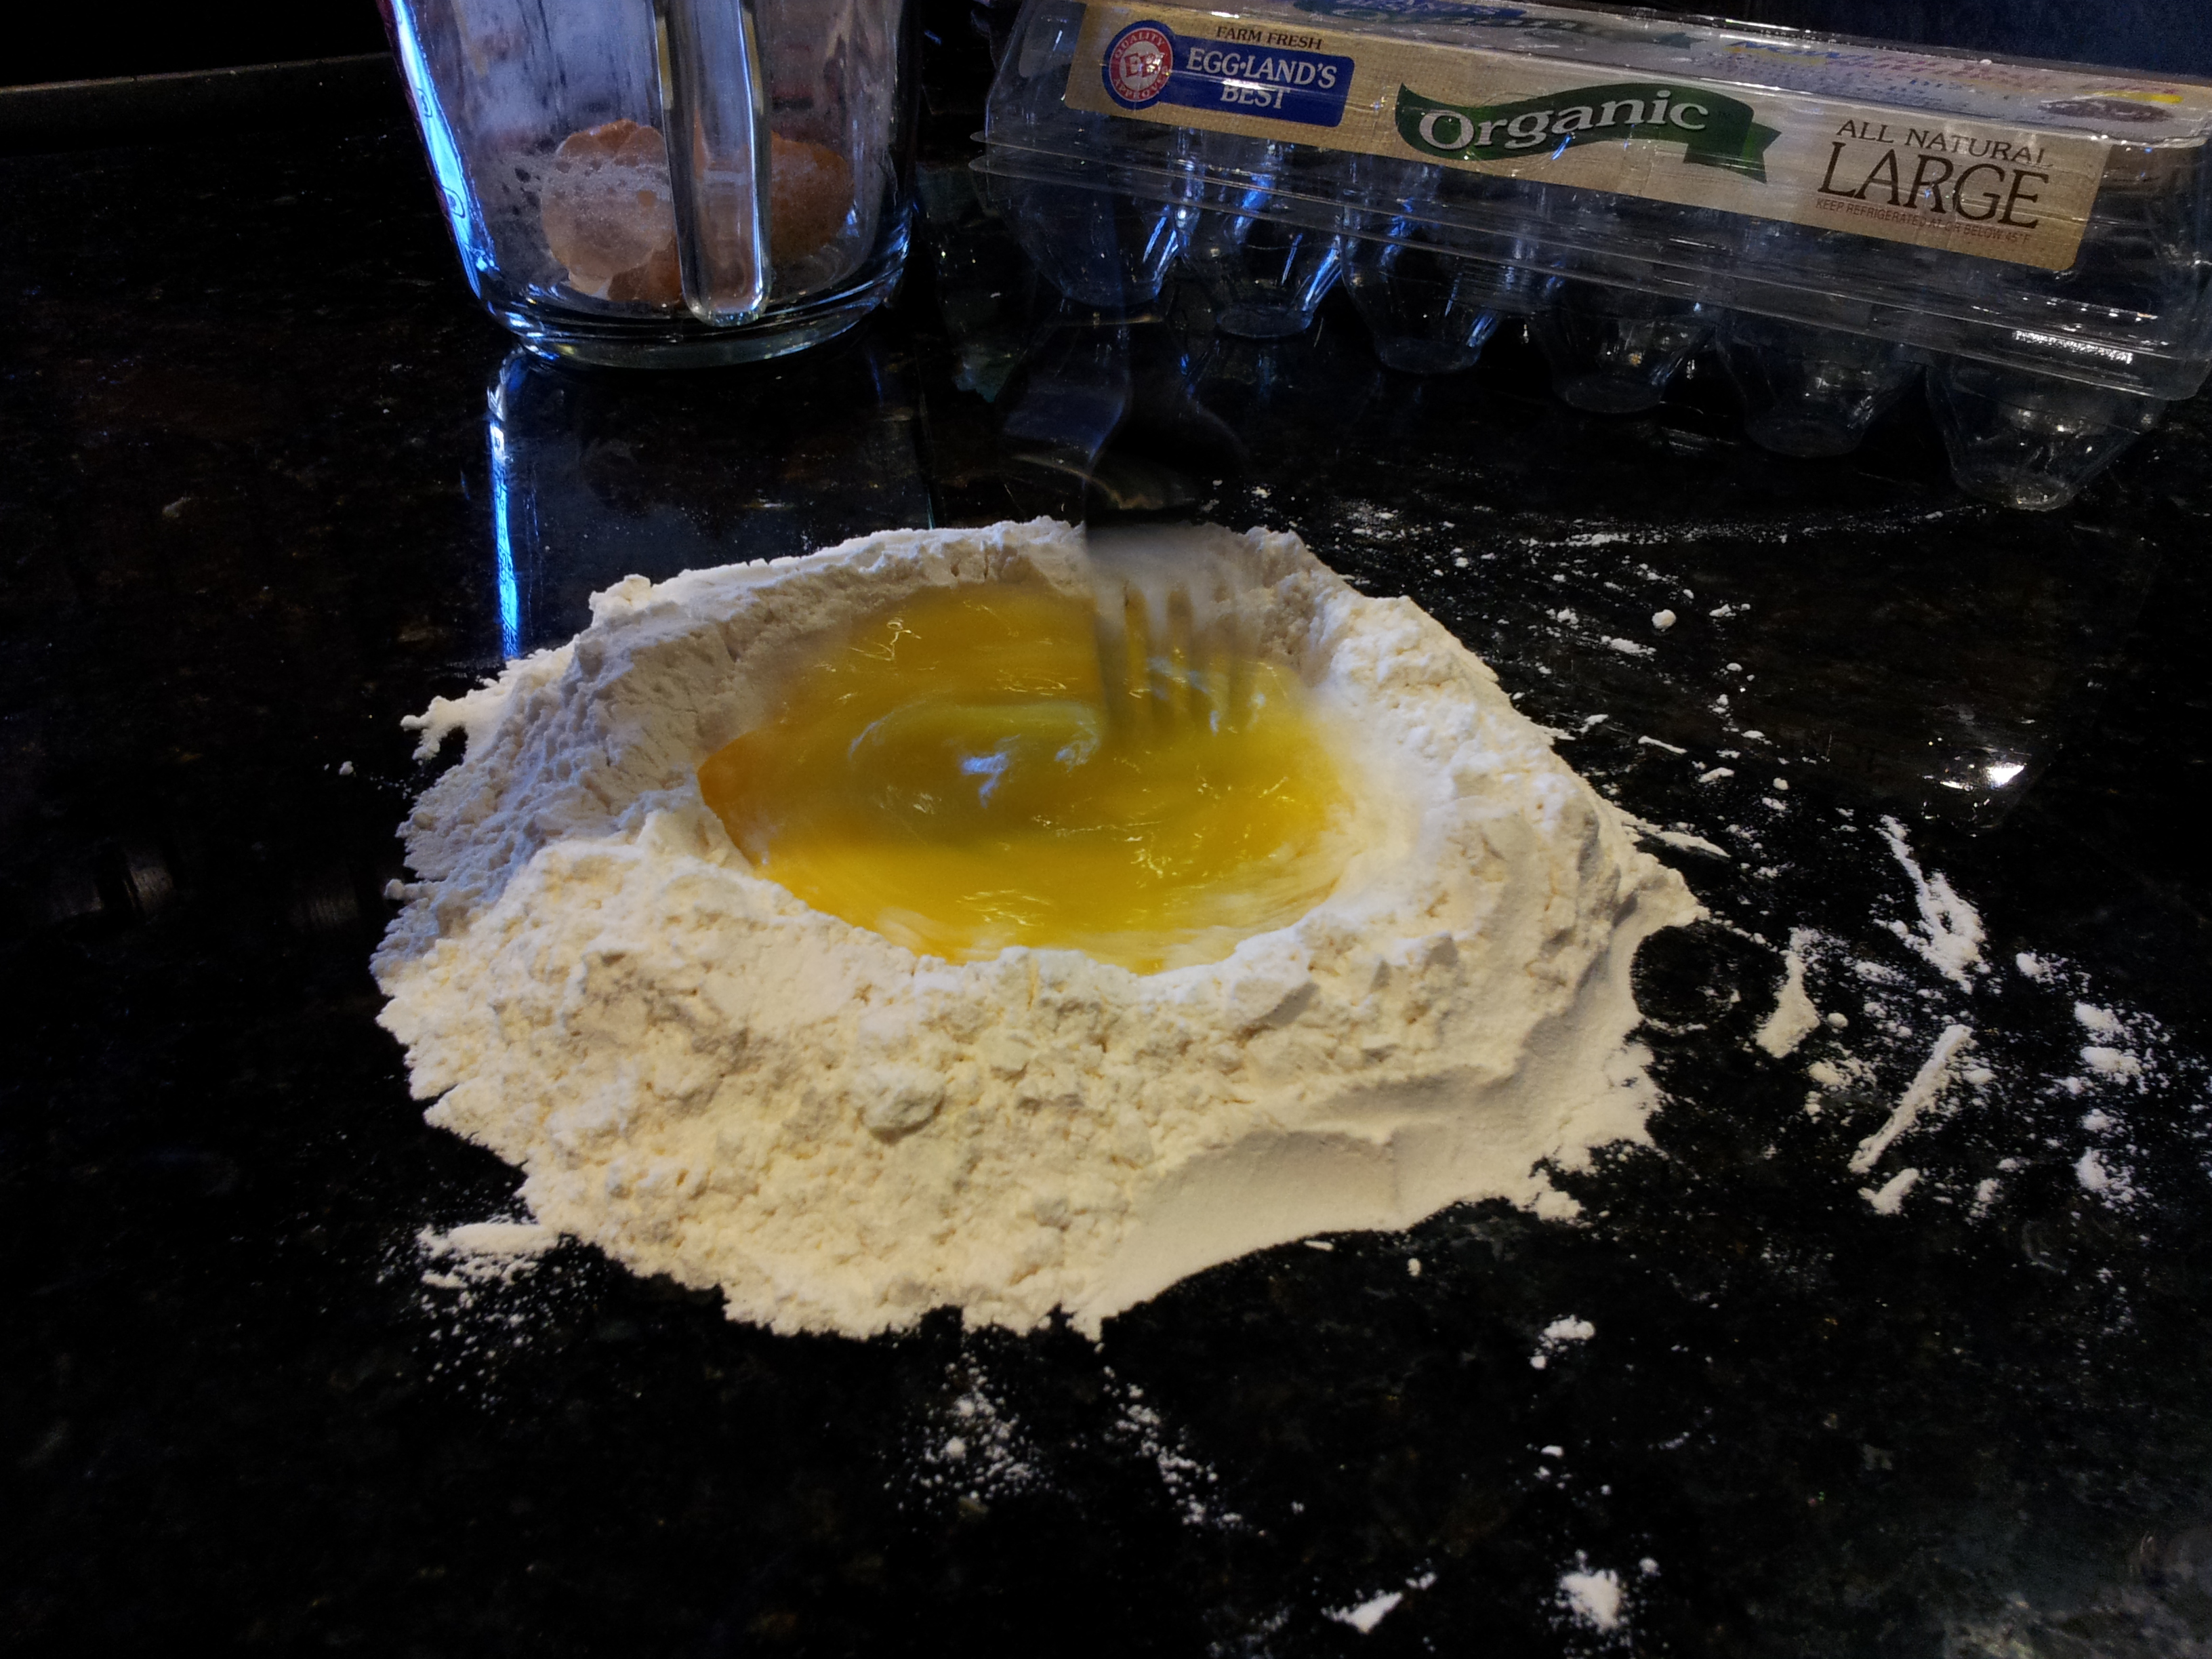
Homemade Fresh Pasta Step 2 – Whisk Eggs
Using a dinner fork, whisk the eggs in the center of the flour well, as you would making an omelette or scrambled eggs. As it becomes consistent, which will take about 60 seconds, slowly mix in a bit of the surrounding flour. Your end goal is to have all of the flour constituted within the egg mixture, forming the dough.
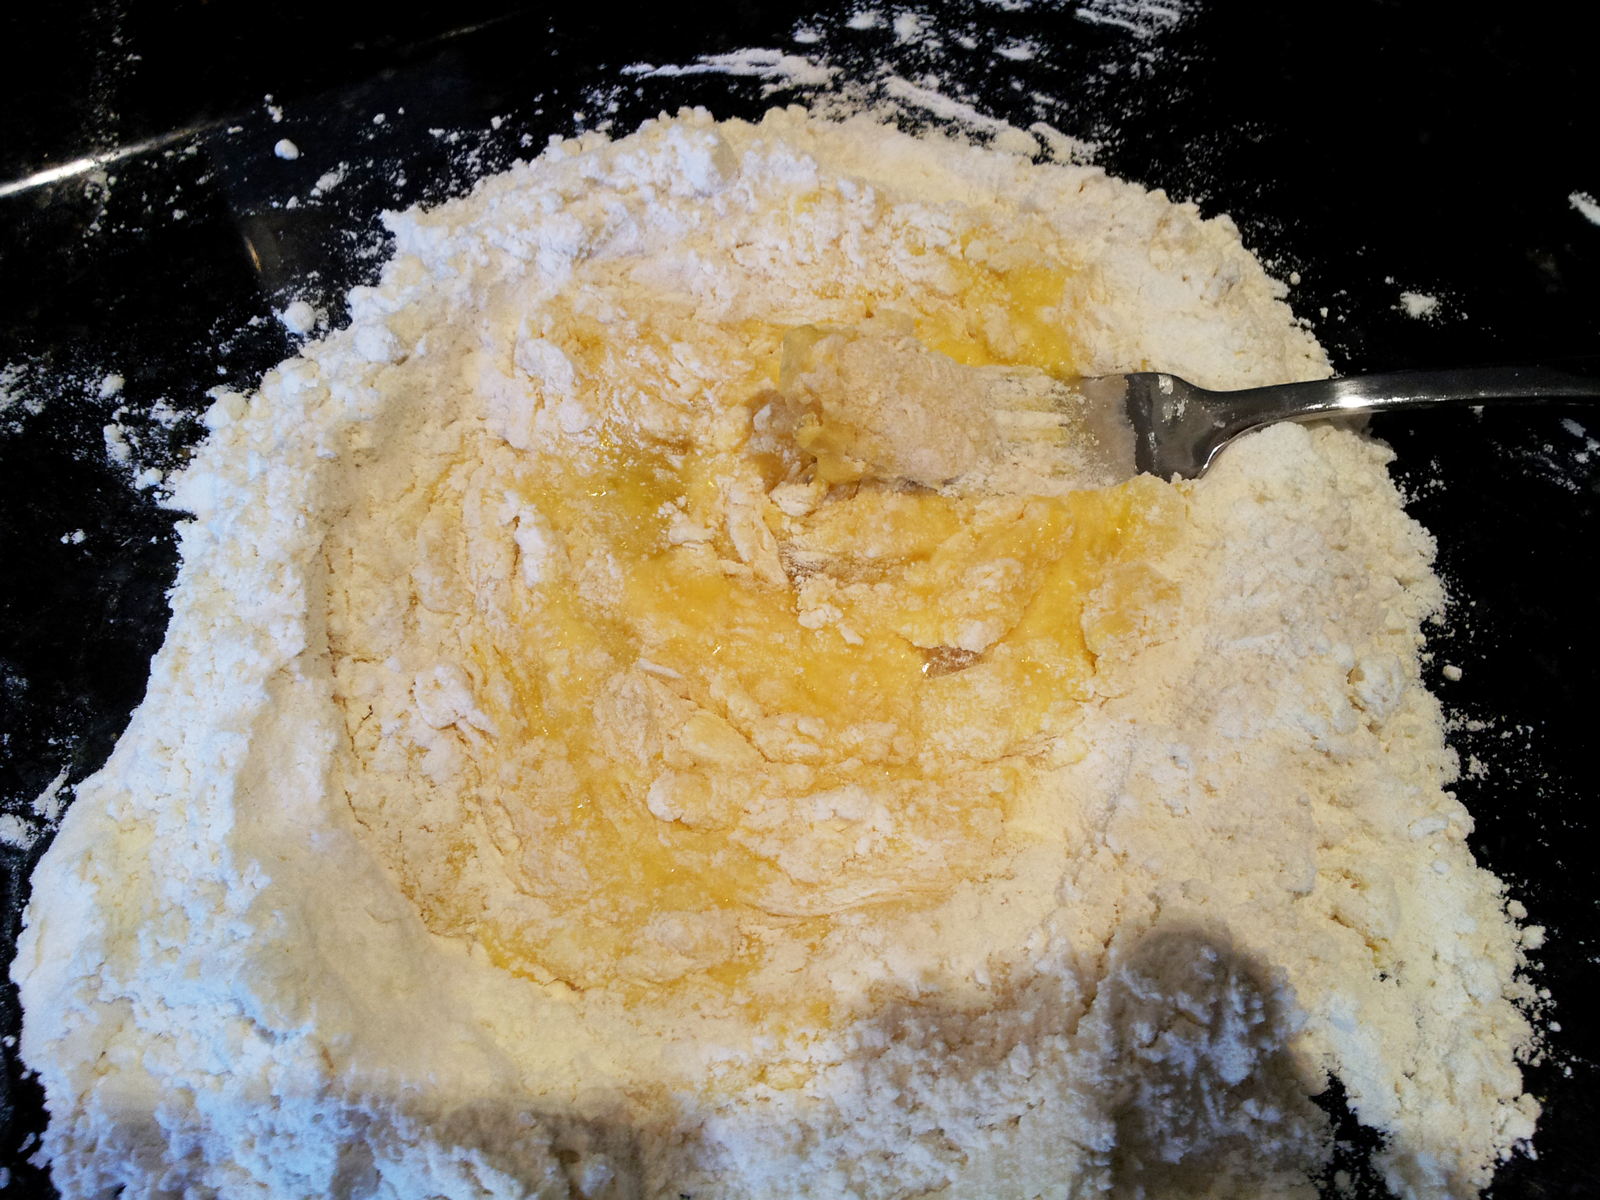
Homemade Fresh Pasta Step 3 – Slowly Combine Flour Into Eggs
Without breaking the sides, keep introducing more and more flour into the mixture, letting the egg absorb it. You will eventually go through the entire flour well and end up with the raw pasta.
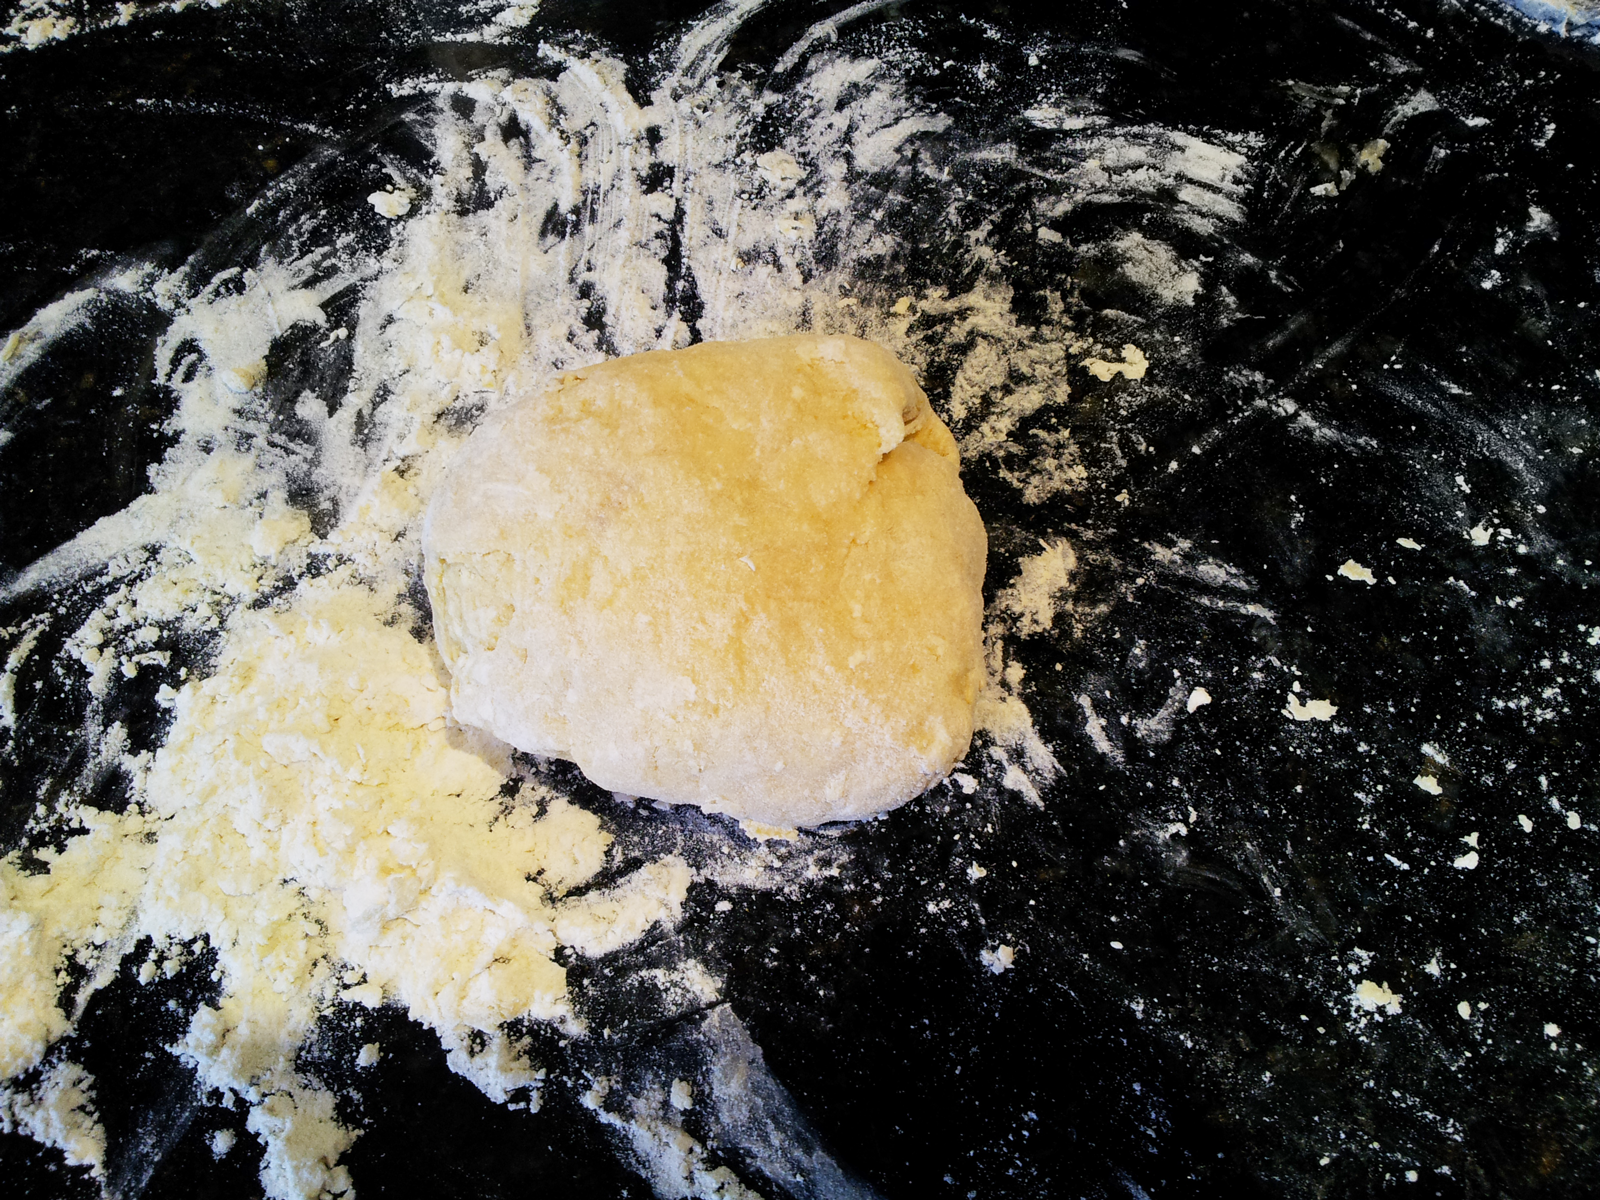
Homemade Fresh Pasta Step 3 (Continued) – Getting Ready to Knead the Pasta Dough
At this point, you should have the eggs and flour mixed into a crude pasta dough ball. To test it, wash and dry your hands. Then, press your thumb into it. If it comes up clean – no sticky dough attached – your dough is ready to go through the pasta machine. Use a pastry scraper or other tool to clean your work area and lightly flour it with new, fresh flour.
At this stage, you are going to knead your pasta dough. Using the base of the palms of your hands (not fingers), press forward into the dough. Then, rotate it 1/4th degree clockwise or counterclockwise (just by consistent), fold the dough in half over itself, and press into it it with the base of your palms, again. Continue this process, rotating the dough and folding it, after every knead. Continue this for eight minutes. When finished, your dough should look smooth and beautiful.
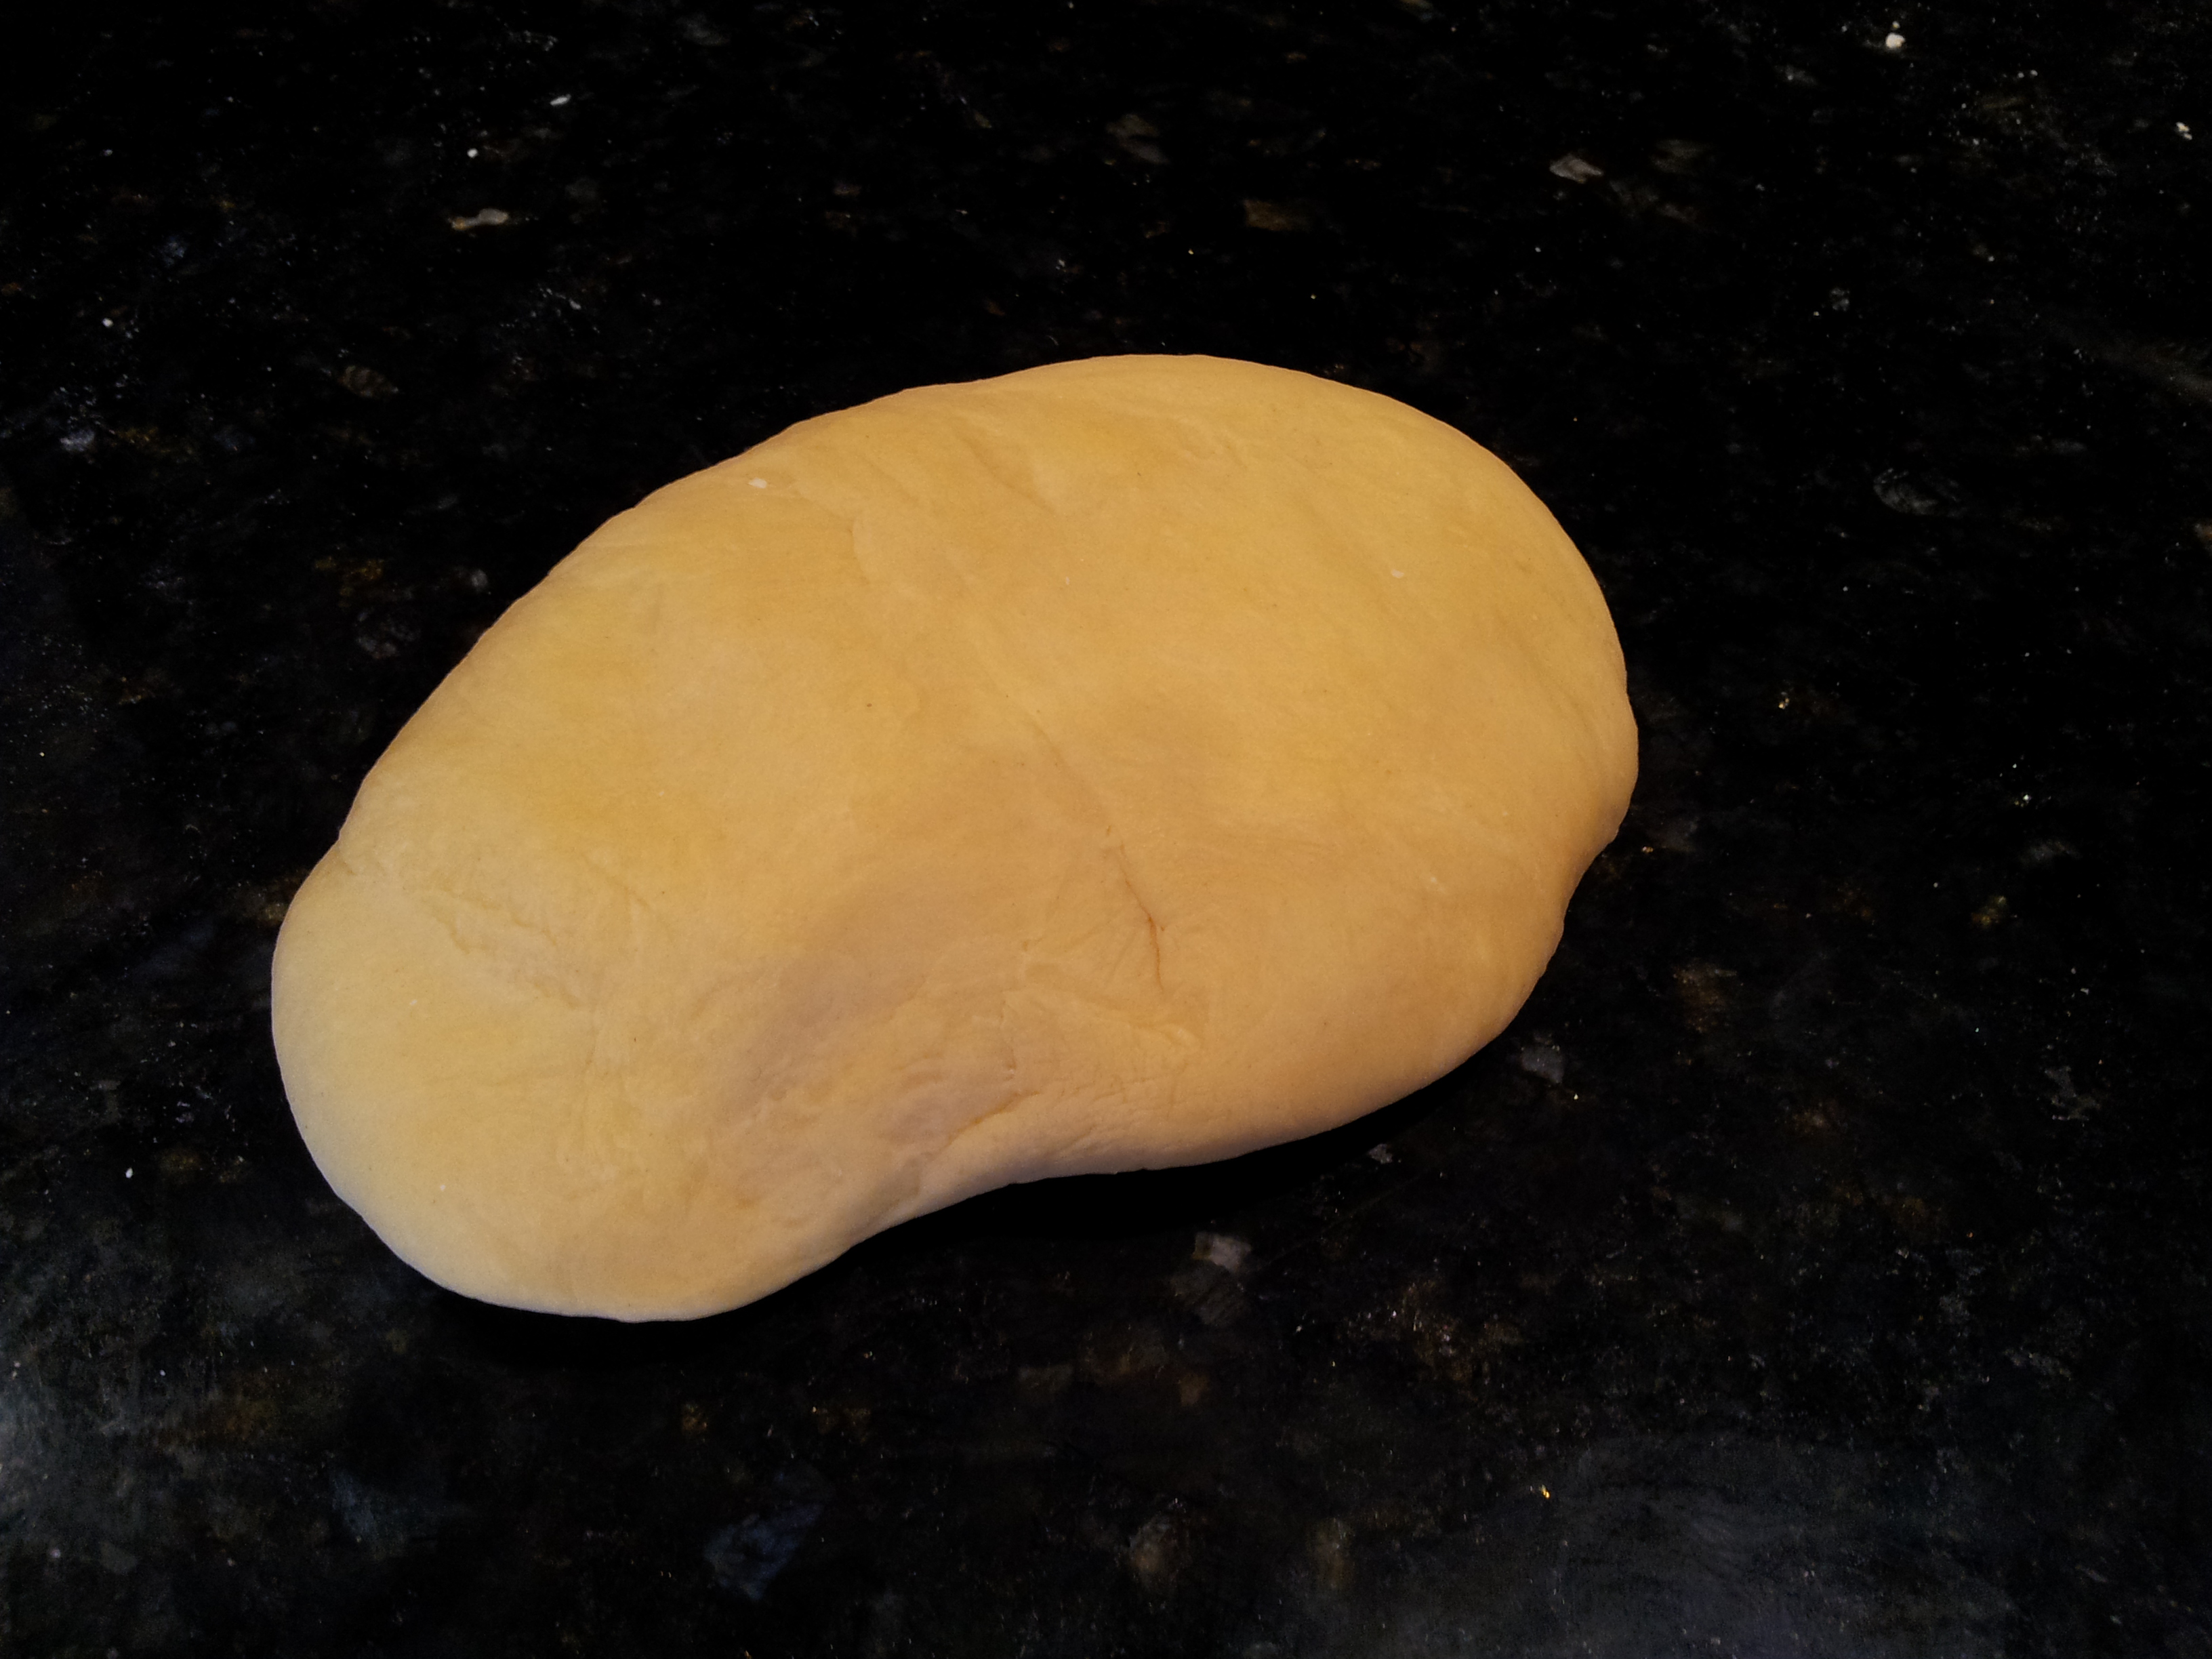
Homemade Fresh Pasta Step 4 – Kneading the Pasta Dough
Using the base of the palms of your hands (not fingers), press forward into the dough. Then, rotate it 1/4th degree clockwise or counterclockwise (just be consistent), fold the dough in half over itself, and press into it it with the base of your palms, again. Continue this process, rotating the dough and folding it, after every knead. Continue this for eight minutes. When finished, your dough should look smooth and beautiful.
Almost all of you are going to be using some sort of pasta maker for your fresh pasta. If you want to try the completely, old-school, do-it-all-by-hand method I used the other day for the butter and sage sauce pasta, you would wrap the pasta dough in plastic foil and put aside for fifteen minutes to let the gluten rest. There are plenty of videos online that show the hand technique. You might want to learn it, but you won’t use it very often. I try to keep up on it just in case I find myself in a situation where I’m at someone’s home or don’t have a machine handy. It’s so much easier with the pasta machine, though, so we can continue on to the next step.
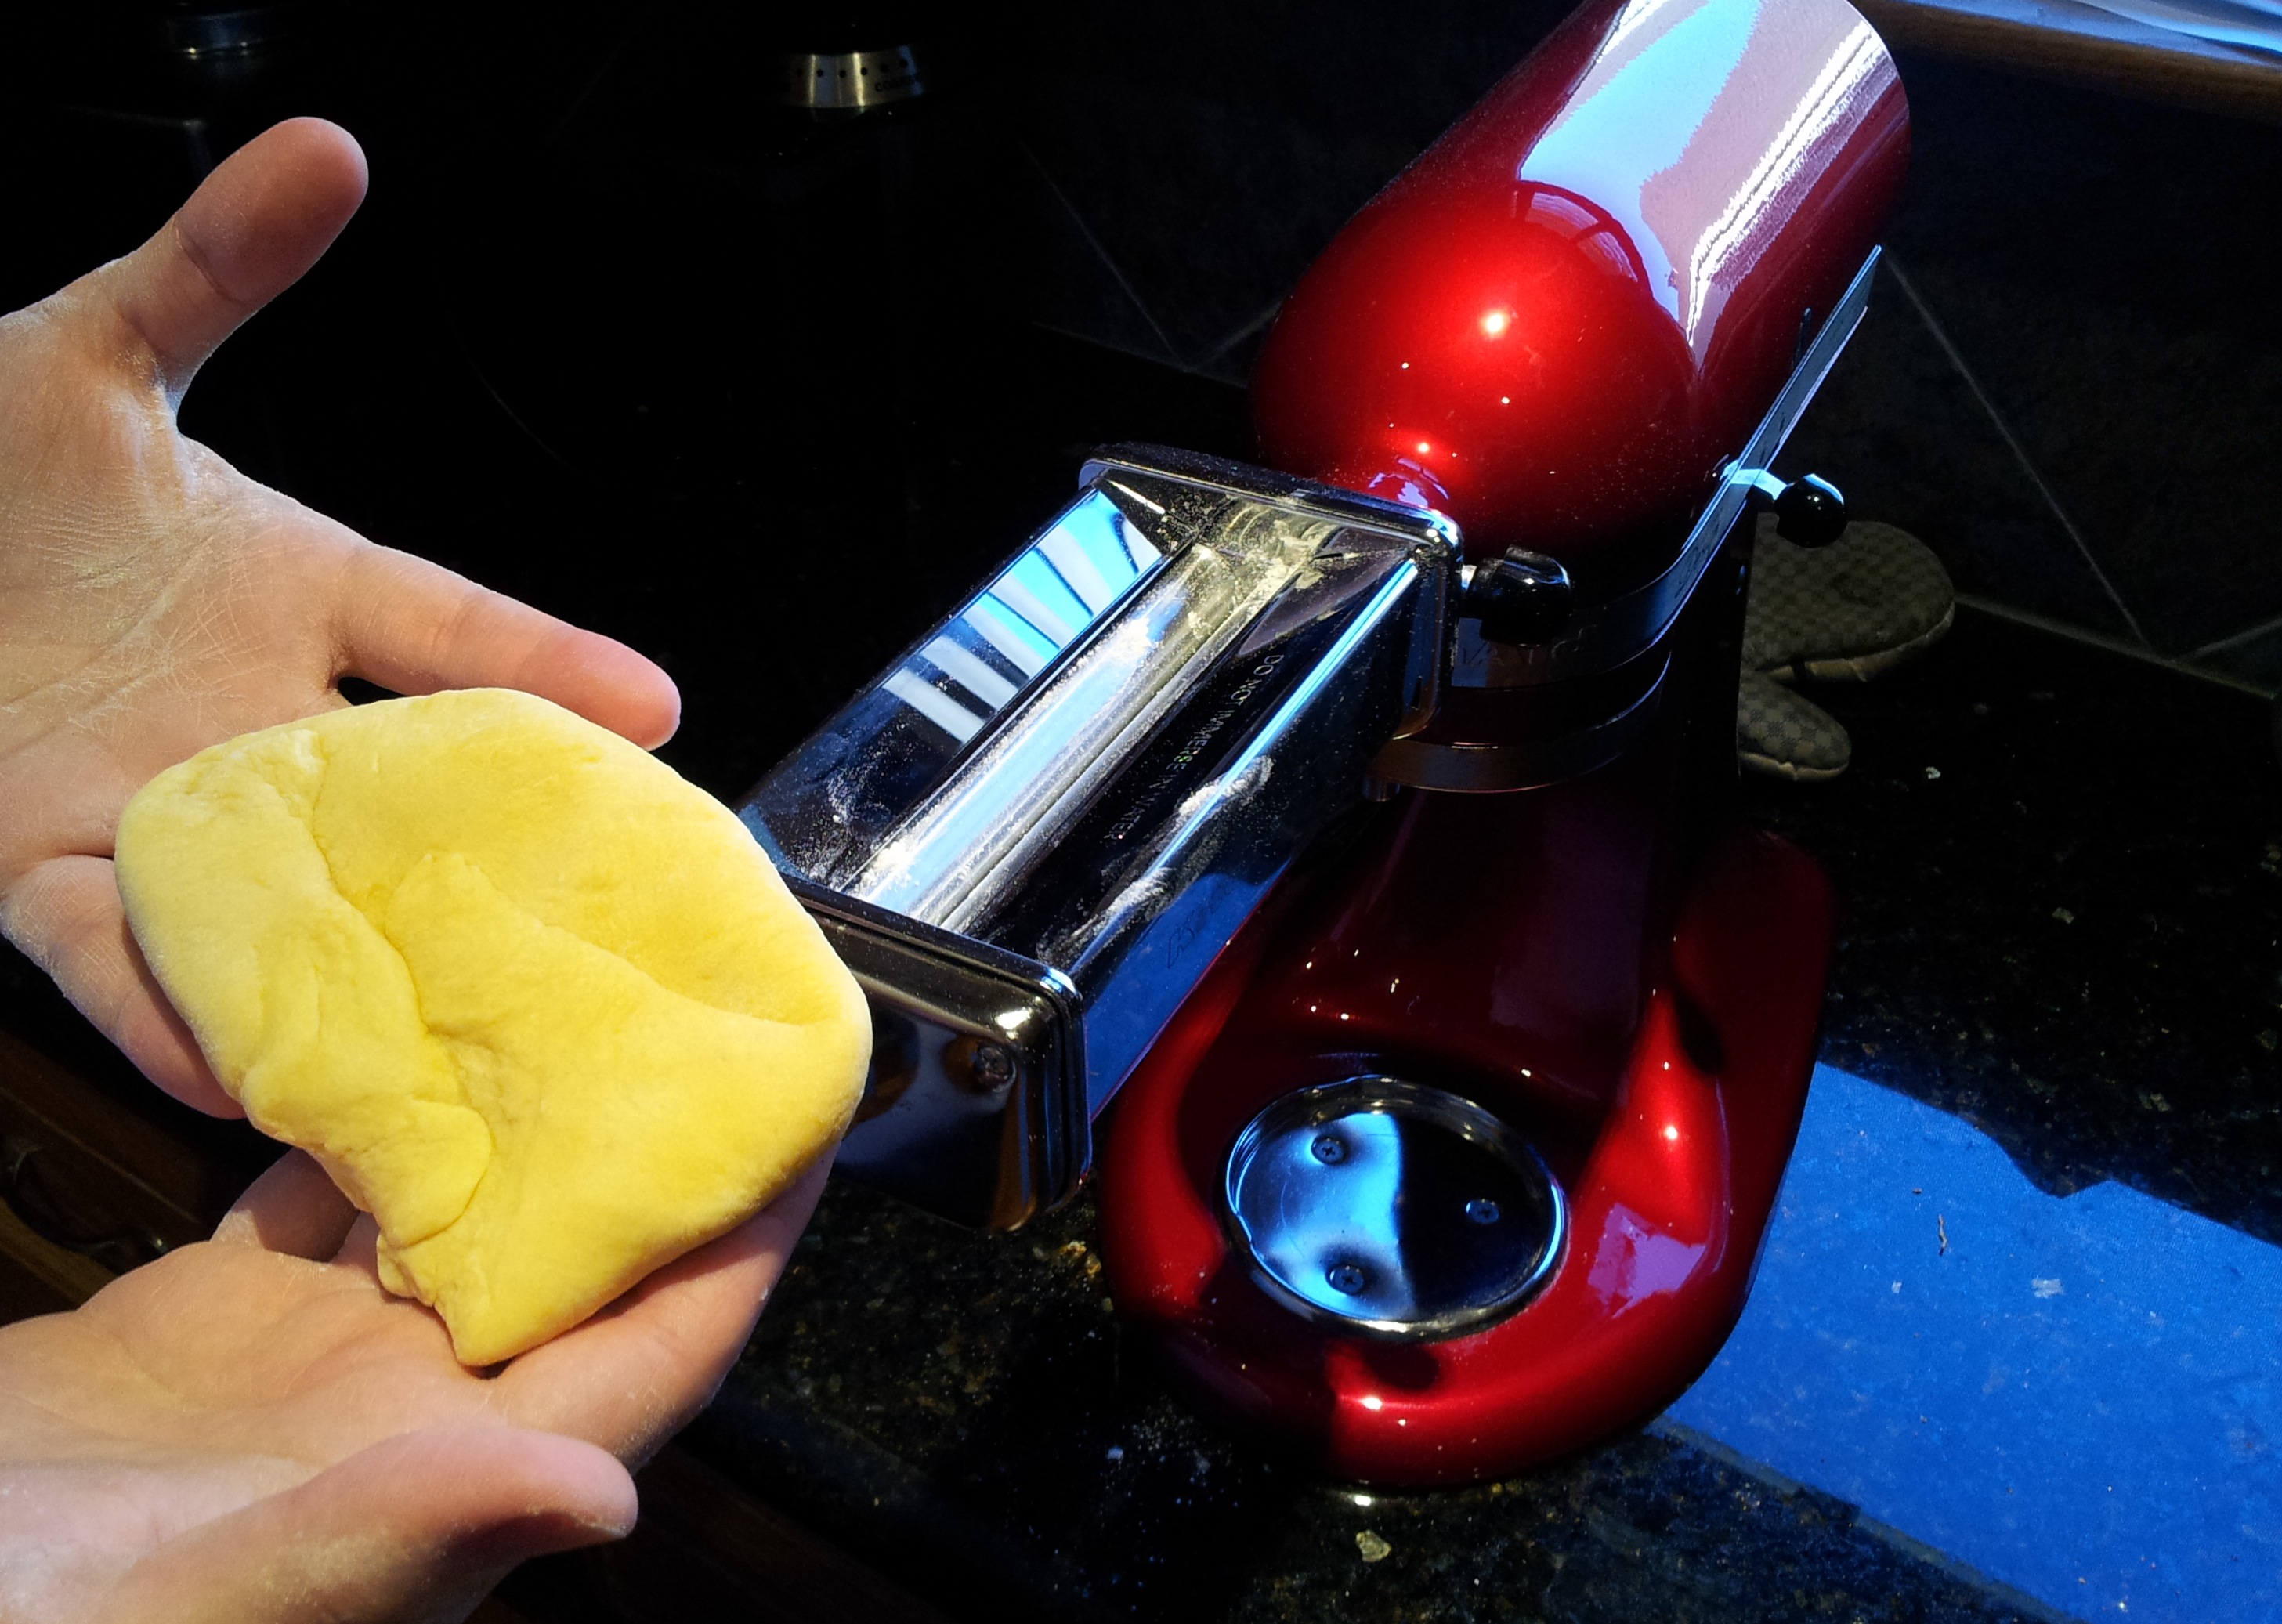
Homemade Fresh Pasta Step 5 – Putting the Pasta Through the Pasta Machine
I use the KitchenAid stand mixer pasta attachments because they are so easy and work with all KitchenAid stand models, requiring less space. For this machine, you cut the pasta ball into two, and take half of it, smooth it down to roughly 3/8th of 1″ thick, and then feed it through the roller on the first setting. When it comes out, you fold it in half, then feed it back through the roller with the folded ends first. Then, do it again. After that is done, you will slowly increase the number on the turn bar, running it through (with no more folding) a few times, incrementally working your way up to the thickness that is right for your pasta type (on this particular pasta machine, the higher the number, the thinner the pasta). If you have this same machine, you can watch the Williams-Sonoma product demonstration and it will all make sense. You can get it at William-Sonoma if you want this attachment for your own family. or you can get it on sale right now at Sur la Table.
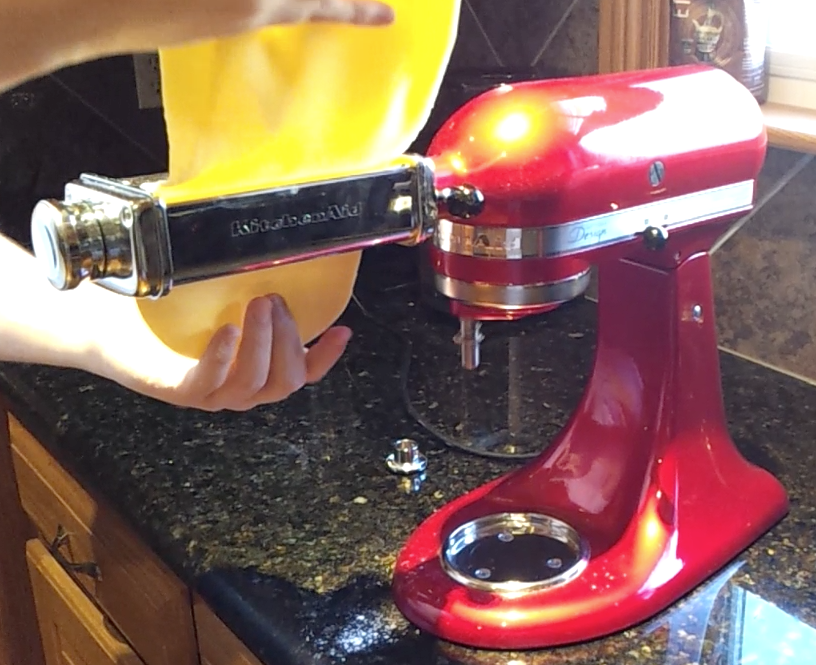
Homemade Fresh Pasta Step 5 (Continued) – Running the Dough Through the Pasta Machine
Getting to the right thickness takes less than a minute or two with the KitchenAid pasta attachments.
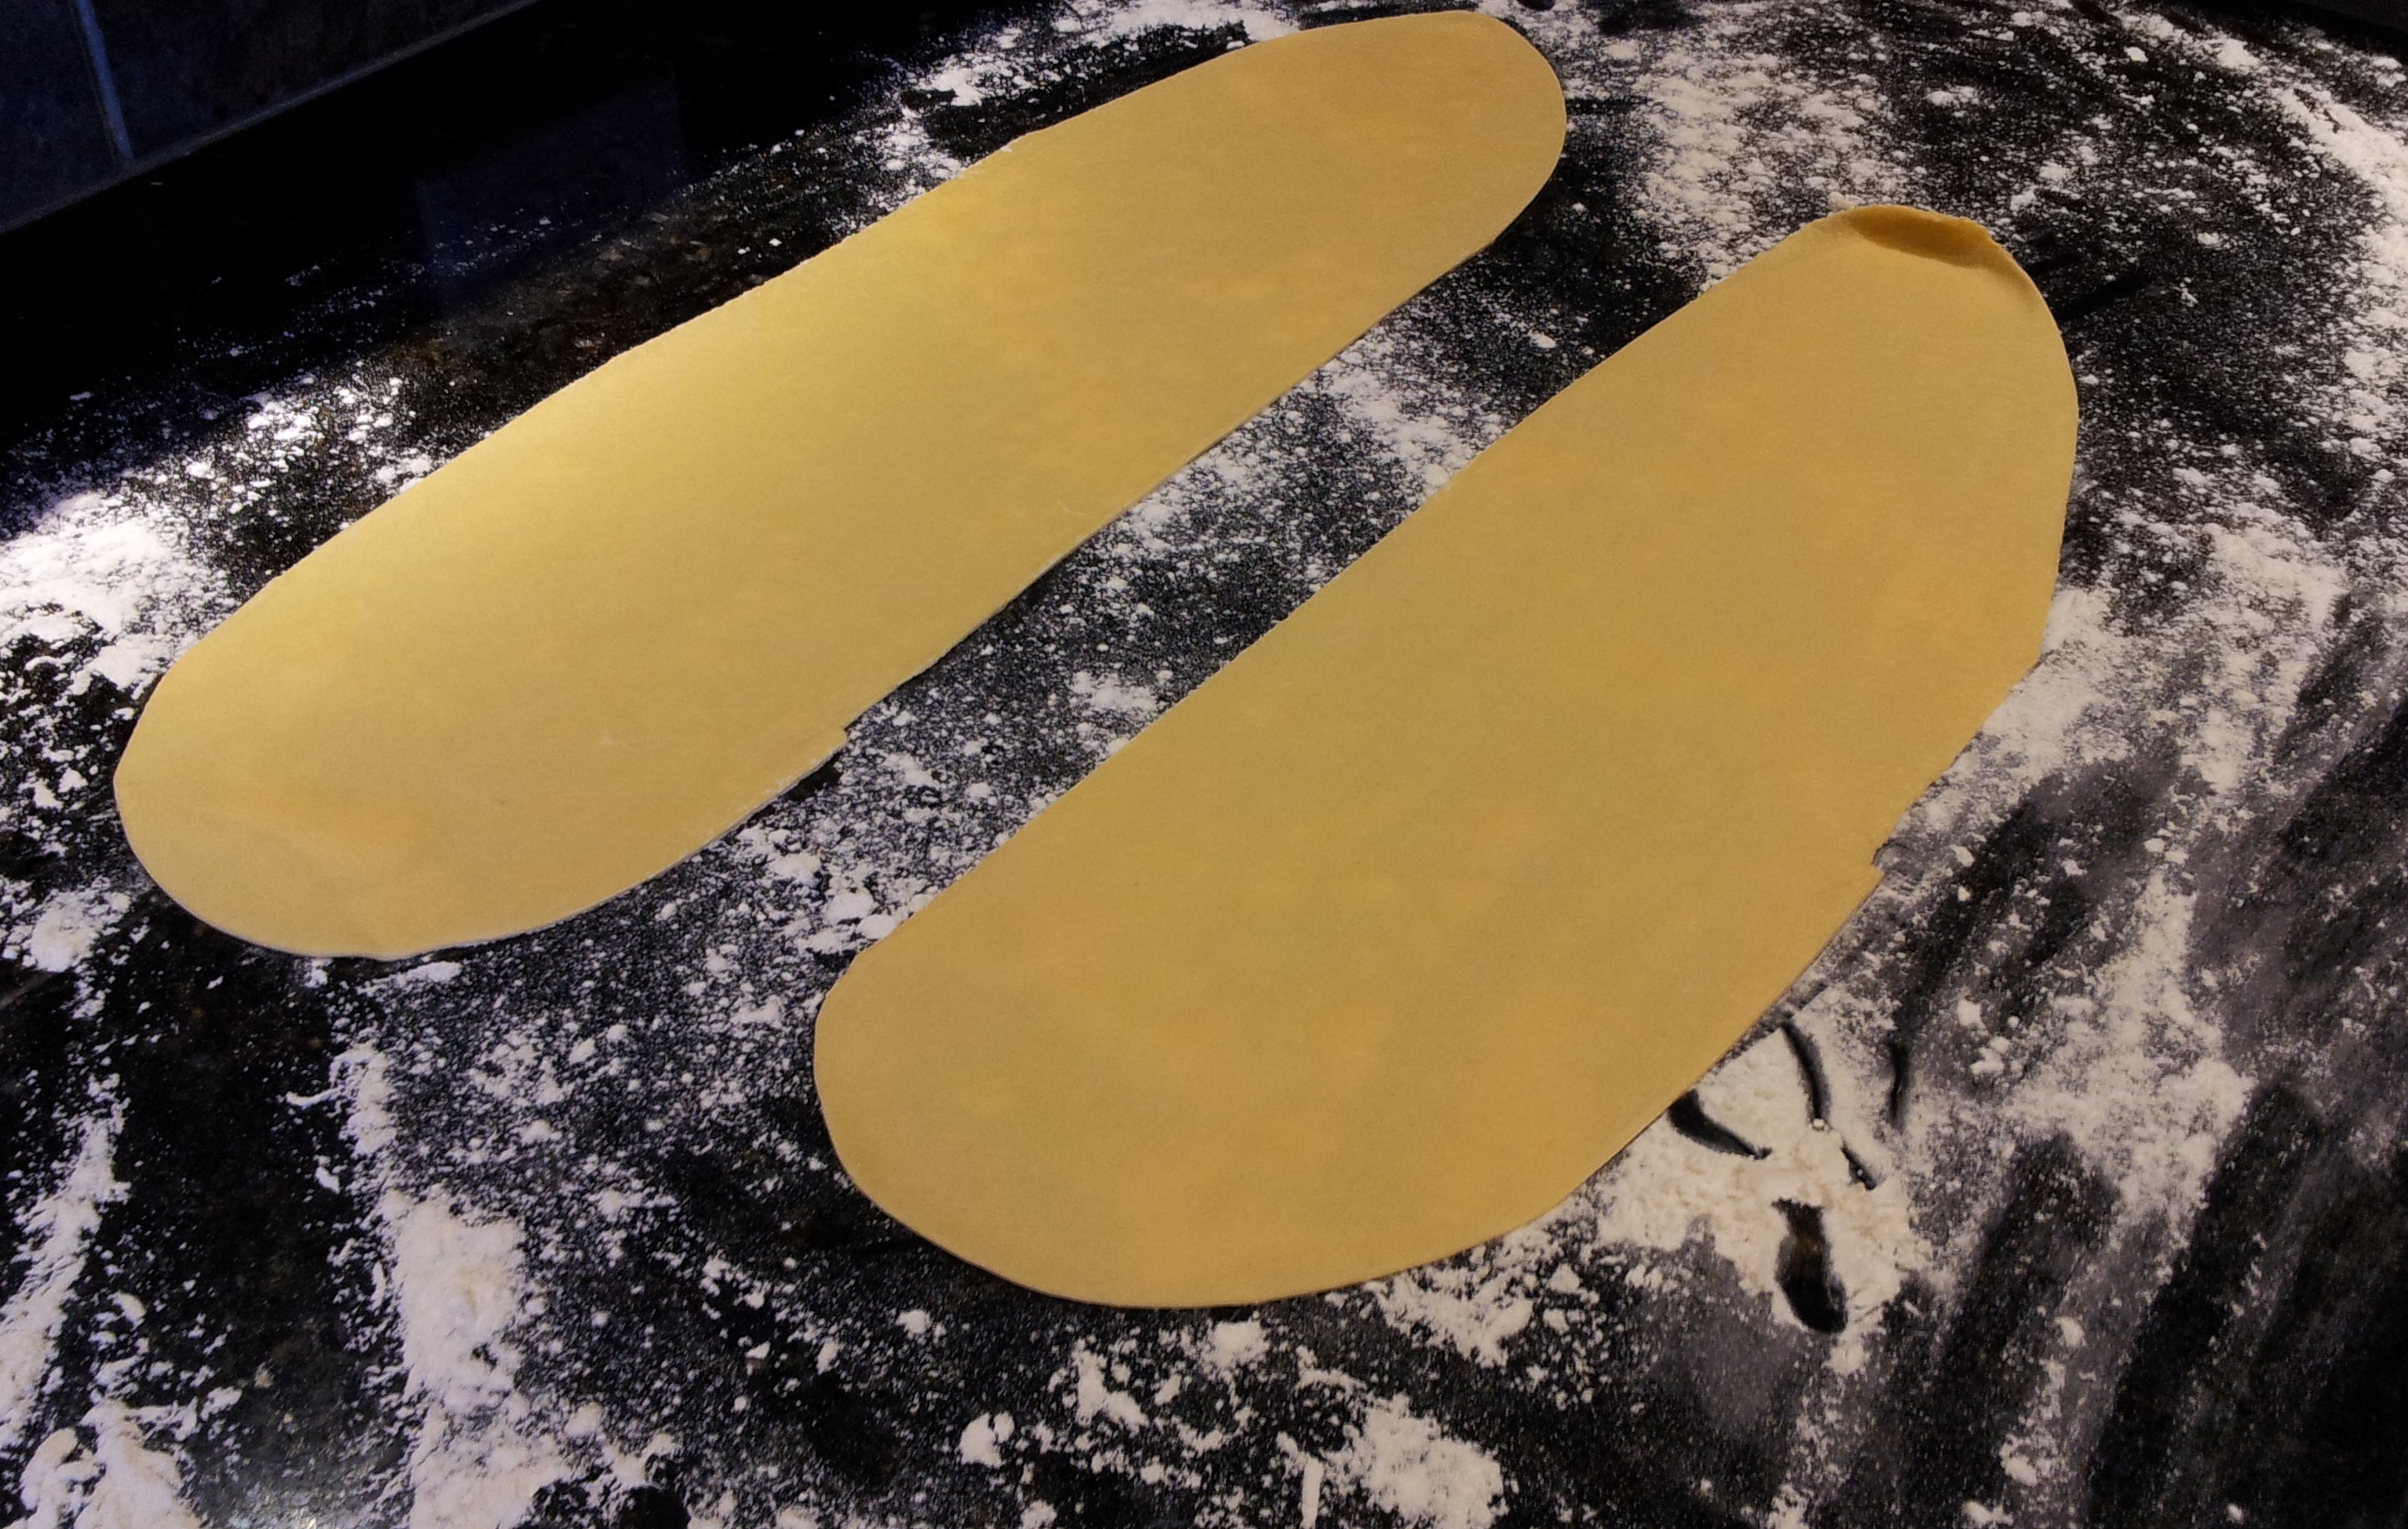
Homemade Fresh Pasta Step 6 – Laying Out the Pasta Dough
Once your pasta dough has reached the right thickness, lay it down on a fresh sprinkling of flour until you are ready to cut it.
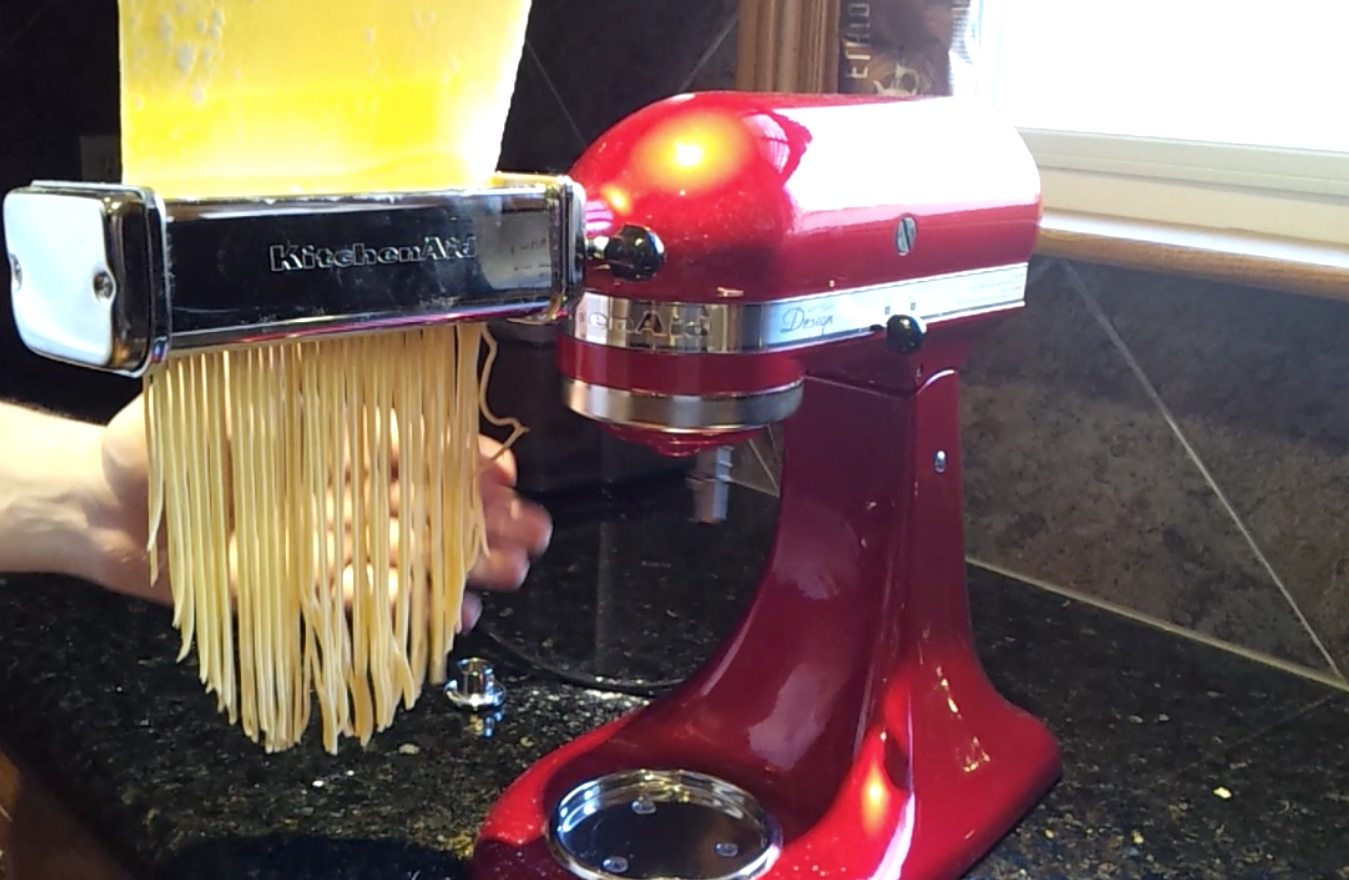
Homemade Fresh Pasta Step 7 – Cutting the Pasta
Depending on the shape you want from your fresh pasta, you are going to want to cut it by hand or use your pasta machine. If you use a machine, your options will vary based on the model and attachments you have. There are plates and modules that will let you make everything from simple shapes such as spaghetti or lasagna noodles, to more complex things requiring an extruder (which would be used for penne, macaroni, rigatoni, etc.) Sometimes, if I am feeling rustic, I’ll roughly cut the pasta noodles manually using a cutting wheel, pizza cutter, or knife so they vary in size and shape. Here, I had removed the roller attachment and put on the spaghetti cutting attachment.
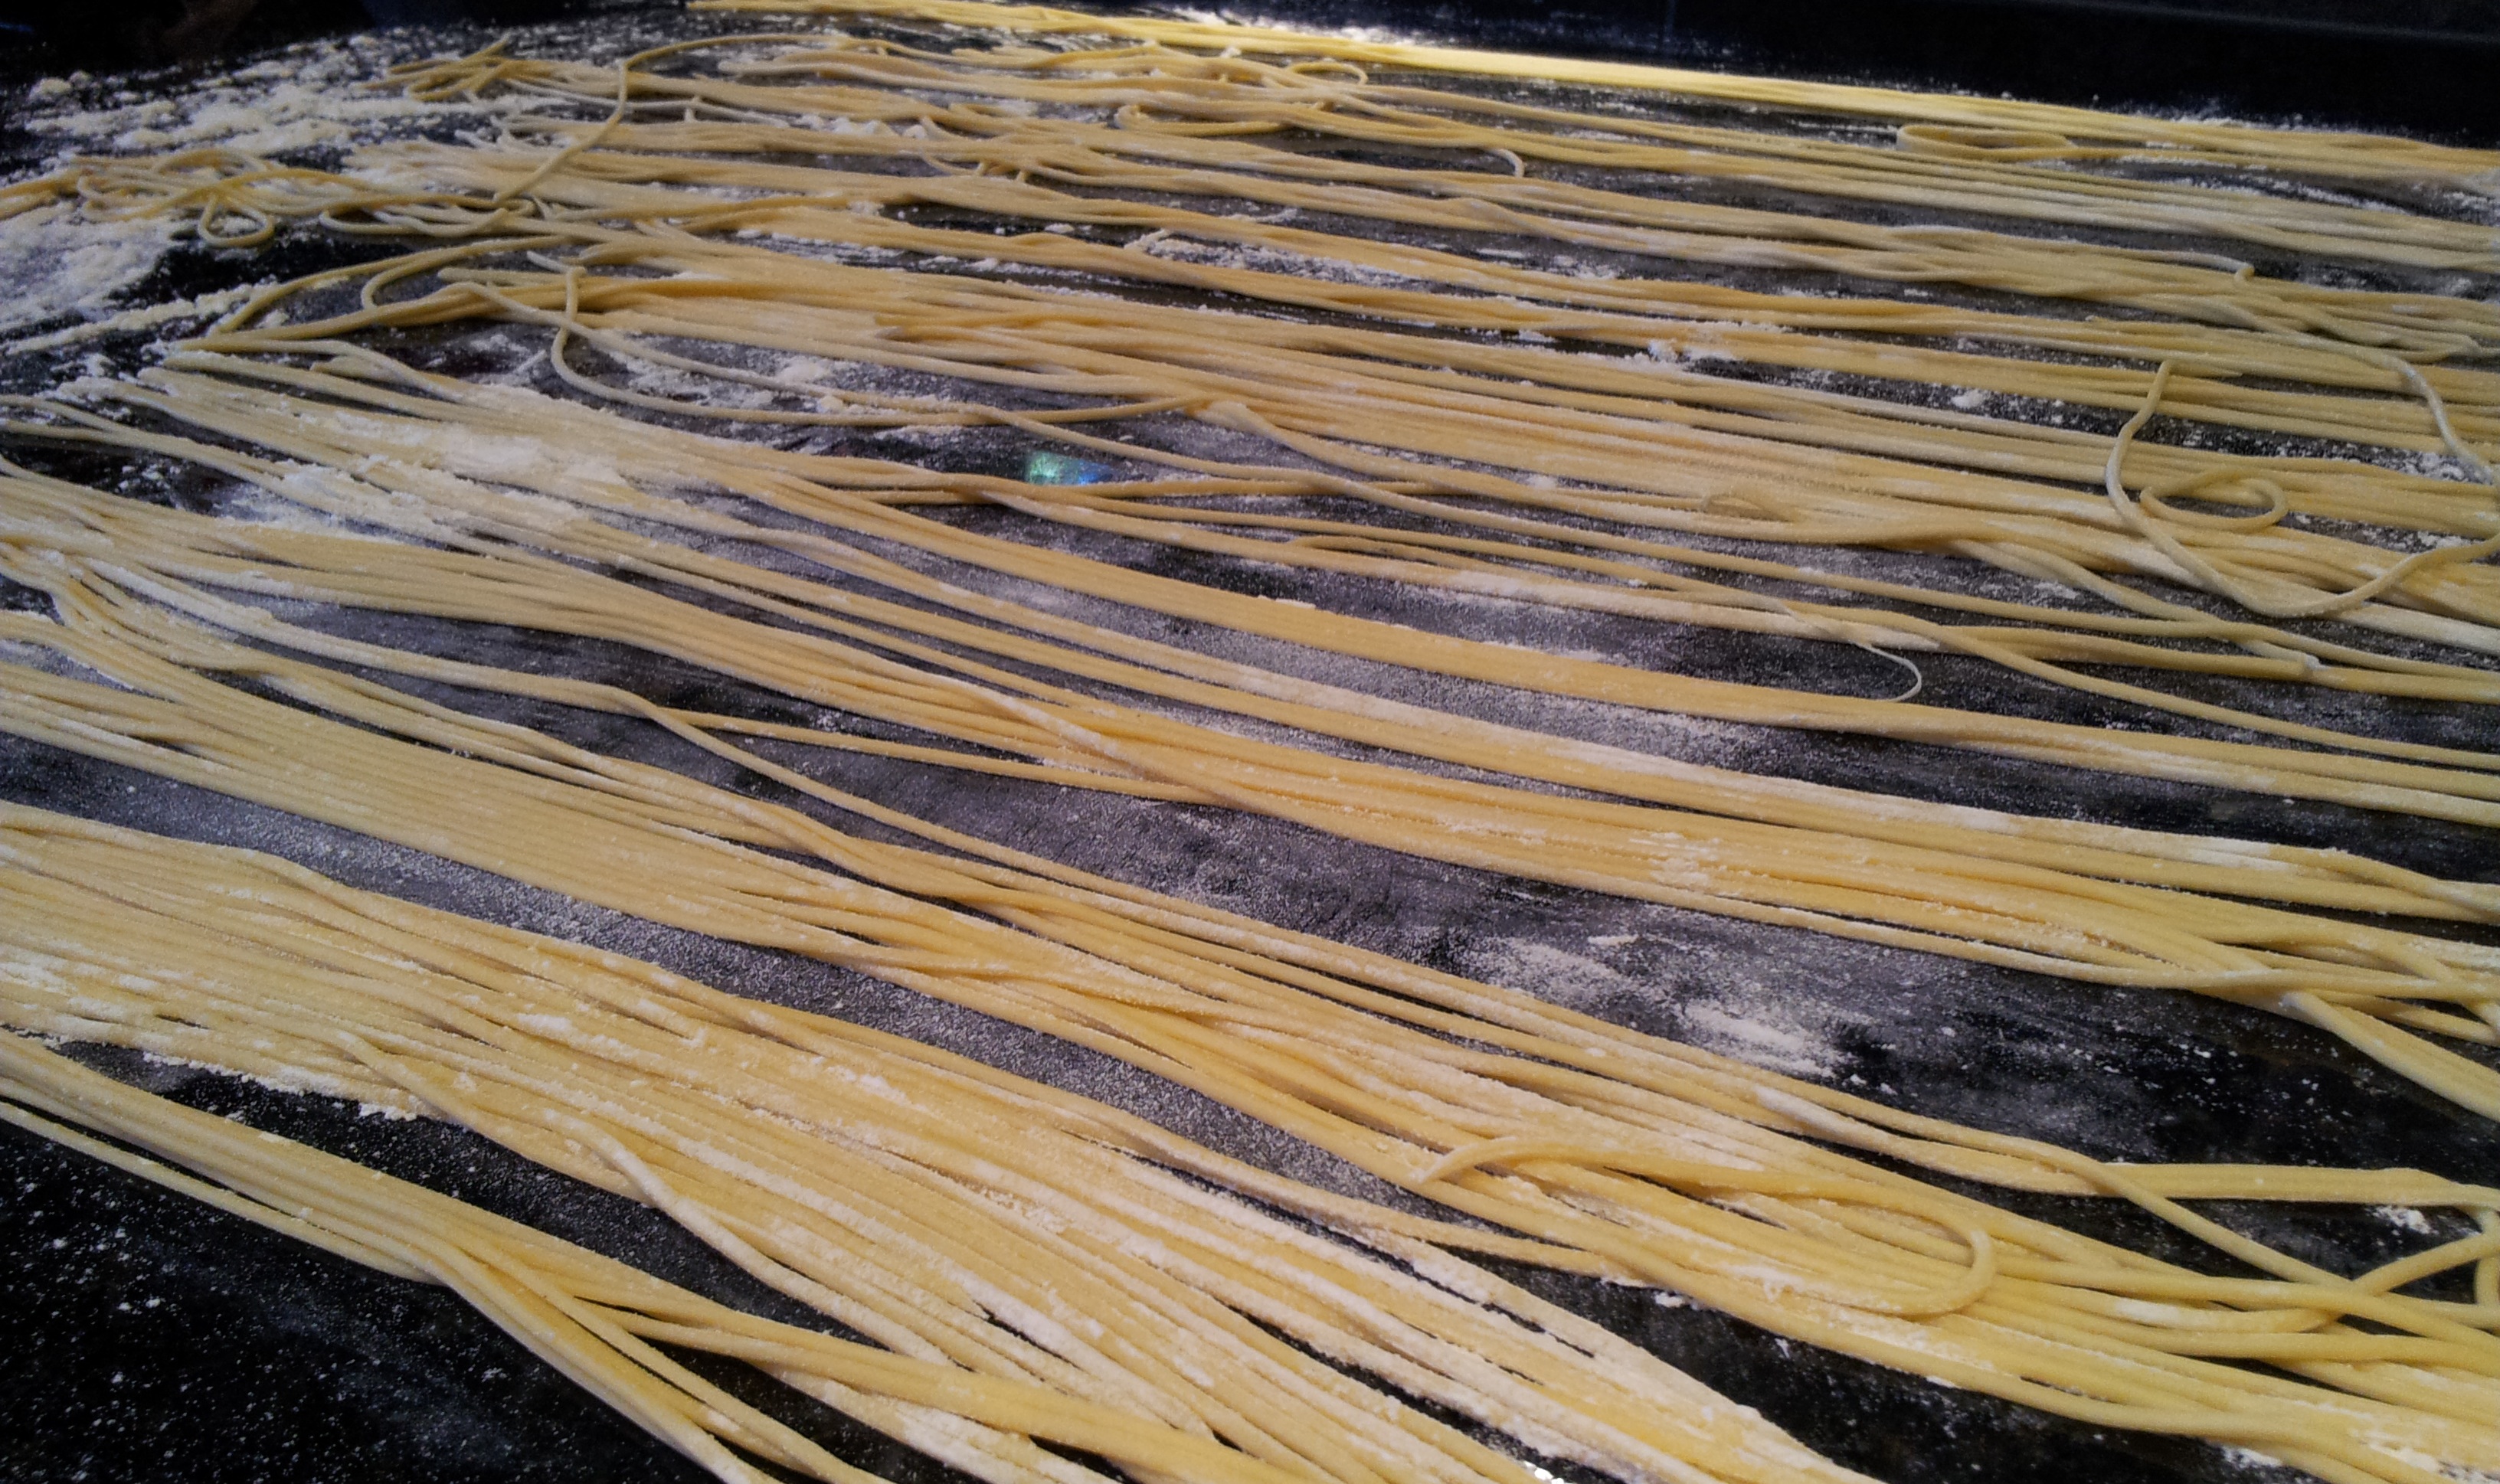
Homemade Fresh Pasta Step 8 – Laying Out the Cut Pasta
Put the cut pasta down on a floured surface until you are ready to drop it in the boiling salt water to cook. If you are drying it, the appropriate time and technique will depend on what type of pasta you made and how you plan on using it, including how soon. Had I planned on drying this pasta, it would have been wrapped into nests. This amount of pasta requires 4 quarters of water. When it is boiling, throw in 2 tablespoons of salt. Once it has returned to a strong boil, drop the noodles in and they should be finished anywhere from 60 to 180 seconds. You want them to be firm enough to resist a bite. Do not overcook!
This particular batch of homemade spaghetti is destined for a smothered onions sauce I promised to make. Good luck! Maybe some time in the future, I’ll post pictures of how to make the green spinach pasta. It’s not hard, either. You can do this. Don’t be intimidated by it. It’s two ingredients. If you screw it up, you’re only out 44¢. Then, you can try, again. That’s the beautiful part of it. It’s the perfect way to slowly introduce better living to your kitchen.
Reader Comments (7)
Comments are presented chronologically, with replies indented beneath the comments to which they respond.
Ruby Wells
October 6, 2013
looks good...
disqus_2ytDTk7Kz4
October 6, 2013
That looks amazing. I make pasta sauces fairly often (red sauce is extremely nutritious if the salt is left out). A couple questions: First, is the stand mixer attachment worth the price (given that it represents over a days pay for me). Second, while not necessary for this recipe if it's as easy as pizza dough, and it appear so, on other recipes it would fantastic if you could post weights. You appear to use a scale for measurement, as do I, and it is invaluable in many recipes in my experience. Again, looks yummy, incredibly frugal, and mouth watering!
Joshua Kennon
October 6, 2013
Replying to disqus_2ytDTk7Kz4
The scale suggestion is a really good idea; thank you for that! I will try to begin incorporating it in the posts, which shouldn't be too hard since I use it for most things. (It makes reproducing the exact end results so much easier, especially when we're testing ideas.)
Re: Your questions about the stand mixer attachments: If you make pasta more than a few times a year, the time savings are absolutely worth it, in my opinion. I use this set so I can not only roll the dough, but instantly cut it into fettuccine or spaghetti. Any other shapes, I use the roller attachment in that set to create the dough sheets you see above in the post, then cut by hand. If I wanted Farfalle, for example, I'd just create the dough sheet and then follow this exact, simple procedure on a work surface in my kitchen.
If you want to cut your costs significantly, some retailers sell the dough roller attachment on its own without the fettuccine and spaghetti attachments. Bed Bath & Beyond has it for $79.99. You'd have to cut everything by hand, but if you don't mind, it reduces the cost by 50% or 60%. If a majority of the noodles you eat are spaghetti or fettuccine, that might not be a big enough savings to offset the disutility of not having instant on-demand cutting in those shapes, so it depends on your preferred dishes as to whether that's a good trade-off.
I have not yet tried the KitchenAid extruder attachment set, which lets you make spaghetti, macaroni, bucatini, fusili, and rigatoni, so I can't comment on it. It intrigues me as the reviews seem extraordinary.
Bottom line? At the very least, I'd have the roller attachment by itself. It saves so much time over doing it by hand, and it's fun. I would never want to go back to not having it. It is to pasta rolling in efficiency what the washing machine was to the scrubbing board.
Paul
October 8, 2013
Replying to Joshua Kennon
You could also consider a hand operated pasta roller which would be significantly cheaper but still provide most of the utility over rolling with a rolling pin. e.g. a hand roller with spaghetti cutter could be had for $25 on Amazon: http://www.amazon.com/gp/aw/d/B004FRYD5M/ref=mp_s_a_1_4?qid=1381278750&sr=8-4&pi=AC_SX110_SY165_QL70
Anon
October 6, 2013
Very nice!
TheSplash
October 7, 2013
1. Your recent posts about pasta inspired our family to try to make some homemade egg noodles for our chicken soup Sunday night. The meal turned out wonderful! After reading your latest article about pasta it got me thinking, what is the difference between "pasta" and "egg noodles"? I did some research and found a fascinating argument about what is pasta and what is egg noodles at http://boards.straightdope.com/sdmb/showthread.php?t=291461. I was unable to find Marcella Hazan's opinion on the subject though despite my online searches (I don't have her book yet).
2. I was curious why you didn't use your KitchenAid mixer to also combine the flour and eggs? We used the dough kneader attachment on our KitchenAid to both mix and knead the pasta dough and then hand rolled and hand cut using a pizza cutter (we don't have a pasta roller attachment yet).
3. I love how that picture turned out of you whisking the eggs. The fork is nearly invisible it's so ghostly.
Joshua Kennon
October 7, 2013
Replying to TheSplash
This makes me happy to hear! I'm glad the chicken soup turned out well!
1. Hazan's words: "The shapes Italian pasta takes are varied beyond counting, but the categories an Italian cook works with are basically two: Factory-made, dried, flour and water macaroni pasta, and homemade, so-called "fresh," egg and flour pasta. There is not the slightest justification for preferring homemade pasta to the factory-made. Those who do deprive themselves of some of the most flavorful dishes in the Italian repertory. One pasta is not better than the other, they are simply different; different in the way they are made, in their texture and consistency, in the shapes to which they lend themselves, in the sauces with which they are most compatible. They are seldom interchangeable, but in terms of absolute quality, they are fully equal."
I fully agree. I could never go back to store bought egg noodles, spaghetti, Fettuccine, etc., as the homemade fresh pasta version is so much better. But I much prefer the harder, dryer penne from boxed factory-made pasta as the strength in the wheat gives it more resistance.
She also offers thoughts on preparing homemade pasta. She says, "The color of hand-stretched pasta is demonstrably deeper than that thinned by machine; its surface is etched by a barely visible pattern of intersecting ridges and hollows; when cooked, the pasta sucks in sauce and exudes moistness. On the palate it has a gossamer, soft touch that no other pasta can duplicate. But learning the rolling-pin method is, unfortunately, not just a question of following instructions but rather of learning a craft." ... "The machine, on the other hand, requires virtually no skill to use. Once you have learned to combine eggs and flour into a dough that is neither too moist nor too dry, all you do is follow a series of extraordinarily simple, mechanical steps and you can produce fine fresh pasta inexpensively, at home, at the very first attempt."
2. We do sometimes. Last night, I mixed the pasta in the KitchenAid just like you described when making the pesto over fettuccine. It saves about 5 or 6 minutes over doing it by hand, so it really comes down to whichever method I'm in the mood for at the moment.
P.S. They have re-released Hazan's cookbook. That's the one you want because it is a combination of two of her best cookbooks under one title for the price of a single book. Read the reviews. Take my word for it. Buy it on faith. I don't often recommend products as I'm fairly exacting in my demands, but I have nothing but praise for this text. Either tonight or tomorrow, I'm going to try the famous "Chicken with Two Lemons", which requires nothing but those ingredients, and some salt and pepper. She uses the chicken itself to serve as a roaster, and the lemons inside the cavity release their flavor into the meat at is roasts. It looks like this when done. I'm excited to give it a try.